Grave Warden Duelist |
|
|---|---|
 |
|
| Locations & Drops | |
| Strong VS
None
|
Weaker to |
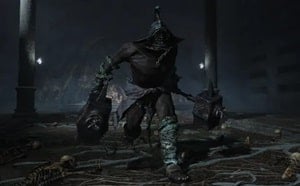
Grave Warden Duelist is a Boss in Elden Ring. Former gladiators who protect gravesites. They fight with dual battle hammers on chains, and will often grab opponents and slam them down. These are optional bosses, as players don't need to defeat it in order to advance.
Duelist is the normal enemy form of this boss. Frenzied Duelist and Putrid Grave Warden Duelist are other variants of this boss. Rotten Duelist is a normal enemy variant of this boss.
Duelists who were exiled from the colosseum.
Elden Ring Grave Warden Duelist Location
Grave Warden Duelist Combat information
- Stance: 65
- Parryable: Yes
- Is vulnerable to a critical hit after being stance broken or parried
- Can be backstabbed
- Damage:
 Standard,
  Strike
Negations (or Absorptions)
The negation numbers are the % of your damage that gets blocked. For example, if a negation is 60, 40% of that damage by that type will go through and 60% will be negated. Bigger number = less damage. A negation of 100 means no damage goes through, and a negation of -100 mean the enemy takes 2x damage from that source. 0 means damage goes pretty much as is.
Grave Warden Duelist Boss Guide for Elden Ring
Grave Warden Duelist Fight Strategy
The Best Tips for Grave Warden Duelist:
- Kaiden Sellsword Ashes can make this fight a breeze
Melee Strategy
His hits deal a lot of Stamina damage, so make sure to dodge as well as blocking attacks.
Summons: The easiest way to defeat this boss is to summon Spirit Ash and lay into him when he's focused on your ally, but you will need to avoid his Chain Swing attack.
Guard Counters: A Greatshield will rebound most attacks, giving you a chance to guard counter. His relatively low stance will give you plenty of chances to land critical hits.
Magic and Ranged Strategy
Kite: Keep your distance and draw him around the room. Move while he's performing his combos and attack during his recovery periods. During the second phase, he may sprint towards you until you're within his melee range. If he does, wait for him to get close and dodge the attack to the right, then roll backwards to get some distance again. Make sure you don't get stuck on the walls or columns!
Attacks & Counters
| Attack | Description | Counter |
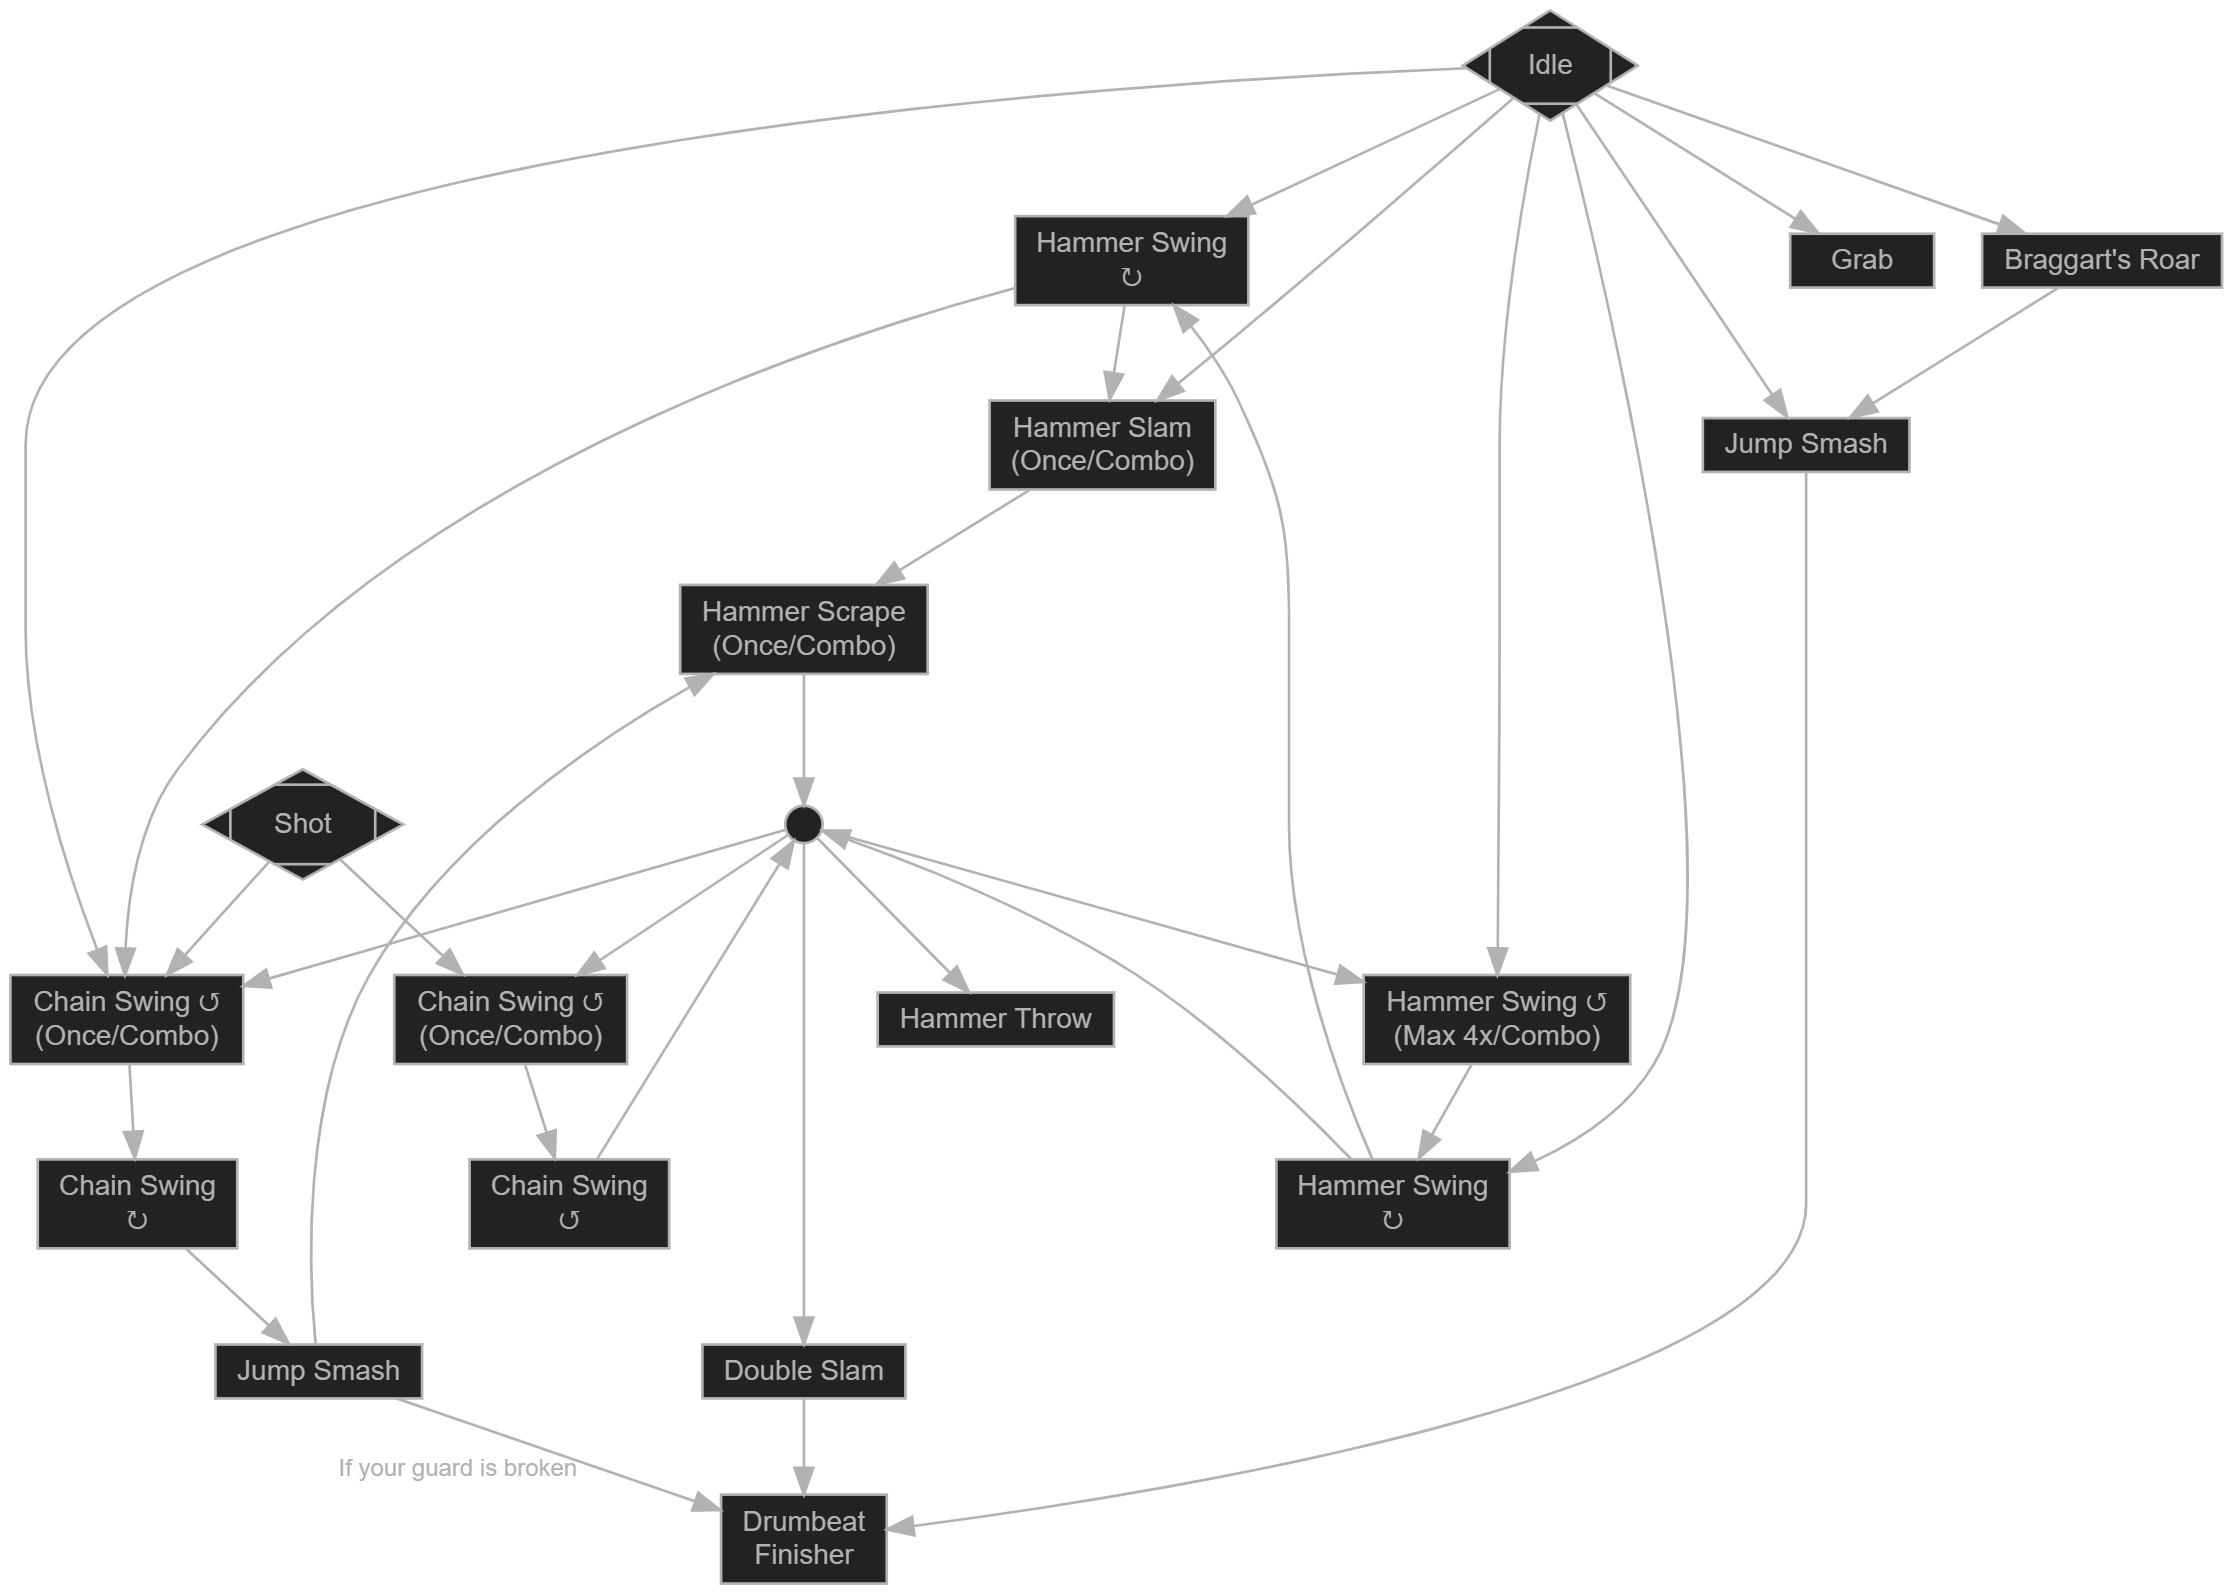
| Hammer Swing | Roll away and prepare to dodge the rest of the combo | |
| Hammer Slam | Roll around him to his left to avoid a Hammer Scrape and get in a hit or set up a backstab | |
| Double Slam | Roll around him to his left and get in an attack or set up a backstab | |
| Hammer Scrape | Scrapes a along the ground on his right | Stay to his left after a Jump Smash or Hammer Slam |
| Hammer Throw | Run away while he's twirling his hammers—this attack doesn't actually cover much range | |
| Chain Swing | Swings its hammer in an arc in front of it. The second swing in a combo sometimes has more range | Run backwards if you've got enough distance, or roll towards him so the second swing goes wide |
| Jump Smash | Leaps forward and slams both hammers into the ground | Roll diagonally forward to get behind him, then attack or set up a backstab. |
| Drumbeat Finisher | Raises both hammers above hishead and slams them hammers on the ground one after the other a total of four times | Roll away and prepare to run back in and punish him once he's finished |
| Grab | Raises his right hand and crouches to the ground before lunging forward into a grab that deal a lot of damage if it connects | If you have time, you can just walk behind him and land a few attacks while he's grabbing air. If you're caught by surprise, roll to the left or right |
| Braggart's Roar | Lets loose a furious roar, increasing his attack power and damage negation | This attack doesn't actually deal damage, so it's a chance to get some free hits in |
![]() : Attack can be parried
: Attack can be parried
Elden Ring Grave Warden Duelist Lore, Notes & Other Trivia
- Notes and tips go here
Grave Warden Duelist Combo Chart
Grave Warden DuelistMurkwater Catacombs |
|
|---|---|
 |
|
| Drops | Banished Knight Engvall Ashes |
| HP | 2,190 |
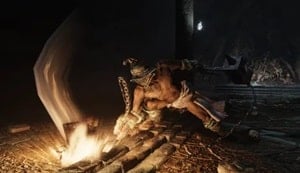
Elden Ring Grave Warden Duelist Boss (Murkwater Catacombs)
- This is an optional boss
- Closest Site of Grace: Murkwater Catacombs
- Multiplayer is available for this boss
- You can summon Spirit Ashes for this boss
Grave Warden Duelist Combat information
- Health: 2,190
- Defense: 101.3
- Drops
 1,700, Banished Knight Engvall Ashes
 - Prior to patch 1.03, dropped Battle Hammer instead of Banished Knight Engvall Ashes
Resistances
 Poison: 226 / 268 / 366 / 656
 Scarlet Rot: 226 / 268 / 366 / 656
 Hemorrhage: 169 / 197 / 239 / 337
 Frostbite: 226 / 268 / 366 / 656
The resistance numbers are the buildup amount to trigger it. For example, if a resistance is 100 you must deal 100 points of the given buildup to trigger it. Note that these go down over time, and increase each time the effect procs. The values after the "/"s indicate the increased resistances after each successive proc.
NG+ and Beyond (click to reveal)
| NG | NG+ | NG+2 | NG+3 | NG+4 | NG+5 | NG+6 | NG+7 | |
|---|---|---|---|---|---|---|---|---|
| HP | 2,190 | 6,839 | 7,522 | 7,864 | 8,206 | 8,890 | 9,232 | 9,574 |
| Defense | 101 | 117 | 120 | 123 | 129 | 134 | 140 | 152 |
| 1,700 | 8,500 | 9,350 | 9,562 | 10,200 | 10,412 | 10,625 | 10,837 | |
Resistances |
||||||||
| 226 / 268 / 366 / 656 | 247 / 289 / 387 / 677 | 250 / 292 / 390 / 680 | 254 / 296 / 394 / 684 | 258 / 300 / 398 / 688 | 261 / 303 / 401 / 691 | 265 / 307 / 405 / 695 | 269 / 311 / 409 / 699 | |
| 226 / 268 / 366 / 656 | 247 / 289 / 387 / 677 | 250 / 292 / 390 / 680 | 254 / 296 / 394 / 684 | 258 / 300 / 398 / 688 | 261 / 303 / 401 / 691 | 265 / 307 / 405 / 695 | 269 / 311 / 409 / 699 | |
| 169 / 197 / 239 / 337 | 185 / 213 / 255 / 353 | 187 / 215 / 257 / 355 | 190 / 218 / 260 / 358 | 193 / 221 / 263 / 361 | 196 / 224 / 266 / 364 | 198 / 226 / 268 / 366 | 201 / 229 / 271 / 369 | |
| 226 / 268 / 366 / 656 | 247 / 289 / 387 / 677 | 250 / 292 / 390 / 680 | 254 / 296 / 394 / 684 | 258 / 300 / 398 / 688 | 261 / 303 / 401 / 691 | 265 / 307 / 405 / 695 | 269 / 311 / 409 / 699 | |
| 226 / 268 / 366 / 656 | 247 / 289 / 387 / 677 | 250 / 292 / 390 / 680 | 254 / 296 / 394 / 684 | 258 / 300 / 398 / 688 | 261 / 303 / 401 / 691 | 265 / 307 / 405 / 695 | 269 / 311 / 409 / 699 | |
| Immune | ||||||||
Grave Warden DuelistAuriza Side Tomb |
|
|---|---|
 |
|
| Drops | Soldjars of Fortune Ashes |
| HP | 6,240 |
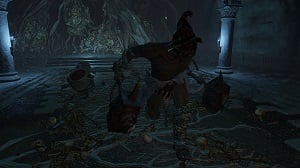
Elden Ring Grave Warden Duelist Boss (Auriza Side Tomb)
- This is an optional boss
- Closest Site of Grace: Auriza Side Tomb
- Multiplayer is not available for this boss (Multiplayer Items are disabled in this dungeon, which may be a bug)
- You can summon Spirit Ashes for this boss
Grave Warden Duelist Combat information
- Health: 6,240 HP
- Defense: 111.9
- Drops
 15,000, Soldjars of Fortune Ashes
Resistances
 Poison: 241 / 283 / 381 / 671
 Scarlet Rot: 241 / 283 / 381 / 671
 Hemorrhage: 181 / 209 / 251 / 349
 Frostbite: 241 / 283 / 381 / 671
The resistance numbers are the buildup amount to trigger it. For example, if a resistance is 100 you must deal 100 points of the given buildup to trigger it. Note that these go down over time, and increase each time the effect procs. The values after the "/"s indicate the increased resistances after each successive proc.
NG+ and Beyond (click to reveal)
| NG | NG+ | NG+2 | NG+3 | NG+4 | NG+5 | NG+6 | NG+7 | |
|---|---|---|---|---|---|---|---|---|
| HP | 6,240 | 9,116 | 10,027 | 10,483 | 10,939 | 11,850 | 12,306 | 12,762 |
| Defense | 111 | 118 | 121 | 124 | 129 | 135 | 141 | 153 |
| 1,700 | 5,100 | 5,610 | 5,737 | 6,120 | 6,247 | 6,375 | 6,502 | |
Resistances |
||||||||
| 241 / 283 / 381 / 671 | 260 / 302 / 400 / 690 | 263 / 305 / 403 / 693 | 267 / 309 / 407 / 697 | 271 / 313 / 411 / 701 | 275 / 317 / 415 / 705 | 279 / 321 / 419 / 709 | 283 / 325 / 423 / 713 | |
| 241 / 283 / 381 / 671 | 260 / 302 / 400 / 690 | 263 / 305 / 403 / 693 | 267 / 309 / 407 / 697 | 271 / 313 / 411 / 701 | 275 / 317 / 415 / 705 | 279 / 321 / 419 / 709 | 283 / 325 / 423 / 713 | |
| 181 / 209 / 251 / 349 | 195 / 223 / 265 / 363 | 197 / 225 / 267 / 365 | 200 / 228 / 270 / 368 | 203 / 231 / 273 / 371 | 206 / 234 / 276 / 374 | 209 / 237 / 279 / 377 | 212 / 240 / 282 / 380 | |
| 241 / 283 / 381 / 671 | 260 / 302 / 400 / 690 | 263 / 305 / 403 / 693 | 267 / 309 / 407 / 697 | 271 / 313 / 411 / 701 | 275 / 317 / 415 / 705 | 279 / 321 / 419 / 709 | 283 / 325 / 423 / 713 | |
| 241 / 283 / 381 / 671 | 260 / 302 / 400 / 690 | 263 / 305 / 403 / 693 | 267 / 309 / 407 / 697 | 271 / 313 / 411 / 701 | 275 / 317 / 415 / 705 | 279 / 321 / 419 / 709 | 283 / 325 / 423 / 713 | |
| Immune | ||||||||
Image Gallery for Grave Warden Duelist in Elden Ring
 Anonymous
for the first duelist link, it links to a page for the wrong type of duelist

 Anonymous
I love these guys, they're not particularly challenging or anything. They're just badass and have cool cinematic attacks

 Anonymous
 Anonymous
I can't hurt him on my playthrough. All my attacks go through him and do no damage. It's bugged.

 Anonymous
Not gonna lie, I defeated this boss in 4-5 hits and I didn't get hit. In fact, he didn't even make move. I defeated him with Blood hound's fang using the ash of war combo.

 Anonymous
Really wish that we could have a spirit ash version of these guys. Summoning them in only to see them toss aside their cloak and **** **** up would be so badass.

 Anonymous
Has this happened with someone else? Sometimes after I hit this guy in Leyndell with a fully charged Black Flame Tornado, he gets launched to the air, and for a few seconds, his greataxe deals scarlet rot.

Grave Wardens have now existed in three souls games with wildly different styles. In 2, they were big mummy-looking guys with shields and spears. In 3, they were emaciated women with ratty clothes and dinged up curved swords. In Elden Ring, they're... Well, this guy.

 Anonymous
 Anonymous
Is nobody gonna talk about how they called the Kaiden Sellsword Ashes the Northern Mercenary Ashes?

 Anonymous
 Anonymous
 Anonymous
no spirit ash summons are allowed for the murkwater catacombs boss, its not a particularly hard boss anyway though.

 Anonymous
 Anonymous
The Banished Knight Engvall dropped for me after beating him, not the Hammer.

 Anonymous
These guys are really fun to parry. Their attacks have decently long wind-ups and have obvious tells.

 Anonymous
The one in Auriza Side Tomb gives 15000 runes and the Soldjar of Ashes. He has some jar enemies with him but i was powerstancing 2 colossal weapons so i killed him quickly and i didn't get to see their moves they just stayed back and watched.

 Anonymous
 Anonymous
Finally found him at level 149. What... an... easy... boss. Thought that area was cleared :

 Anonymous
 Anonymous
I got lucky since I gained both the Battle Hammer AND the Engvall ashes when I killed the one located in Murkwater.

 Anonymous
i just wanna comment that as of now he dropped spirit ashes banished knight engvall

 Anonymous
Battle Hammer does drop off the one wielding it in Lleyndell by the Arena near West Capital Rampart.

 Anonymous
Well there goes the hammer. And how do you get the summon ash if you already defeated him before patch v1.03?

 Anonymous
 Anonymous
 Anonymous
After the update it seems he does not drop the hammer anymore. kinda sucks

 Anonymous
For some reason after the patch he no longer drops the battle hammer he now drops "banished knight Engvall" which is a really crap summon with a cost of 100fp! They need to change it back the the hammer (I never used the hammer but it was a great early strength weapon... more sad times for strength builds)

 Anonymous
Well, now you get high level, 100 fp ashes from him in murkwater catacombs

 Anonymous
 Anonymous
So, uh, as of the new patch this guy no longer drops the Battle Hammer. He now drops the 'Banished Knight Engvall' Spirit Ashes. 100 FP cost, he looks like a Halberd variant of the Banished Knight, and shares lore with Banished Knight Oleg.

 Anonymous
Demi-human ashes and a chill weapon makes short work of this guy. Ignore the pots.

 Anonymous
looks like something you would see out of a 'soulslike' mobile game

 Anonymous
If anyone is struggling, his attacks will almost all bounce against a greatshield, giving you a free guard counter. ~2-3 guard counters will stagger him for a riposte. Use a spirit summon to distract the jars if you can, or just kill them first.

 Anonymous
 Anonymous
You can launch this guy into the air with the stomp weapon art. I was quite surprised when my Lordsworn greatsword sent him flying!

 Anonymous
This was my first dungeon and this guy looked pretty tough at first but my Weapon Art seemed to break his poise really easily
Every 2 weapon arts gave me a riposte
Was pretty easy but made me understand a bit more of the combat changes in Elden Ring, can't wait to play more!
 Anonymous
For those struggling against him, try backstabbing him to death, wait until he’s finished with his combos though.

 Anonymous
His moves are easy to pick up after a bit, so I would practice the parry outside the boss fight, once you figure out the parry, you can beat him with ~3-4 parries and the punishing blow

 Anonymous
The simplest way to deal with him is to keep moving away from him and rolling out of his mid-range (longest) attacks now and then and whenever he does the plow attack (hits the ground ahead of him with his hammer and pull his hammer toward himself), you can jump-attack him, then roll away and then keep moving away until a new opening appears.
It's also possible to do this when he does his side-step-hit (after he's hit) or when he jump-attack and, if you use any medium or heavy weapon (can't tell for light weapons), he will stag every time you jump-attack him during those 3 attacks.
When he's using his special rage ability, don't attack him in the middle of his combos as he become immune to staggering when attacking (except for his jump attack which can all be hit & staggered.)
 Anonymous
Jump then R2 attack then dodge away. Rinse and repeat. When he does his swinging attacks dodge away a few times. Very easy boss without summons.

 Anonymous
Seems to be weak to magic damage and strong against physical

 Anonymous
Seems to be weak to magic damage and strong against physical

 Anonymous
Also noticed that he used two hammer- flails with me (lvl 33) and a poleaxe for everyone else I helped. Not sure if it's a level based thing or not.

 Anonymous
 Anonymous
Biggest threat is the timings. Watch for the delays, especially on his jump attacks, as they’ll also hit like a truck.

 Anonymous
Can you parry him? I tried with no luck, ended up backstabbing him to death.

 Anonymous
Very easy with Lordsworn Greatsword's uppercut.
Uppercut sends him flying, load heavy attack, heavy attack while he's getting up, heavy breaks his posture, stab him in the chest.
Rinse, repeat. Each combo should deal about 1/5 of his health depending on your stats.
 Anonymous
This guy is SUPER weak to backstabs. You can do it easily. Also, it seems he sometimes has two hammers, and sometimes has one long pole axe. Not sure when/how to tell when he will spawn with what


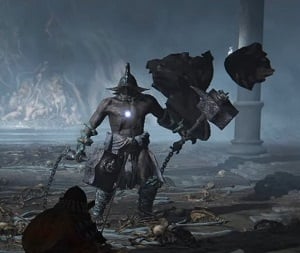
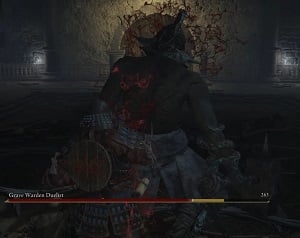
Why do these guys take extra damage if you hit the only part of their body that is fully clad in armor?
0
+10
-1