Divine Tower of Liurnia |
|---|
 |
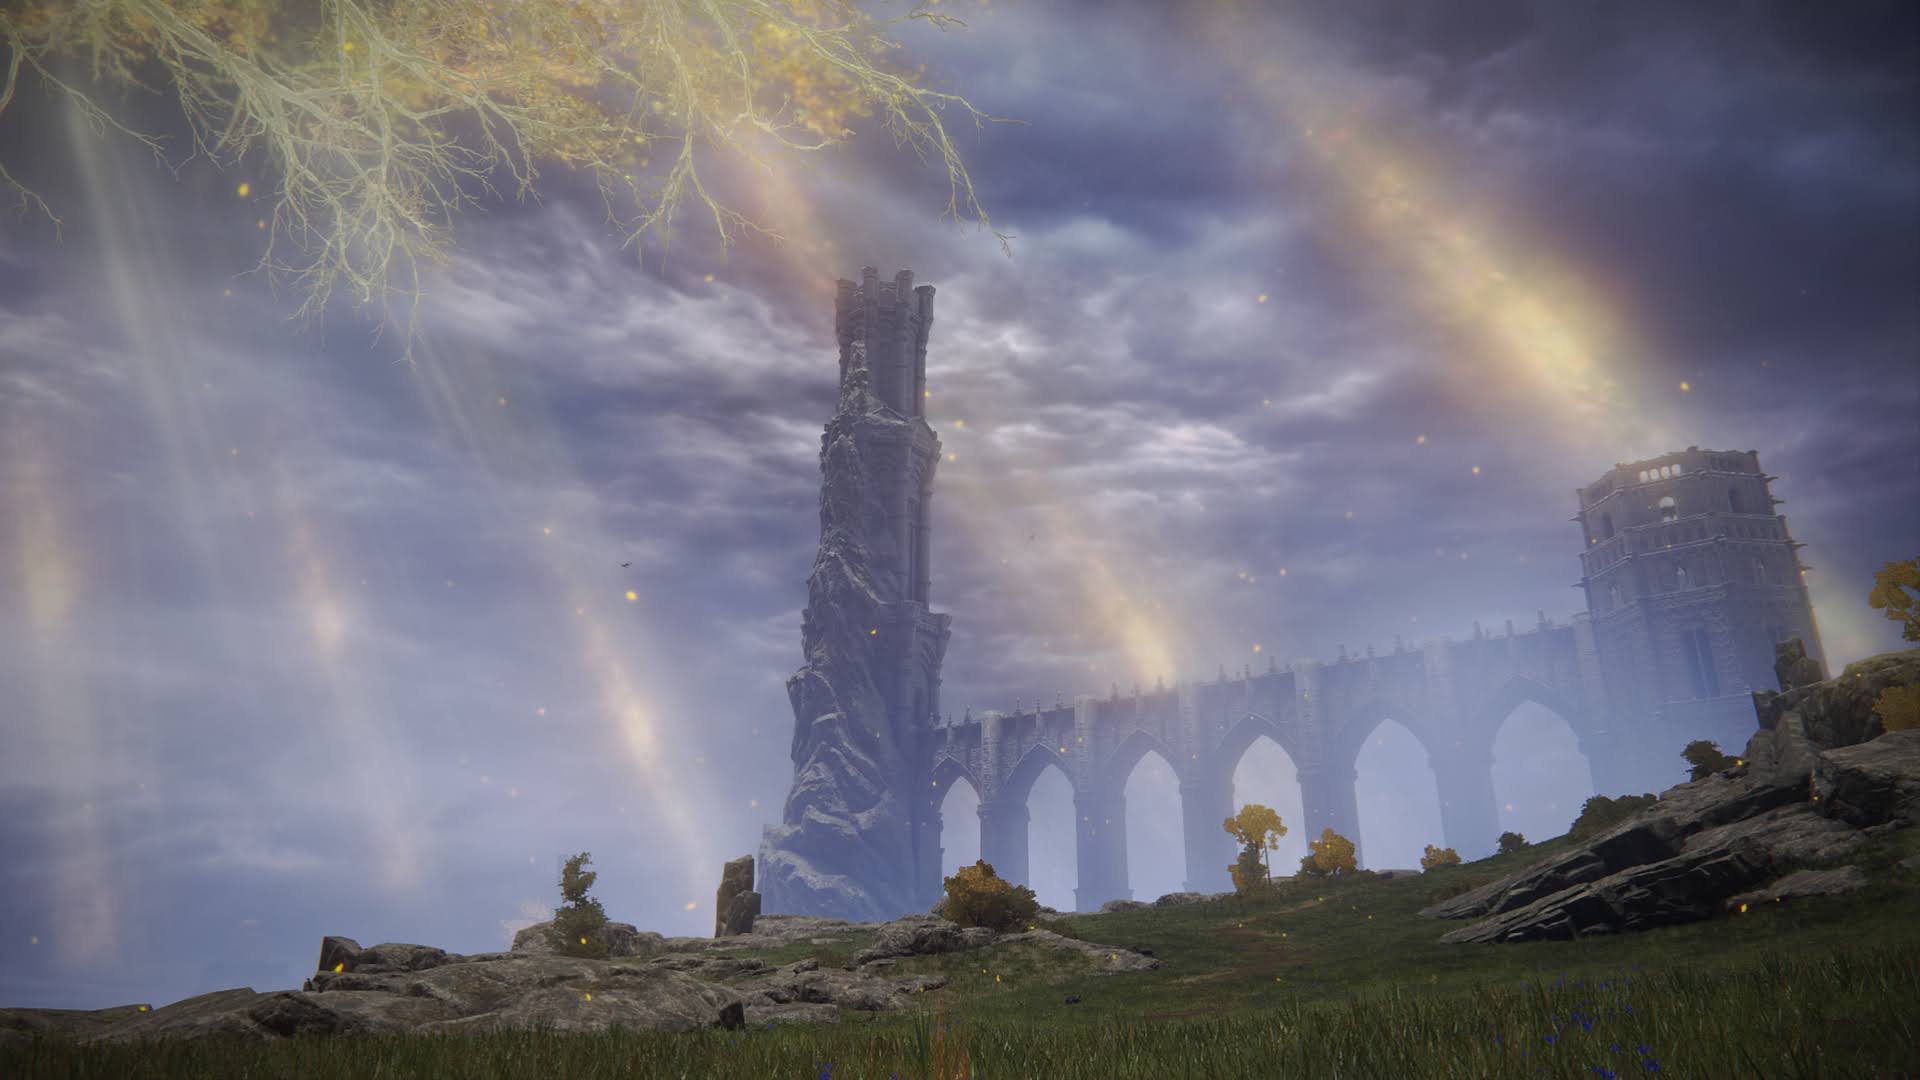
| A long bridge leads to the nearly empty Tower of Liurnia where a corpse lies at the peak. |
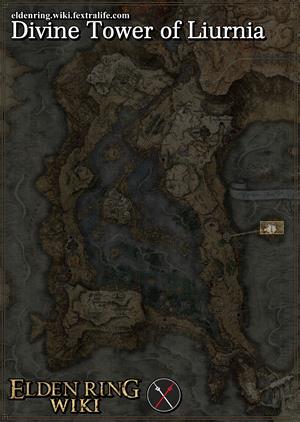
Divine Tower of Liurnia is a Location in Elden Ring. It is one of the six Divine Towers. The Divine Tower of Liurnia is found in Liurnia of the Lakes and is reached by taking the lift down at the secret area of Carian Study Hall.
Divine Tower of Liurnia Map
The Divine Tower of Liurnia can only be accessed by inverting the Carian Study Hall using the Carian Inverted Statue. This statue is acquired by progressing Ranni's questline up to the point where you hand her the Fingerslayer Blade.
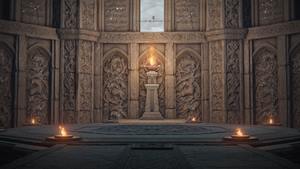
Once inverted, players need to reach the lift in the center of the Study Hall by careful platforming and then go through the large doors after descending the lift. This leads to the long bridge to the tower. Beware of the Godskin Noble enemy guarding the center of the bridge. [Elden Ring Map here]
All NPCs and Merchants in Divine Tower of Liurnia
- None
All Items in Elden Ring's Divine Tower of Liurnia
Gather & Farm Items
- No Gatherables at this location
Upgrade Materials
- No Upgrade Materials at this location
Equipment and Magic
Godskin Noble Drops:
Elden Ring Divine Tower of Liurnia Creatures, Enemies, and Bosses
Regular Creatures and Enemies
- There are no regular enemies in this location
Field Bosses and Bosses
Divine Tower of Liurnia Walkthrough
The Godskin Noble fought at the bridge drops the entire Godskin Noble Set upon defeat. The tower itself is a fairly straightforward affair. Through the main doors, ascend the lift and then follow the path along the balconies, grabbing the Divine Tower Of Liurnia site of grace on the way. At the top of the tower, you can loot the Stargazer Heirloom talisman and Cursemark of Death key item from the corpse on the ground.
Elden Ring Divine Tower of Liurnia Gallery and Notes

 Anonymous
You can use Torrent in this battle. Rush in get a couple of hits in and rush out. When the Godskin rolls, get onto a balcony and the Godskin will roll into the side, leaving you safe. Ride out of range of projectiles and this becomes an easier battle.

 Anonymous
If you have a bow, you can poison the Godskin and retreat backwards. It will eventually disappear back to the doorway while still taking poison damage as long as you'renot too close to it while attempting to damage. Can get a few ranged shots in while repeating the process. Obviously takes extra time, but it's safer.

 Anonymous
 Anonymous
A tip: If you use the Stake of Marika glitch to get to Ringleader Alecto (and the rest of the area early) DO NOT interact with Ranni! You can interact even without the ring, and it will lock you out of the rest of the questline (althought you can still get her ending via this sequence break)!

 Anonymous
Try parrying against him with carrian retaliation on any shield if you don't wanna cheese it. A large of chunk of his moves are parryable.

 Anonymous
Why is a Godskin Noble present here? Is it implied that he arrived after Ranni discarded her corporeal form, to gather her flesh and sew himself a new gown?

 Anonymous
Strongly reminded - upon discovering Ranni's corpse and the Stargazer Heirloom - of the amazing 1976 Rainbow song "Stargazer" sung by the immortal Ronnie James Dio.

 Anonymous
 Anonymous
If you jump off near the tower you fall through the map and die under the sea floor

 Anonymous
For the Godskin noble, you can cheese by getting him half-health so he starts doing the rolls or jumping attacks. If you're near the balcony/edge, he could jump off when doing those attacks.

 Anonymous
Every time when i open the door to the Godskin nobel fight, my screen bekomme black and my Game crashes.

 Anonymous
From a lore standpoint, the body found at the top of this Tower might be Ranni's corporeal form. She is said to have perished in flesh during the Night of the Black Knives, and the body has a half-cursemark of Death on its back. Also note how there isn't a Two Fingers corpse like the other Towers - which may be because Ranni killed the one appointed to her.

 Anonymous
...please for the love of god if you people want all boss items, duplicate fortissax's remembrance. Really fun when you have to complete 2 whole quests to refight one boss.

The people who have problemes to deal with the Godskin nobel. I cheesed him using a Bow manual aim with bleed arrow. Make sure you have enough ammo 99. Get close enough you make dmg with the arrow if he get close just run back to grace and repeate. Bleed that fat a** down.

To access the secret area, use the Carian Inverted Statue then just drop down into the lift shaft and land on the side, then walk around and jump through the inverted door.

 Anonymous
So is it just impossible to get to this tower if you've failed Ranni's questline? Seems a bit silly.

 Anonymous
how to defeat this magician motherf***** who constantly teleports away?

 Anonymous
is the door to the actual tower able to opened? there's no prompt when i get close to it

 Anonymous
Don't worry about the lift being down, it's supposed to be like that. You need to find your way down by falling on the huge candelabras

 Anonymous
I placed the statue on the altar but there is no lift in the back??..... uhg

 Anonymous
 Anonymous
I am not sure, but I think you should complete Ranni's quest before going here, since it might lock you out. That quest is very long though but has some unique rewards

 Anonymous
maybe im insane but i cannot for the life of me find a way to enter here from Carian Study Hall


In terms of... lore, I would say? This is, as of now (I've yet to explore the capital and further), my favorite place in the game. For exploration, it's kind of a pain in the ass, specially if you're underleved. But just the fact that to reach the top, you actually need to rotate the tower upside down is marvelous.
4
+10
-1