Bols, Carian Knight |
|
|---|---|
 |
|
| Location | Cuckoo's Evergaol, Liurnia of the Lakes |
| Drops | |
| HP | 5,109 |
| Strong VS |
Weak to |
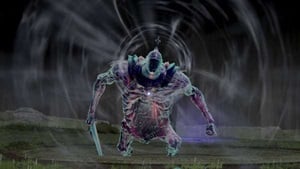
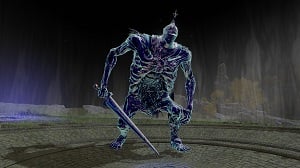
Bols, Carian Knight is a Field Boss in Elden Ring. Bols is a hulking Troll Knight clad in heavy armor and wielding a massive greatsword. He is imprisoned within the Cuckoo's Evergaol in western Liurnia of the Lakes. This is an optional boss as players are not required to defeat it to advance in Elden Ring.
Elden Ring Bols, Carian Knight Boss
- This is an optional boss
- Closest Site of Grace: Revenger's Shack
- Multiplayer is not allowed for this boss
- You cannot summon Spirit Ashes for this boss
Elden Ring Bols, Carian Knight Location
Head north along the road from the Ravager's Shack Site of Grace and you'll see the Cuckoo's Evergaol just to your left.
[Map Link]
Bols, Carian Knight Combat information
- Health: 5,109 HP
- Defense: 110
- Stance: 65
- Parryable: No
- Is vulnerable to a critical hit after being stance broken
- Damage:
 Standard,
  Slash,
  Pierce,
  Magic
Magic - Drops
 4,600, Greatblade Phalanx
Negations (or Absorptions)
The negation numbers are the % of your damage that gets blocked. For example, if a negation is 60, 40% of that damage by that type will go through and 60% will be negated. Bigger number = less damage. A negation of 100 means no damage goes through, and a negation of -100 mean the enemy takes 2x damage from that source. 0 means damage goes pretty much as is.
Resistances
 Poison: 239 / 281 / 379 / 669
 Scarlet Rot: 239 / 281 / 379 / 669
 Hemorrhage: 239 / 281 / 379 / 669
 Frostbite: 329 / 427 / 717 / 1174
The resistance numbers are the buildup amount to trigger it. For example, if a resistance is 100 you must deal 100 points of the given buildup to trigger it. Note that these go down over time, and increase each time the effect procs. The values after the "/"s indicate the increased resistances after each successive proc.
NG+ and Beyond (click to reveal)
| NG | NG+ | NG+2 | NG+3 | NG+4 | NG+5 | NG+6 | NG+7 | |
|---|---|---|---|---|---|---|---|---|
| HP | 5,109 | 7,556 | 8,311 | 8,689 | 9,067 | 9,822 | 10,200 | 10,578 |
| Defense | 110 | 118 | 120 | 123 | 129 | 135 | 141 | 153 |
| 4,600 | 13,800 | 15,180 | 15,525 | 16,560 | 16,905 | 17,250 | 17,595 | |
Resistances |
||||||||
| 239 / 281 / 379 / 669 | Immune | |||||||
| 239 / 281 / 379 / 669 | Immune | |||||||
| 239 / 281 / 379 / 669 | Immune | |||||||
| 329 / 427 / 717 / 1174 | Immune | |||||||
| 42 / 106 / 134 / 176 | 45 / 109 / 137 / 179 | 45 / 109 / 137 / 179 | 46 / 110 / 138 / 180 | 47 / 111 / 139 / 181 | 47 / 111 / 139 / 181 | 48 / 112 / 140 / 182 | 49 / 113 / 141 / 183 | |
| Immune | ||||||||
Elden Ring Bols, Carian Knight Boss Guide
Bols, Carian Knight Fight Strategy
The Best Tips for Bols, Carian Knight:
- Use his size to your advantage by dodging between his legs.
- Always keep your eye on him as he can quickly turn around to perform a follow-up
- Stick close to him to more easily get behind him
Melee Users
Success in the Bols encounter hinges on your ability to get behind him. This is helped greatly by his immense height, leaving a very large room to dodge between his legs. Most of Bols' attacks hit directly in front of him and his smashing attacks release shockwaves that fan out in front of him or the point of impact. His swings are very easy to read due to their slow speed. His combo where he drags his sword on the ground is especially punishable due to the very long wind-up.
When Bols summons Greatblade Phalanx projectiles, run towards him immediately to make them fly over you as they begin flight from above his head.
Magic and Ranged Users
The strategy for ranged players remains largely the same, except you should fight off any tendencies to want to create distance between yourself and the enemy. Do not do this for Bols. Stay close, get behind him when you can and take your shots while he's lumbering around with his sluggish attacks.
Bols, Carian Knight Attacks & Counters
| Attack | Description | Counter |
| Stomp | Raises its leg and stomps its down. He'll continue stomping the same leg until you're out of range | Roll towards the leg that didn't stomp and land a hit on it |
| Swing | Swings his hammer either along the ground or down in front of him | Roll towards a horizontal sweep or away from a vertical one, or else stay safe near his legs and land a hit |
| Arm Sweep | Sweeps his arm along the ground | Roll towards the arm |
| Arm Slam | Slams one or both arms to the ground, creating a shockwave | Get behind him or jump over the shockwave |
| Downward Stab | Plunges his blade into the ground in front of him, producing a large shockwave | Get behind him when you see him raising his sword and you'll be safe from the shockwave |
| Sword Wrench | After a Downward Stab, he may wrench his sword up and out of the ground to his right | Stay on his left after dodging the Downward Stab |
| Kneeling Swing | Kneels on the ground and braces itself with its hand and swings its hammer in a wide counterclockwise arc with extra reach | Roll towards the hammer |
| Mega Slam | Grabs his sword with both hands and holds it above his head higher and longer than for a normal vertical swing, then slams it into the ground releasing a huge shockwave | This move has a very large shockwave radius and the only safe spot is directly behind him. You can also jump over the shockwave |
| Jumping Slam | Jumps high into the air and lands with a large shockwave | Roll when you see him start to descend |
| Dragging Slash | Pulls his sword to the side and then dashes forward, dragging the blade along the ground before slashing once, continuing to circle around, ending the attack with a sword slam. | The wind-up animation is very long and should allow you to get behind him or give you enough time to set up a dodge between his legs as he comes at you. Be very careful after the uppercut as he may continue comboing. Another tip is to lure him to the edge of the arena. If he charges into the barrier, it will stop his charge and stun him. |
| Greatblade Phalanx | These blades begin flight from high up, so it's easy to avoid them by running towards him. This will also save you from getting hit by the projectiles if he decides to roar right after summoning them Spell-parrying this attack isn't recommended, since you can only parry one blade at a time and the others will likely hit you |
|
| Roar | Roars, creating a large shockwave and increasing his damage by 20% for 15 seconds | Get behind him if you're close or as far as possible if you're not |
![]() : Attack can be spell parried
: Attack can be spell parried
Bols, Carian Knight Lore, Notes & Other Trivia
- Other Notes and Trivia Go Here
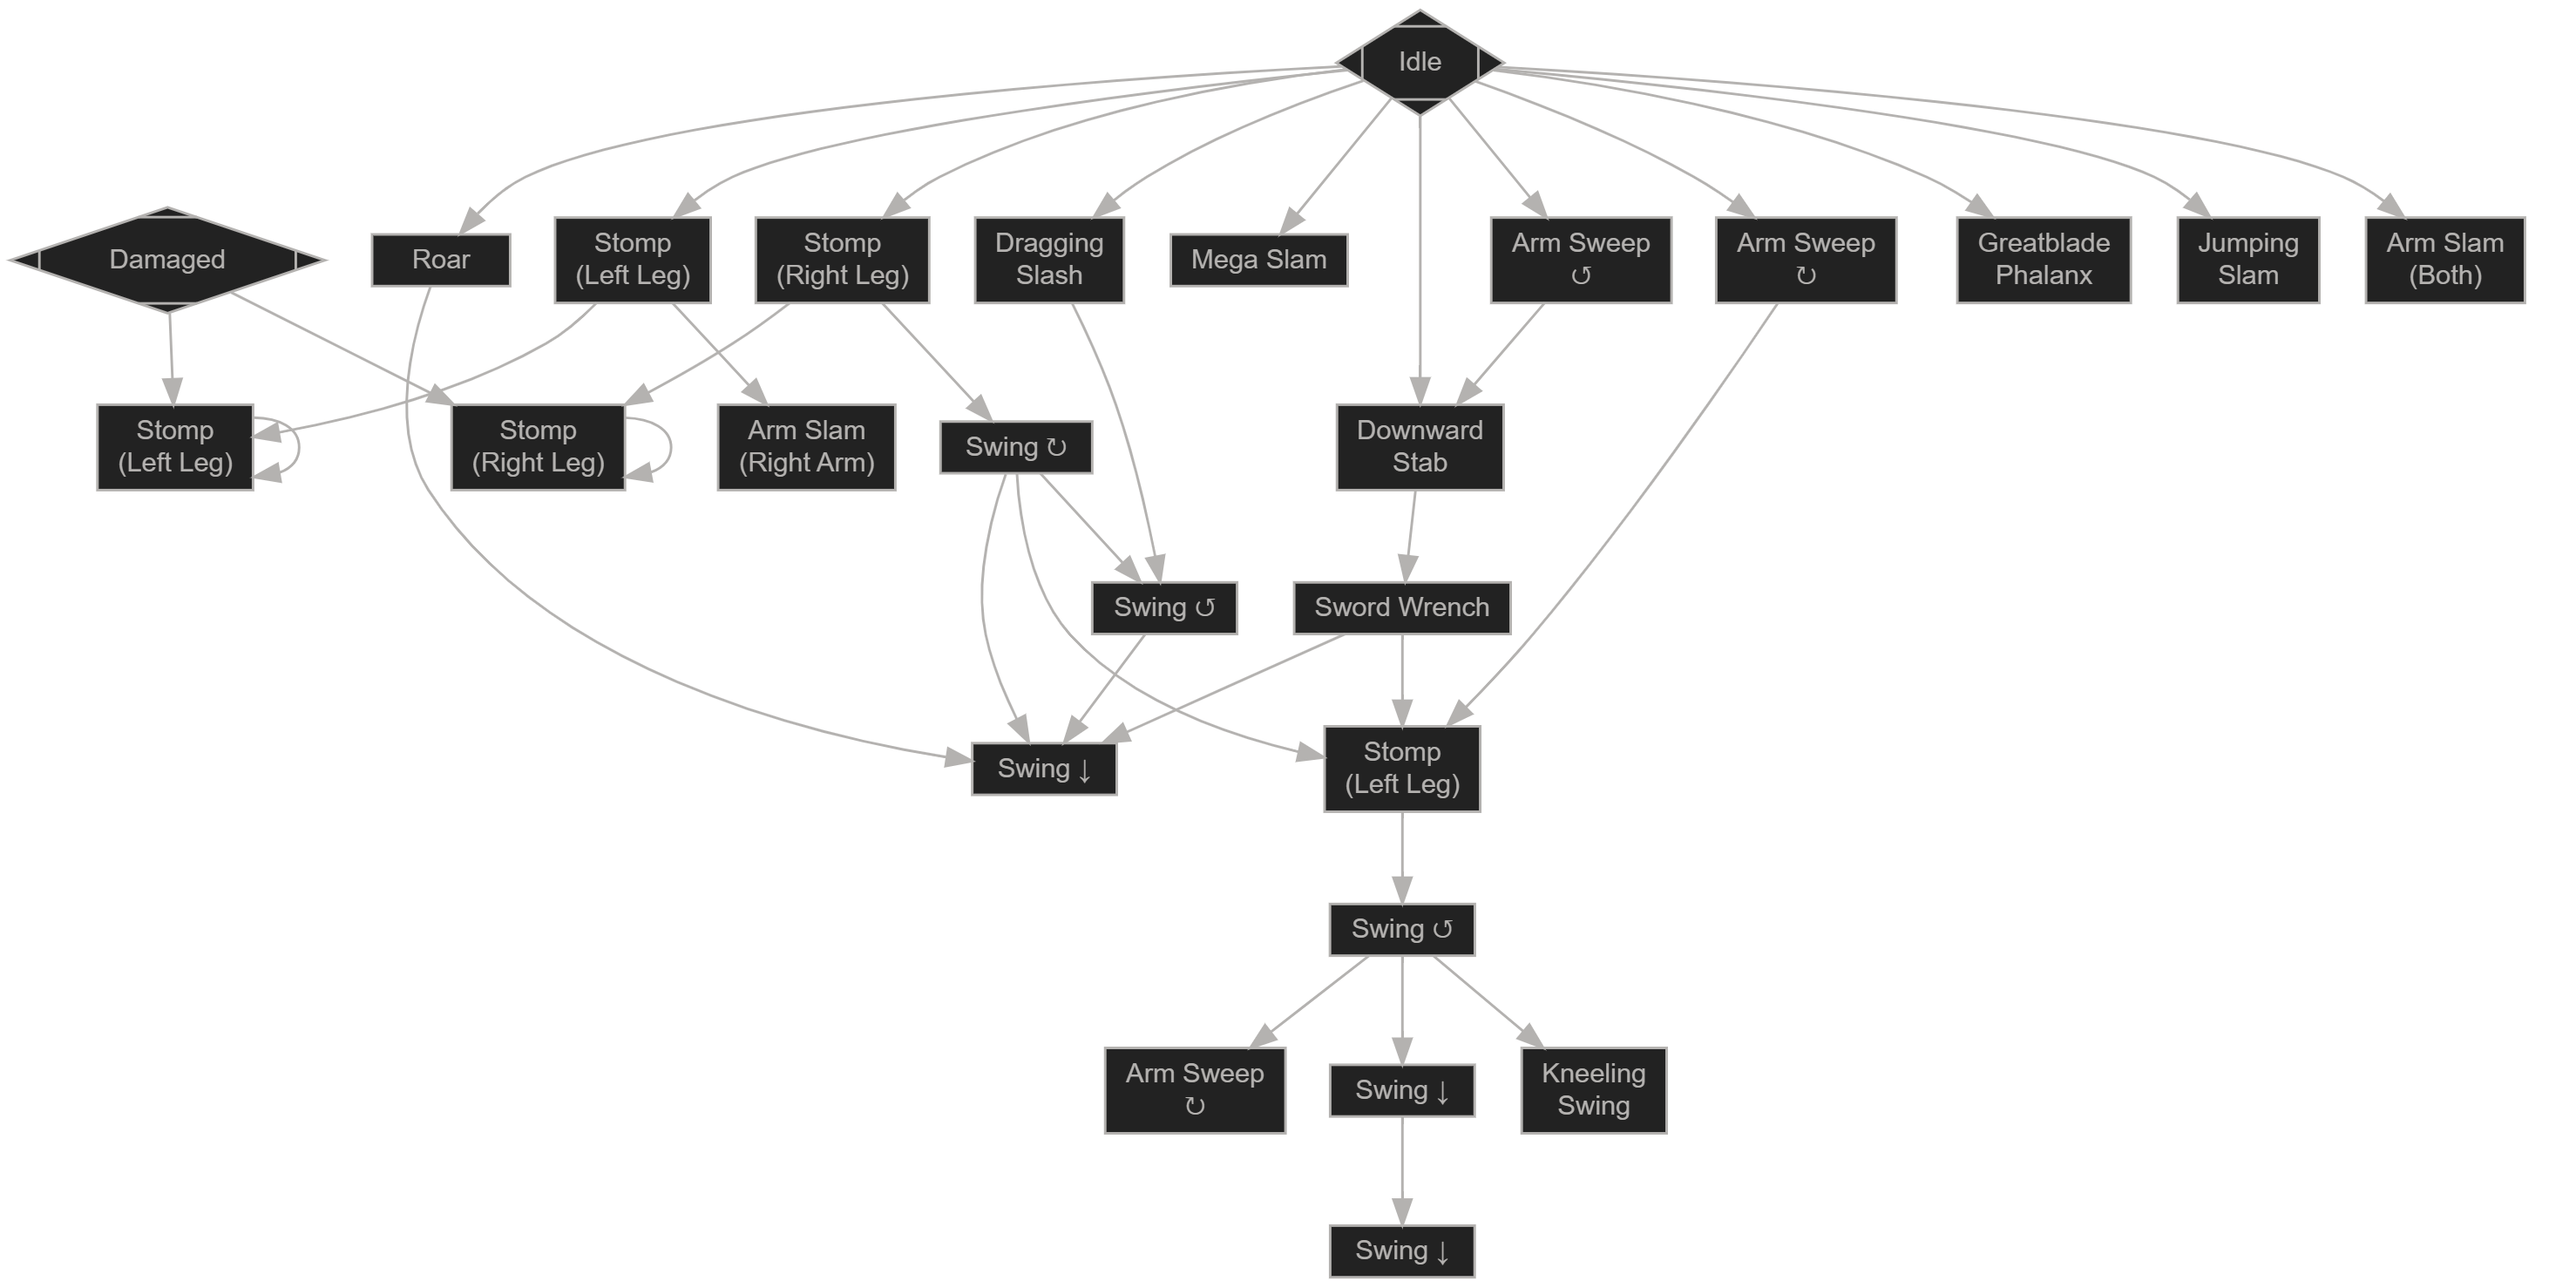
Bols, Carian Knight Combo Chart
Bols, Carian Knight Image Gallery
 Anonymous
 Anonymous
 Anonymous
I thought "no ****ing way he has only 42 sleep" and insta slept him with one swing of St. Trina's sword

 Anonymous
 Anonymous
I thought "no ****ing way he has only 42 sleep" and insta slept him with one swing of St. Trina's sword

 Anonymous
 Anonymous
I'm a sword-wielding mage and got him first try by using the following: 1H Shamshir+8 equipped with with Ash of War: Bloody Slash and Bloodflame Blade incantation applied before entering the evergaol. Charged him and did bloody slash, then whacked his legs some. Do NOT get greedy. If he lifts his leg, he will stomp you, so get ready to roll. You can run away to drink or get off 1-2 glintstone sorceries, but the playing field is small and his sweep is fast, though dodgeable. Stay close and swing strong.

 Anonymous
Be careful. He has a special move called the Carian Tea Bag that insta-kills you. It’s how he got his name, too.

 Anonymous
 Anonymous
 Anonymous
 Anonymous
a) As a previous commenter mentioned, it's Revenger's Shack, not Ravager's Shack.
b) The Evergaol does not require a Stonesword Key. Don't know if this was always wrong or if it changed with a patch. (observed in 1.08)
 Anonymous
 Anonymous
Revenger's Shack. The nearest site of grace is the Revenger's Shack. The word is Revenger's, not Ravager's.
Source: I'm standing next to the gaol.
 Anonymous
I think this guy's name is more than a **** joke. Since this Japanese-developed game takes so much inspiration from well-known literary classics, it's worth noting that there's a knight in the Arthurian legend calls Bors. Just swap the r with an l, like Japanese people often do when speaking accented English, and you got Bols. Enjoy having that dumb theory in your head.

 Anonymous
 Anonymous
You can use the mist walls of the gaol to stagger him during some of his attacks, same as any troll. Downside is, if you use the stagger to down him, his head will often be outside the arena, so you won't get a critical. You can still whale on his shrimpy legs though.

 Anonymous
This guy is very interesting to me because their lore greatly depends on how you interpret the name of the Evergaol you fight them in. Either the Evergaol was made BY the Cuckoos, which are currently siding with the Academy of Raya Lucaria against the Carian royalty (Source: Cuckoo Greatshield), and thus have reasons to imprison strong Carian knights such as Bols; or it was made FOR a Cuckoo, implying that Bols betrayed the Carians, sided with the Cuckoos and the Academy and was imprisoned as a result, presumably by the former. The fact that most other Evergaols seem to be named after the captives rather than the captors makes the latter case a bit more likely imo, but then I have to wonder why Bols would rebel against the Carians of all people, considering how well they treat trolls compared to everyone else in the Lands Between.

 Anonymous
I actually stood back and cast spells at him and was able to defeat him. Keeping your distance works just as fine if you can dodge good enough and have strong enough spells.

 Anonymous
 Anonymous
When you get him down for a critical hit, where is the spot to hit him? Nothing on him really glows yellow

 Anonymous
 Anonymous
Typical trolls have big shaggy heads with like a tentacle mustache or something. But on Bols there is no shag or tentacle whatsoever. It would be possible that he just tucks his hair into his helmet and cape, but that would limit his vision. Only solution: We shaved his bols

 Anonymous
 Anonymous
 Anonymous
 Anonymous
 Anonymous
 Anonymous
If you're under or behind him and he casts great blade phalanx. It won't come for you until he turns around

 Anonymous
 Anonymous
use carian phalanx twice and he falls to the ground for a stab to the head. i found this weakness by accident

 Anonymous
 Anonymous
 Anonymous
If you fight him near the walls of the arena, when he does some of his wide attacks he hits the walls and staggers himself. Very useful to get some hit in.


Officer Bols
1
+10
-1