Bonny Gaol |
|---|
 |
|
A large underground area, infested with foes and spoils. |
Bonny Gaol is a Location in Elden Ring. The Bonny Gaol is found across a wooden bridge, directly south of Bonny Village in southern Scadu Altus. [See Shadow of the Erdtree Map]
Bonny Gaol Map
[overall map goes here]
All NPCs and Merchants in Bonny Gaol
- --
All Items in Elden Ring's Bonny Gaol
Elden Ring Bonny Gaol Creatures, Enemies, and Bosses
Field Bosses and Bosses
Bonny Gaol Walkthrough
ER Shadow of the Erdtree Bonny Gaol Video Walkthrough
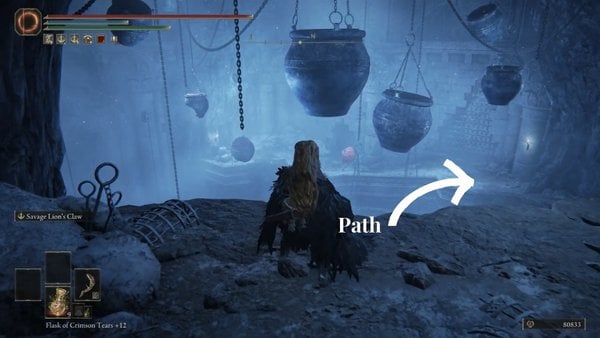
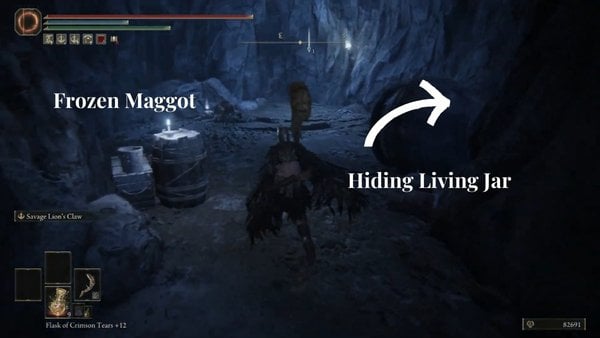
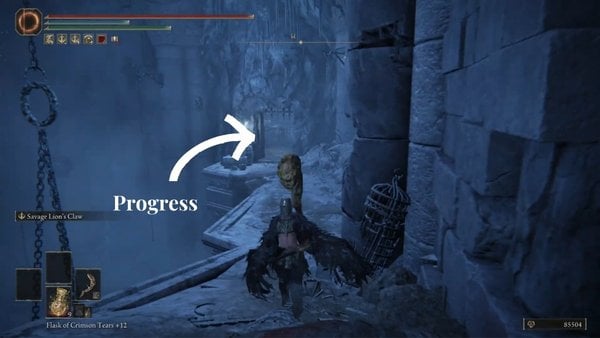
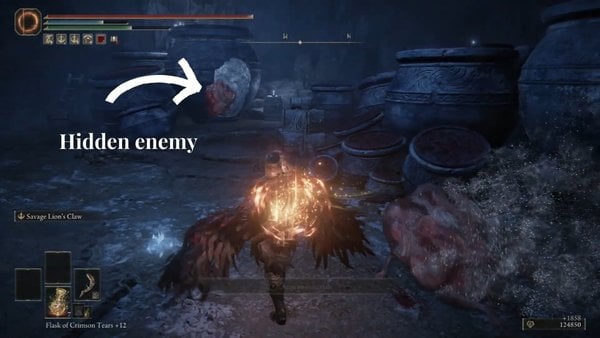
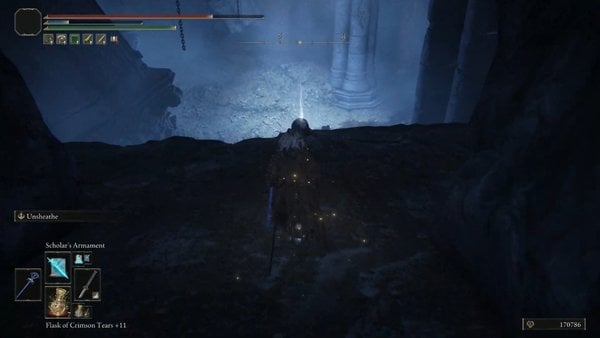
Inside the Gaol, you will find jars suspended in the air with chains holding them up. You will be fighting Living Jars and other types of enemies down here. Take the path to your right and defeat the first enemy here. Look behind you and enter the small room. Watch out for the hiding enemy to your right here. Then, pick up the Frozen Maggot from the corpse.
Exit this room and then go to the area across the room you just entered. You can ignore the room to your right as you can't go to the item right now. Inside the second room, you will see an item on a corpse in the corner. Be careful as you approach this chair because 3 Shadow enemies will attack you. After defeating them, take the Bolt from the corpse.
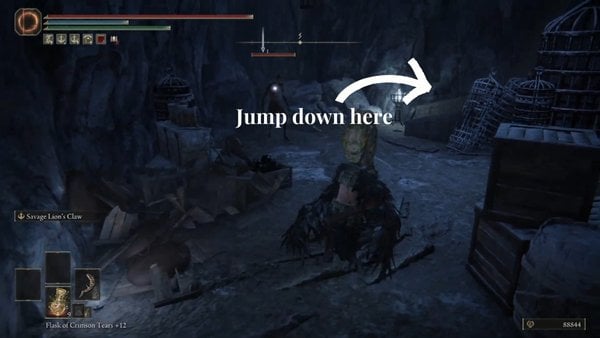
Open the door to your right and eliminate the single enemy sitting here. Then, go down the hole next to the flaming lantern. You can pick up a Broken Rune as soon as you jump here. As you Walk towards the eastern area and enter the small cave. You will be fighting rats and giant rats in this section. After that, go past the wide area and enter through another narrow cave to your right to take the Smithing Stone from a corpse. Return to the path and use the ladder at the end of this narrow cave and as you exit, watch out for the living jar that will attack you. It can extend its innards to shoot a projectile but you can stagger this enemy with a heavy attack. Inside this room, take the Stalwart Horn Charm +2. Then, jump back to the room where you first saw this unreachable item.
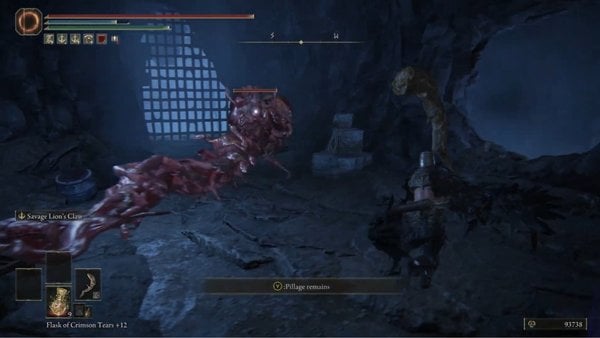
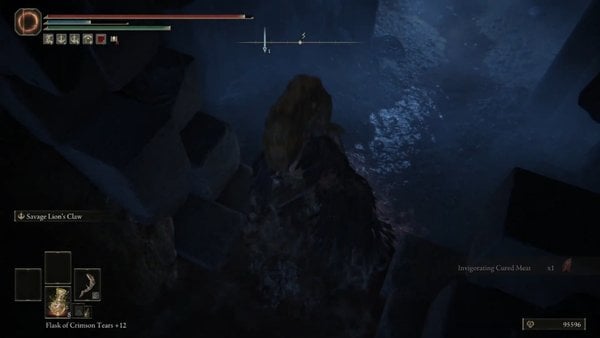
Return to the sewer area where you jumped down. You will see an unreachable item in the western area because of the grills blocking the way. Look for the narrow area here and watch out for the slug-like enemies down here. They can be difficult to spot because of their color so listen closely to their sounds. This path will lead to a Broken Rune that you can pick up from a corpse. Then, look behind you to reveal another pathway where you can pick up the Invigorating Cured Meat to your left. Then, go to the right path to jump down to the lower levels of the gaol.
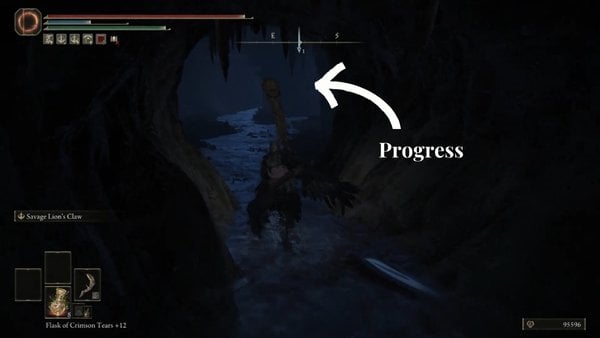
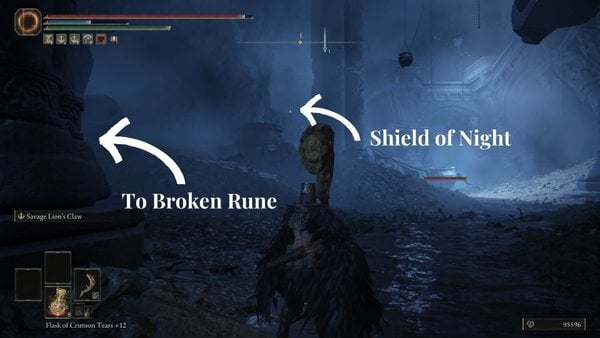
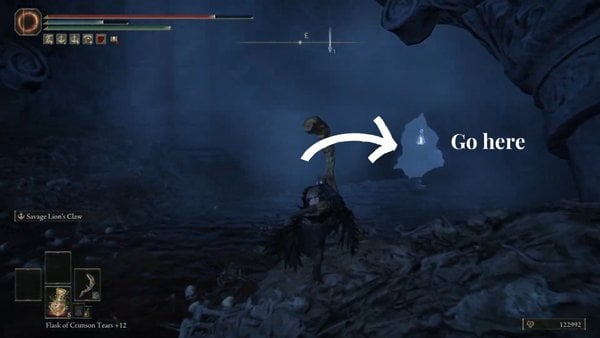
The river will serve as the path here, so follow the stream. To your right, you will fight a Living Jar here. There's also a Broken Rune, the one that you saw from when you first entered Broken Gaol. Fight the next cluster of enemies here near the water and pick up the Lost Ashes of War next to the pillar behind them. Continue following the stream of water until you see an opening at the end. Watch out for hiding enemies here and make sure that you are ready for them. They will come out as soon as you step near an item. Take the Innard Meat on the ground here. Next, defeat the Living Jar next to the door, then look behind you to see a broken jar. An enemy is hiding here and will reveal a Raw Meat Dumpling under them. Go to the next room and exit through the tall archway. This will reveal just how big the Bonny Gaol is.
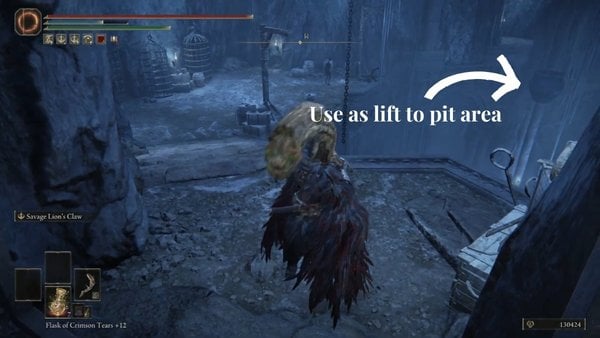
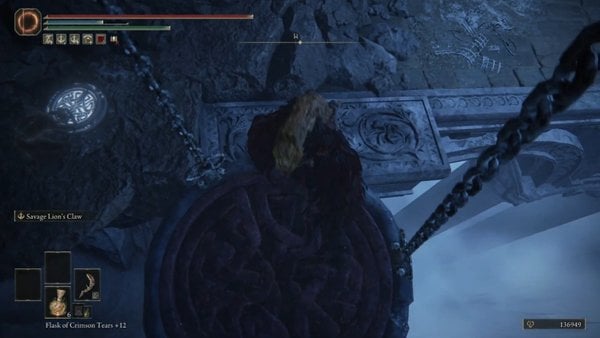
When you reach the area where you can see broken jails on the wall to your right, you need to watch out for an enemy that will jump at you in the next room. They can drain a chunk of your HP so you need to be ready for them or dodge early to avoid getting damaged. Then, exit through the closed door to the left corner of the room. This will take you to the jar used as a lift that will take you to the depths of the gaol. Jump on top of it and jump to the bridge. Before crossing the bridge, you need to activate the switch on the bridge and then jump on top of the jar again.
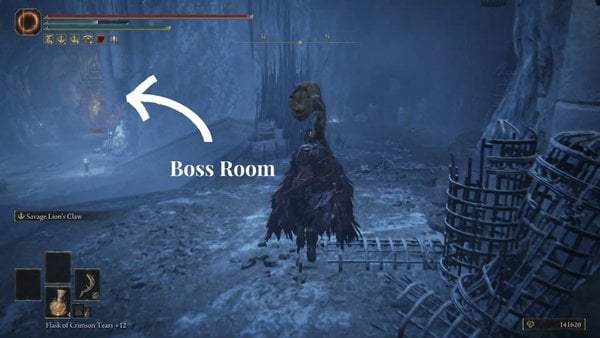
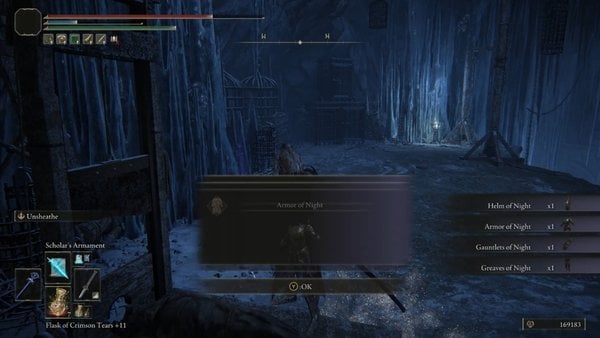
Doing this will take you to the top level of Bonny Gaol and you can pick up the Night Set from a corpse. Then, go up the stairs and defeat the Living Jar here blocking the door. Behind it, you can pick up the Shield of Night on the ledge. This time, you can now jump down the lift and cross the bridge. As you reach the other side, watch out for the 2 hiding Living Jars. Take them out as fast as you can and use heavy attacks to stagger them. Then, jump down on the left side of the bridge. Follow the path ahead and get ready for the boss fight.
You will be fighting Curseblade Labirith here, a boss that wields dual blades and can turn himself invisible. You will receive Curseblade Meera upon defeating this boss. You can visit his page for a strategy on how to beat him.
Elden Ring Bonny Gaol Gallery and Notes
[other images go here]
 Anonymous
 Anonymous
 Anonymous
Warning, there is a bonnie jumpscare at the end of the gaol

 Anonymous
There's also a hefty cracked pot here. Right when you walk in there're two hanging pots you can jump down to and that leads to it.

 Anonymous
 Anonymous
There's a really severe collision bug in the section with the rats, in the room with the large rat, you can walk "into" the wall on the left and you start to kind of phase through it. It will unload your map for a second and then put you back in, if you hold it for too long it will constantly notify you that you've entered Bonny Gaol

 Anonymous
ride the very last elevator pot not only down but up again... it goes higher

 Anonymous
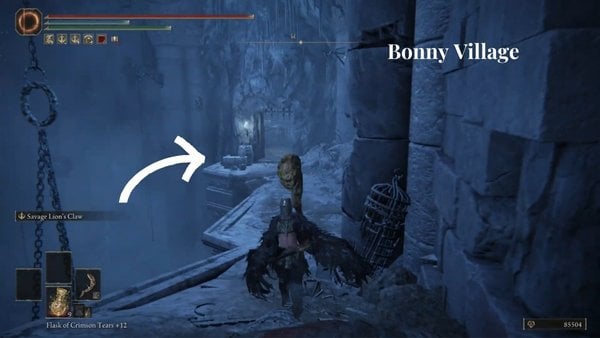
who the heck on this wiki is writing intentionally wrong descriptions on so many pages? You enter this cave by riding to the south of the... surprise surprise, Bonny Village Grace.

 Anonymous

This place made me appreciate Alexander even more.
4
+10
-1