Hidden Path to the Haligtree |
|---|
 |
|
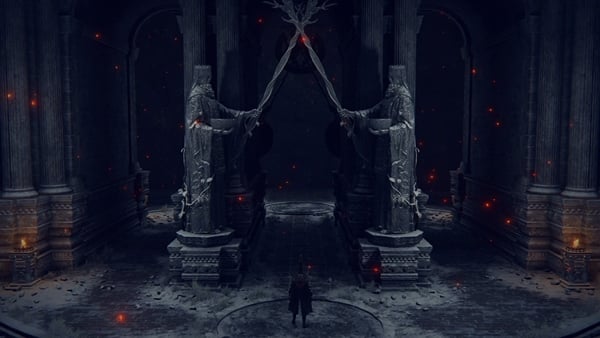
The secret passage leading to the Haligtree has been overrun by the Vulgar Militia, seeking to ambush any who try to cross. |
Hidden Path to the Haligtree is a Location in Elden Ring. The Hidden Path to the Haligtree is found in the Forbidden Lands. This location is accessed by activating the Grand Lift of Rold with both the Haligtree Secret Medallion (Left) and Haligtree Secret Medallion (Right).
Hidden Path to the Haligtree Map
You will need to obtain Haligtree Secret Medallion (Left) and Haligtree Secret Medallion (Right).
When both parts are obtained, visit the Grand Lift of Rold and activate the medallion (switch action to "hoist secret medallion").
All NPCs and Merchants in Hidden Path to the Haligtree
- There are no NPCs or Merchants in this area.
All Items in Elden Ring's Hidden Path to the Haligtree
Equipment and Magic
Elden Ring Hidden Path to the Haligtree Creatures, Enemies, and Bosses
Field Bosses and Bosses
Hidden Path to the Haligtree Walkthrough
Inside the Hidden Path to the Haligtree, there are two paths you can take. The main path which leads you to the Consecrated Snowfield which is your main goal, and a second path that leads underneath, deeper into the catacombs to some treasure and an optional boss.
To the Consecrated Snowfield
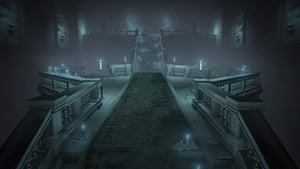
After opening the gates, you'll arrive in a large hall with a large staircase to your left and a small chapel straight ahead in front of you. In this chapel, there's a body holding a Warming Stone by the altar. Beware, however, of the two Land Octopuses and a single Giant Land Octopus that will drop down from above the chapel.
Back in the main hall, make your way up the stairs while fighting off a couple of Vulgar Militants. Note the broken section of railing to your left at the midpoint of the staircase. There is an invisible walkway below that you can reach by dropping down from here. Ignore it for now and continue along the staircase.
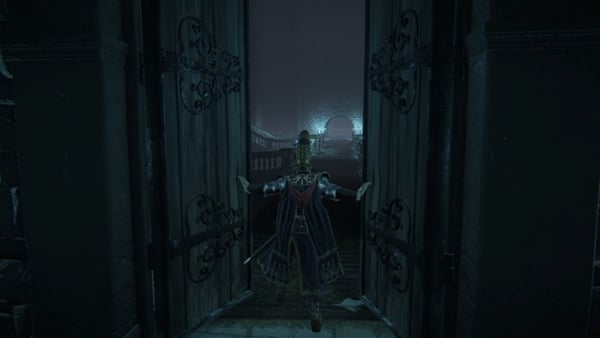
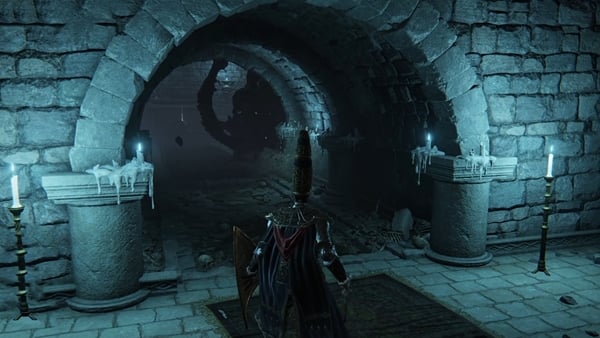
At the top of the steps, another Giant Land Octopus will drop down from below. Past that, head up another set of steps and you'll come across two Land Octopuses on your left guarding a Grave Glovewort [9]. On your right is another set of stairs leading up to the Site of Grace, followed by the exit that leads you to Consecrated Snowfield.
To the Secret Catacombs
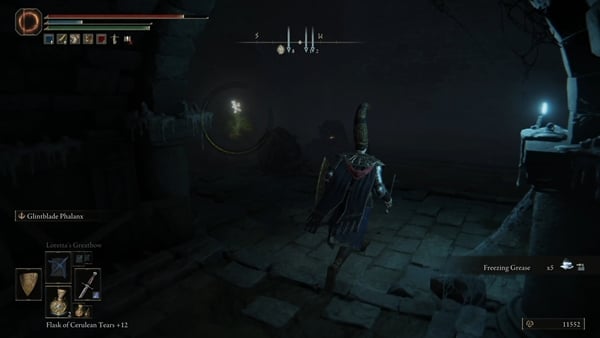
From the Site of Grace, make your way back down the staircase in the main hall and stand where the broken section of railing is, it will be on your right hand side if you're coming down the stairs (from the site of grace), or on your left hand side if you are coming up from the original entrance. See image below.
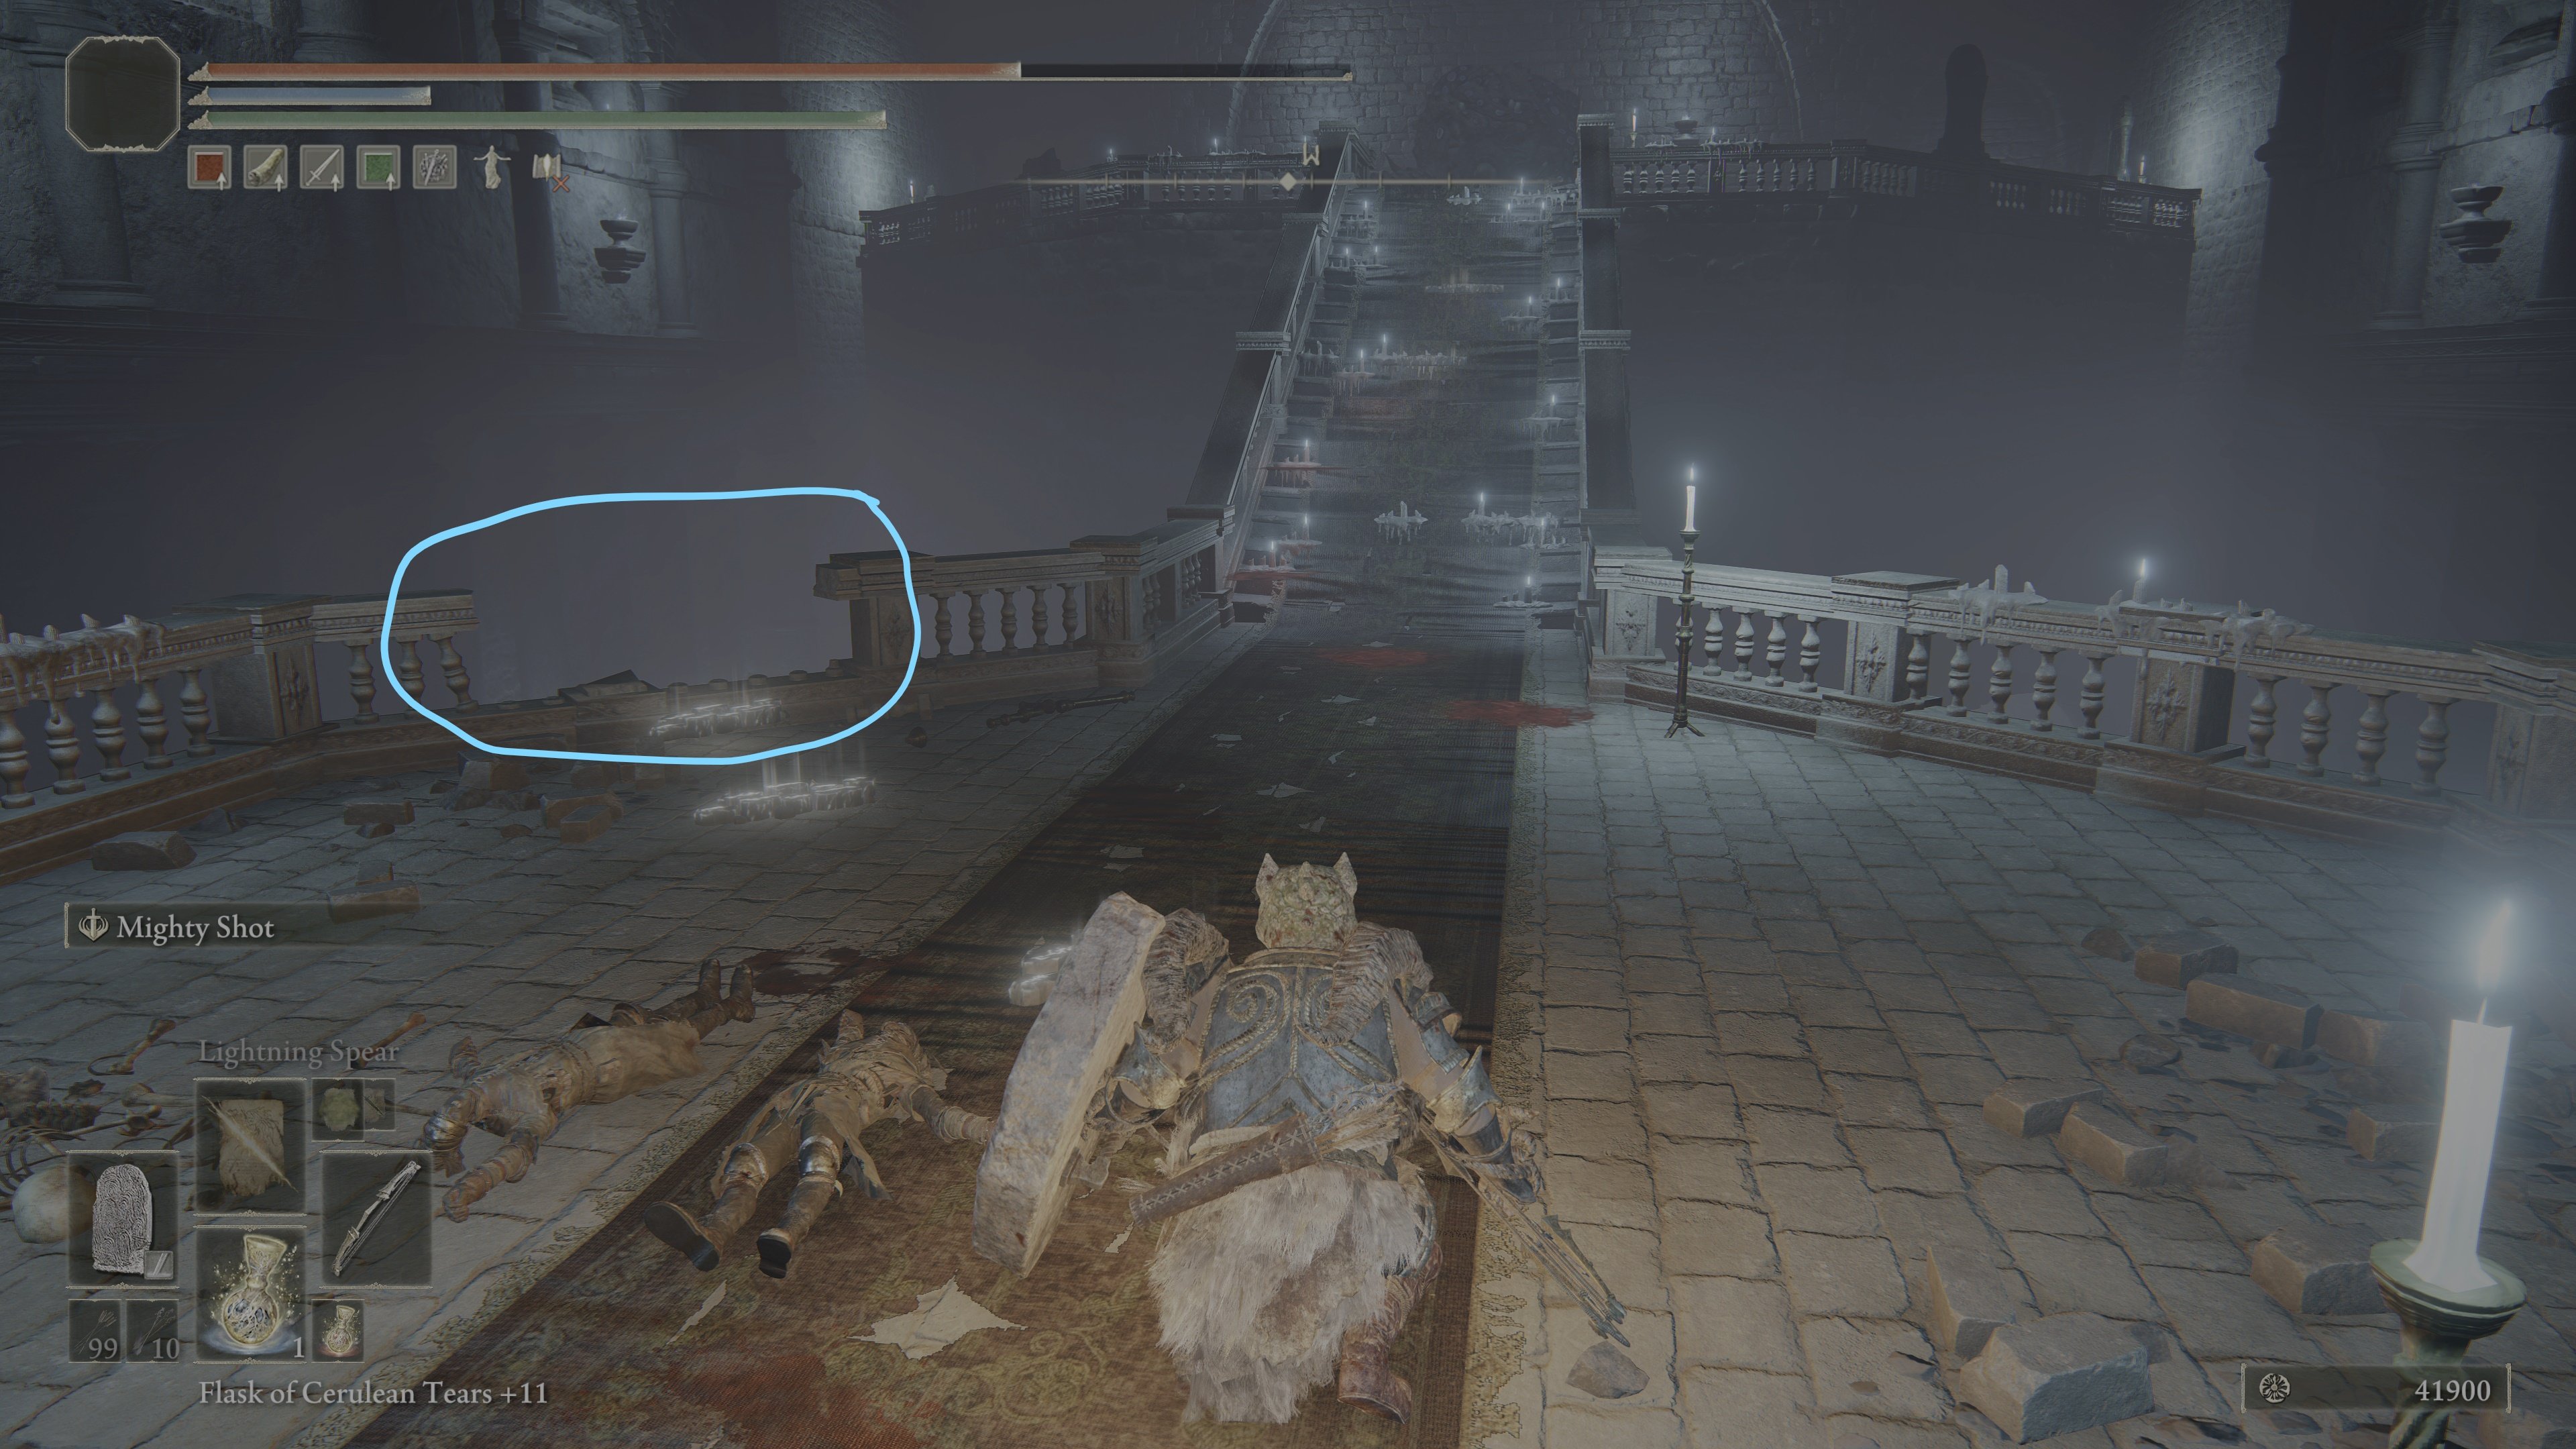
Looking down, you should be able to see an alcove along the walls across the pit. Walk to the ledge and drop a Rainbow Stone or Glowstone, etc., to ensure solid landing. Walk forward to drop to the invisible floor. Once on the invisible floor, you can move straight ahead into the alcove. Again, refer to the image below.
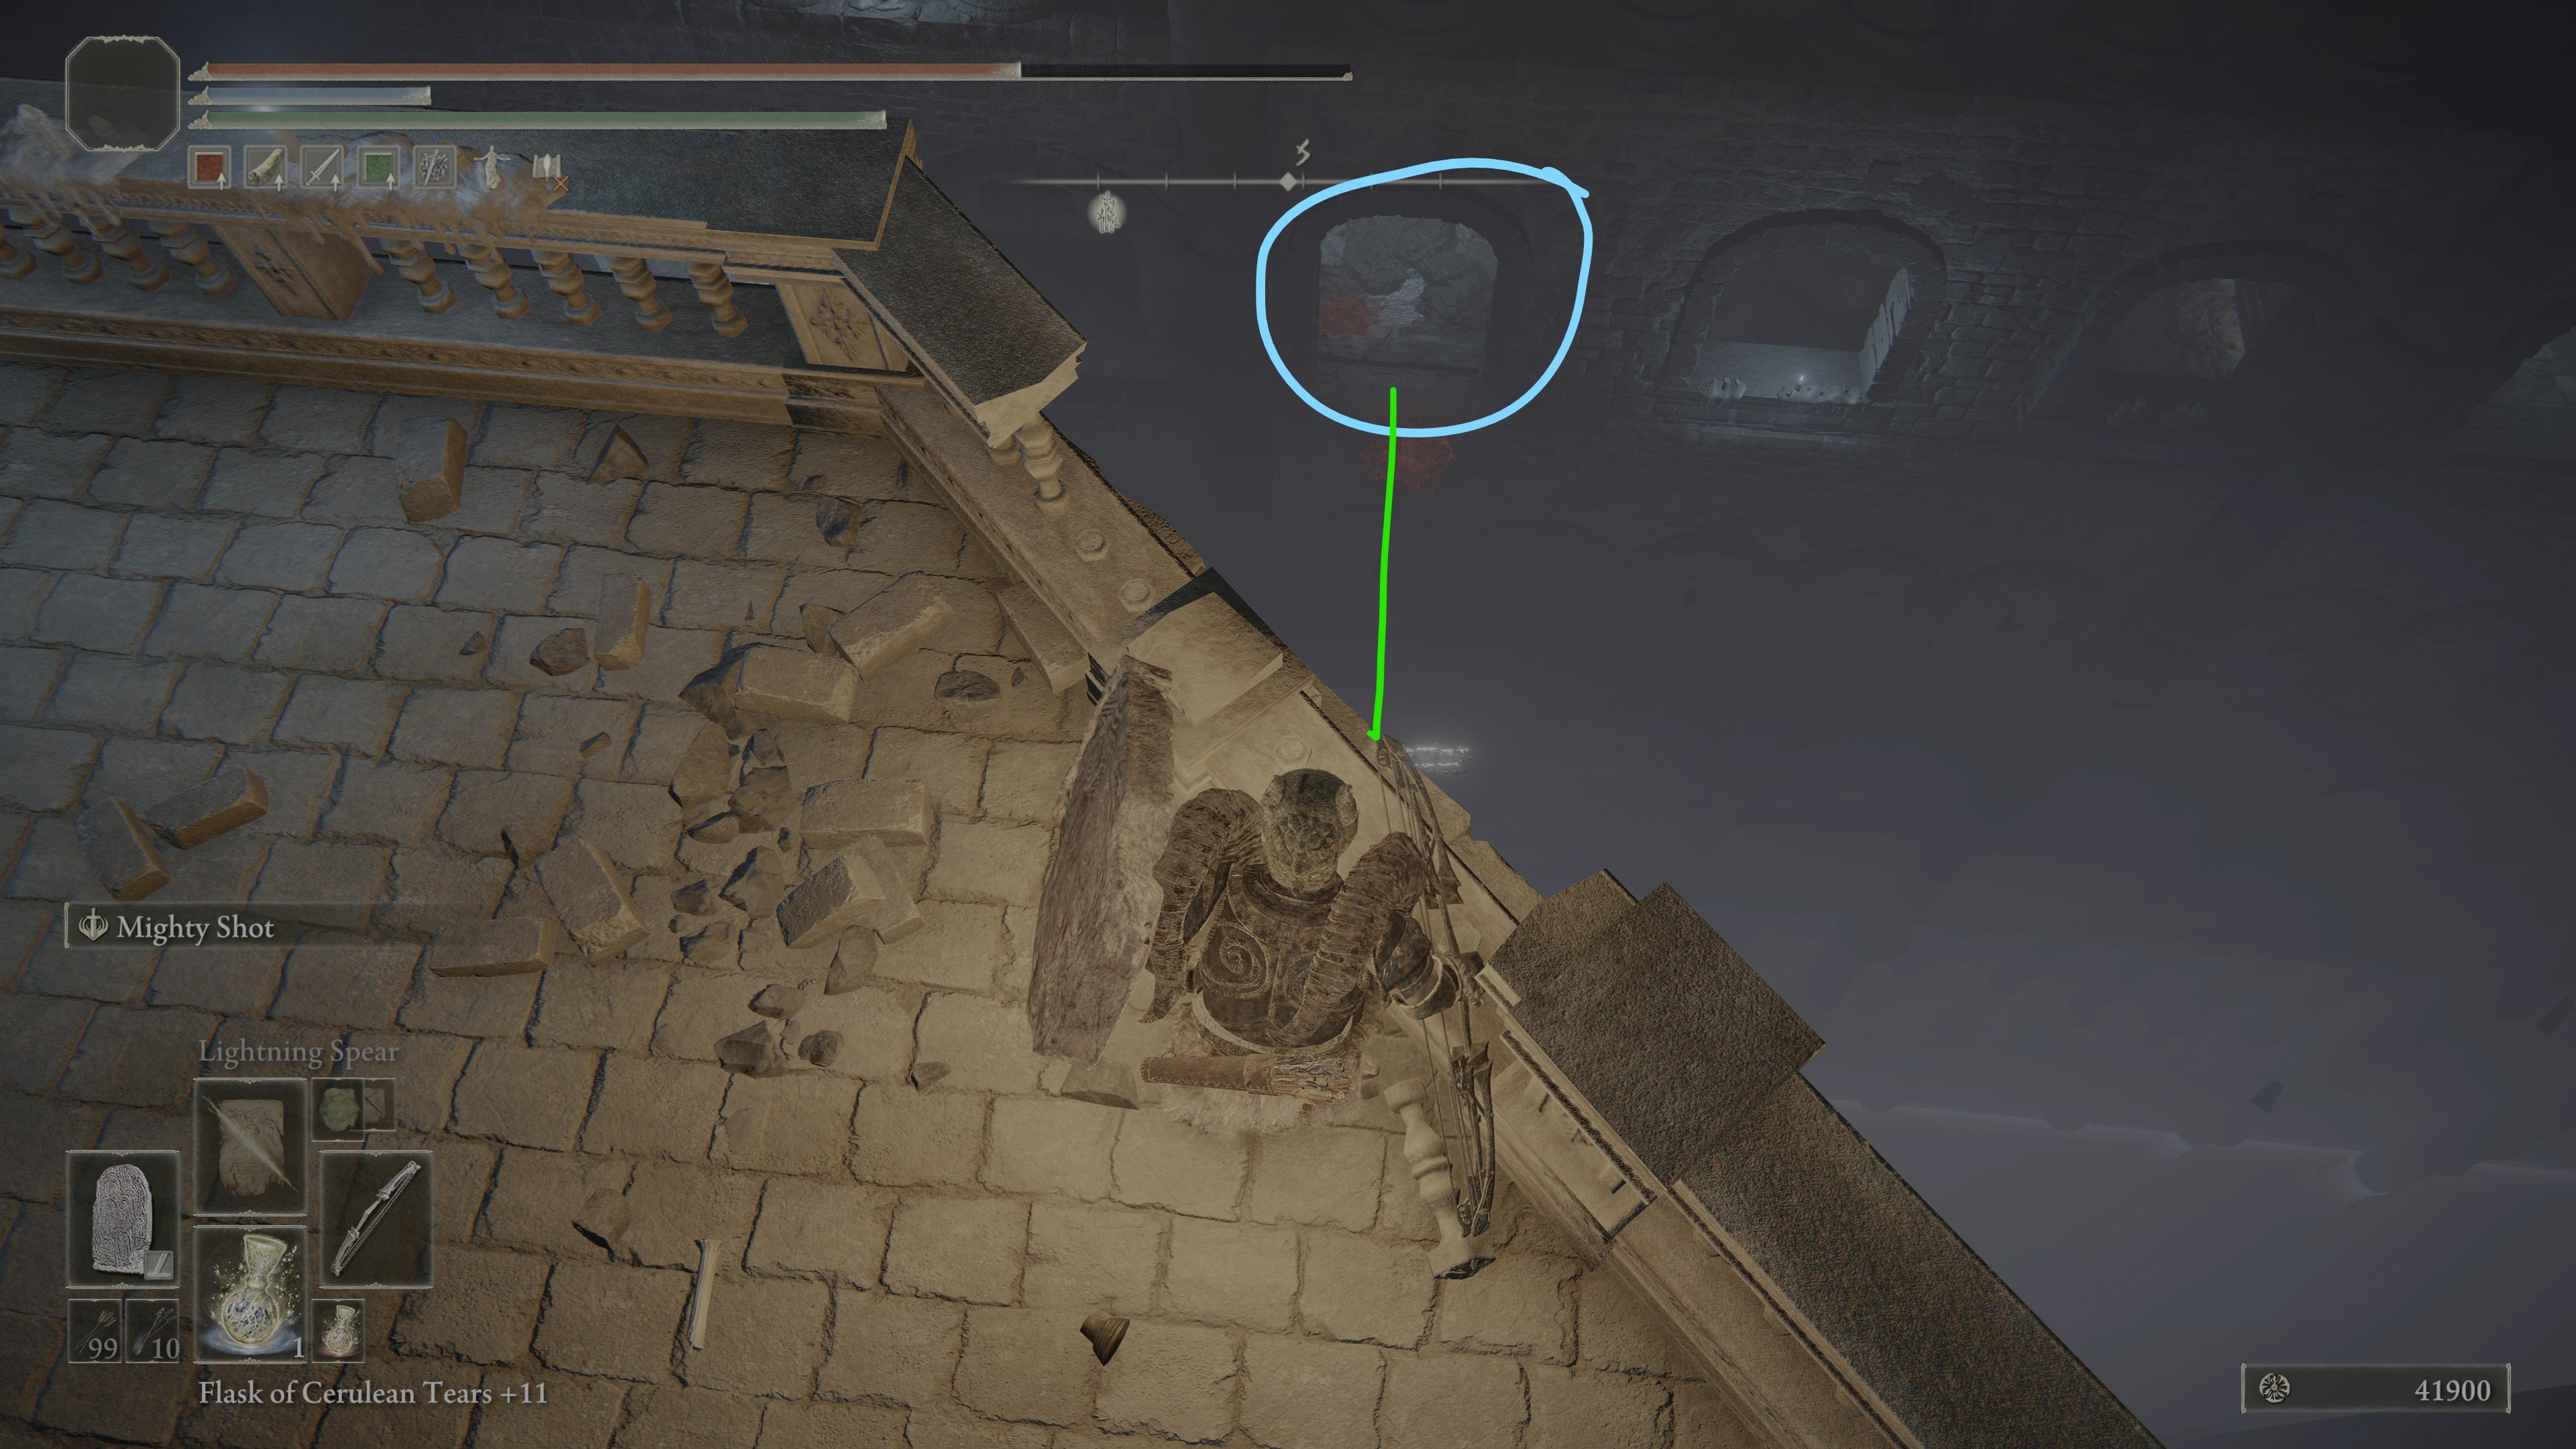
Those finding themselves gripped with paranoia, you can continue to use Rainbow Stones, Glowstones, Rainbow Stone Arrows, Wave of Gold and/ or Hoarfrost Stomp to ensure proper footing. (-Sidenote: If you can spare the FP, Hoarfrost Stomp will only populate the ground with visual icicles on level/ solid surfaces and, as such, this Ash of War is extremely useful here, further in, and in navigating any invisible floor/ entry into the Heretical Rise.- end side note). Now that you've entered the alcove, turn right, there's a Grave Glovewort (9) to pick up and behind it, an illusory wall.
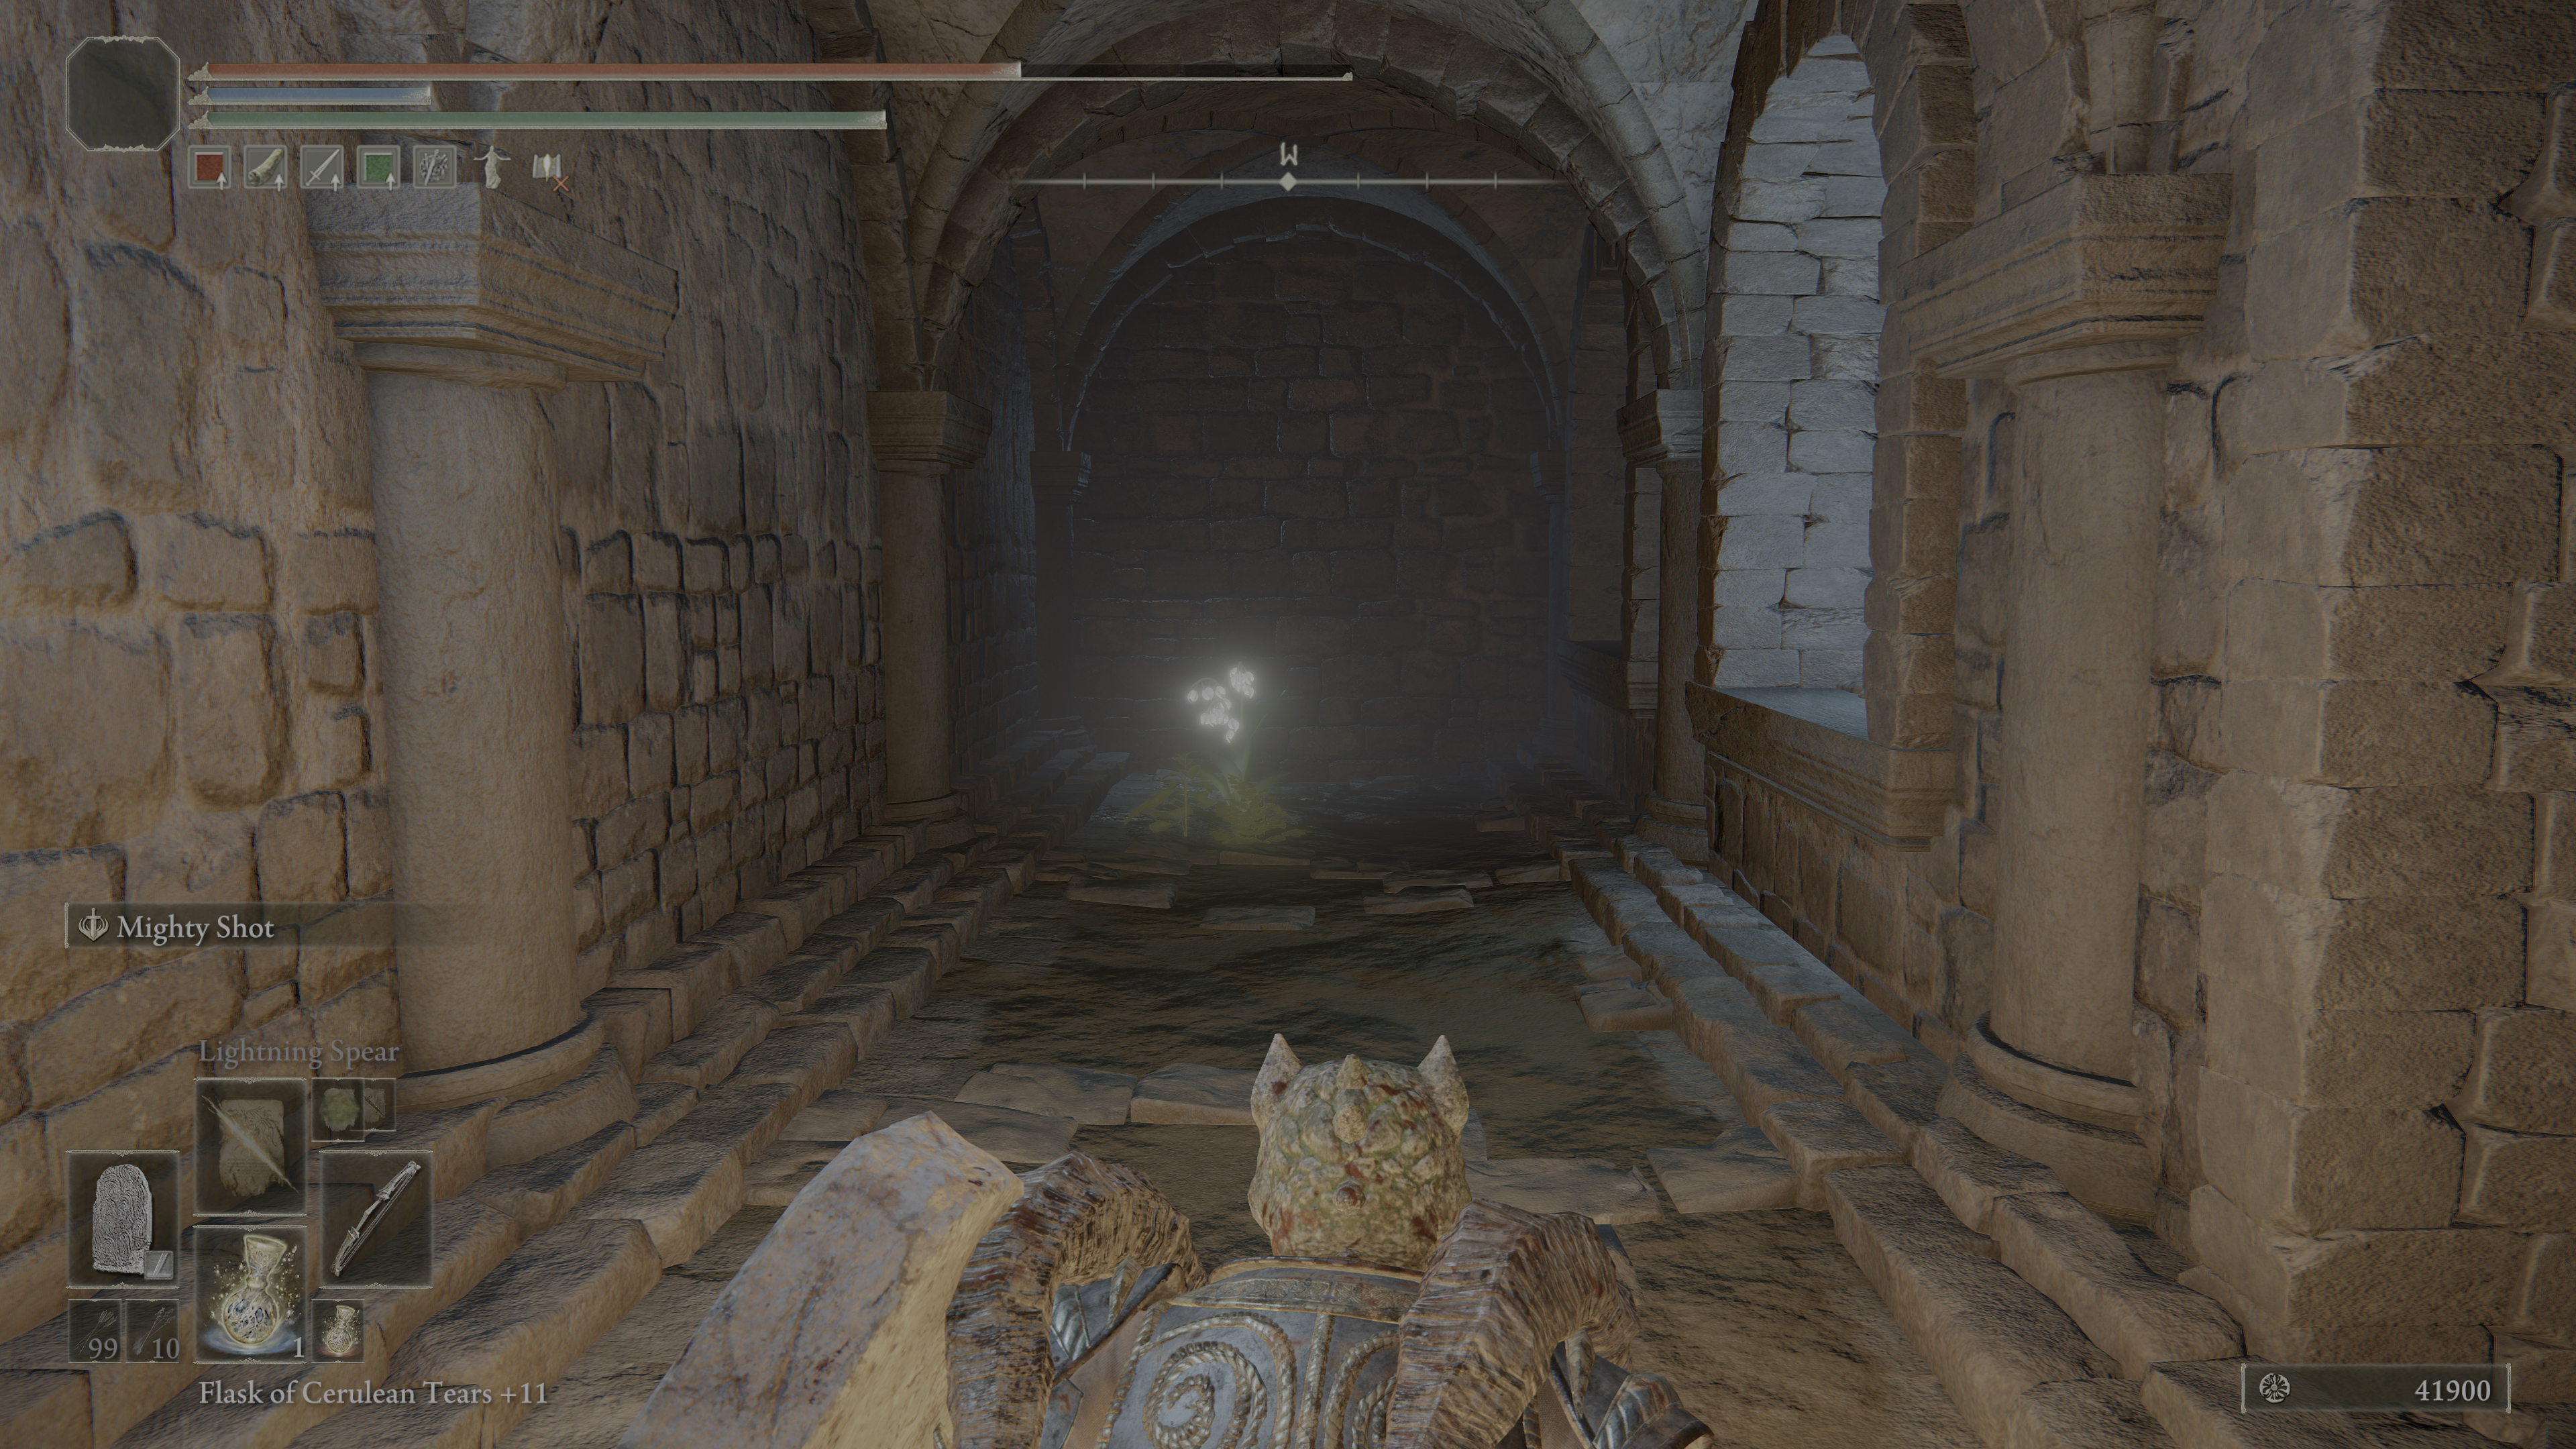
Dispel the wall to find a chest with the Silver Scarab talisman. After taking the loot, look through the alcove's doorway and you should see another alcove straight across. You can walk along the invisible pathway to get to it but note that the pathway is not completely straight so adjust slightly to the left as you approach the central pillars so that you are right in the middle of them.
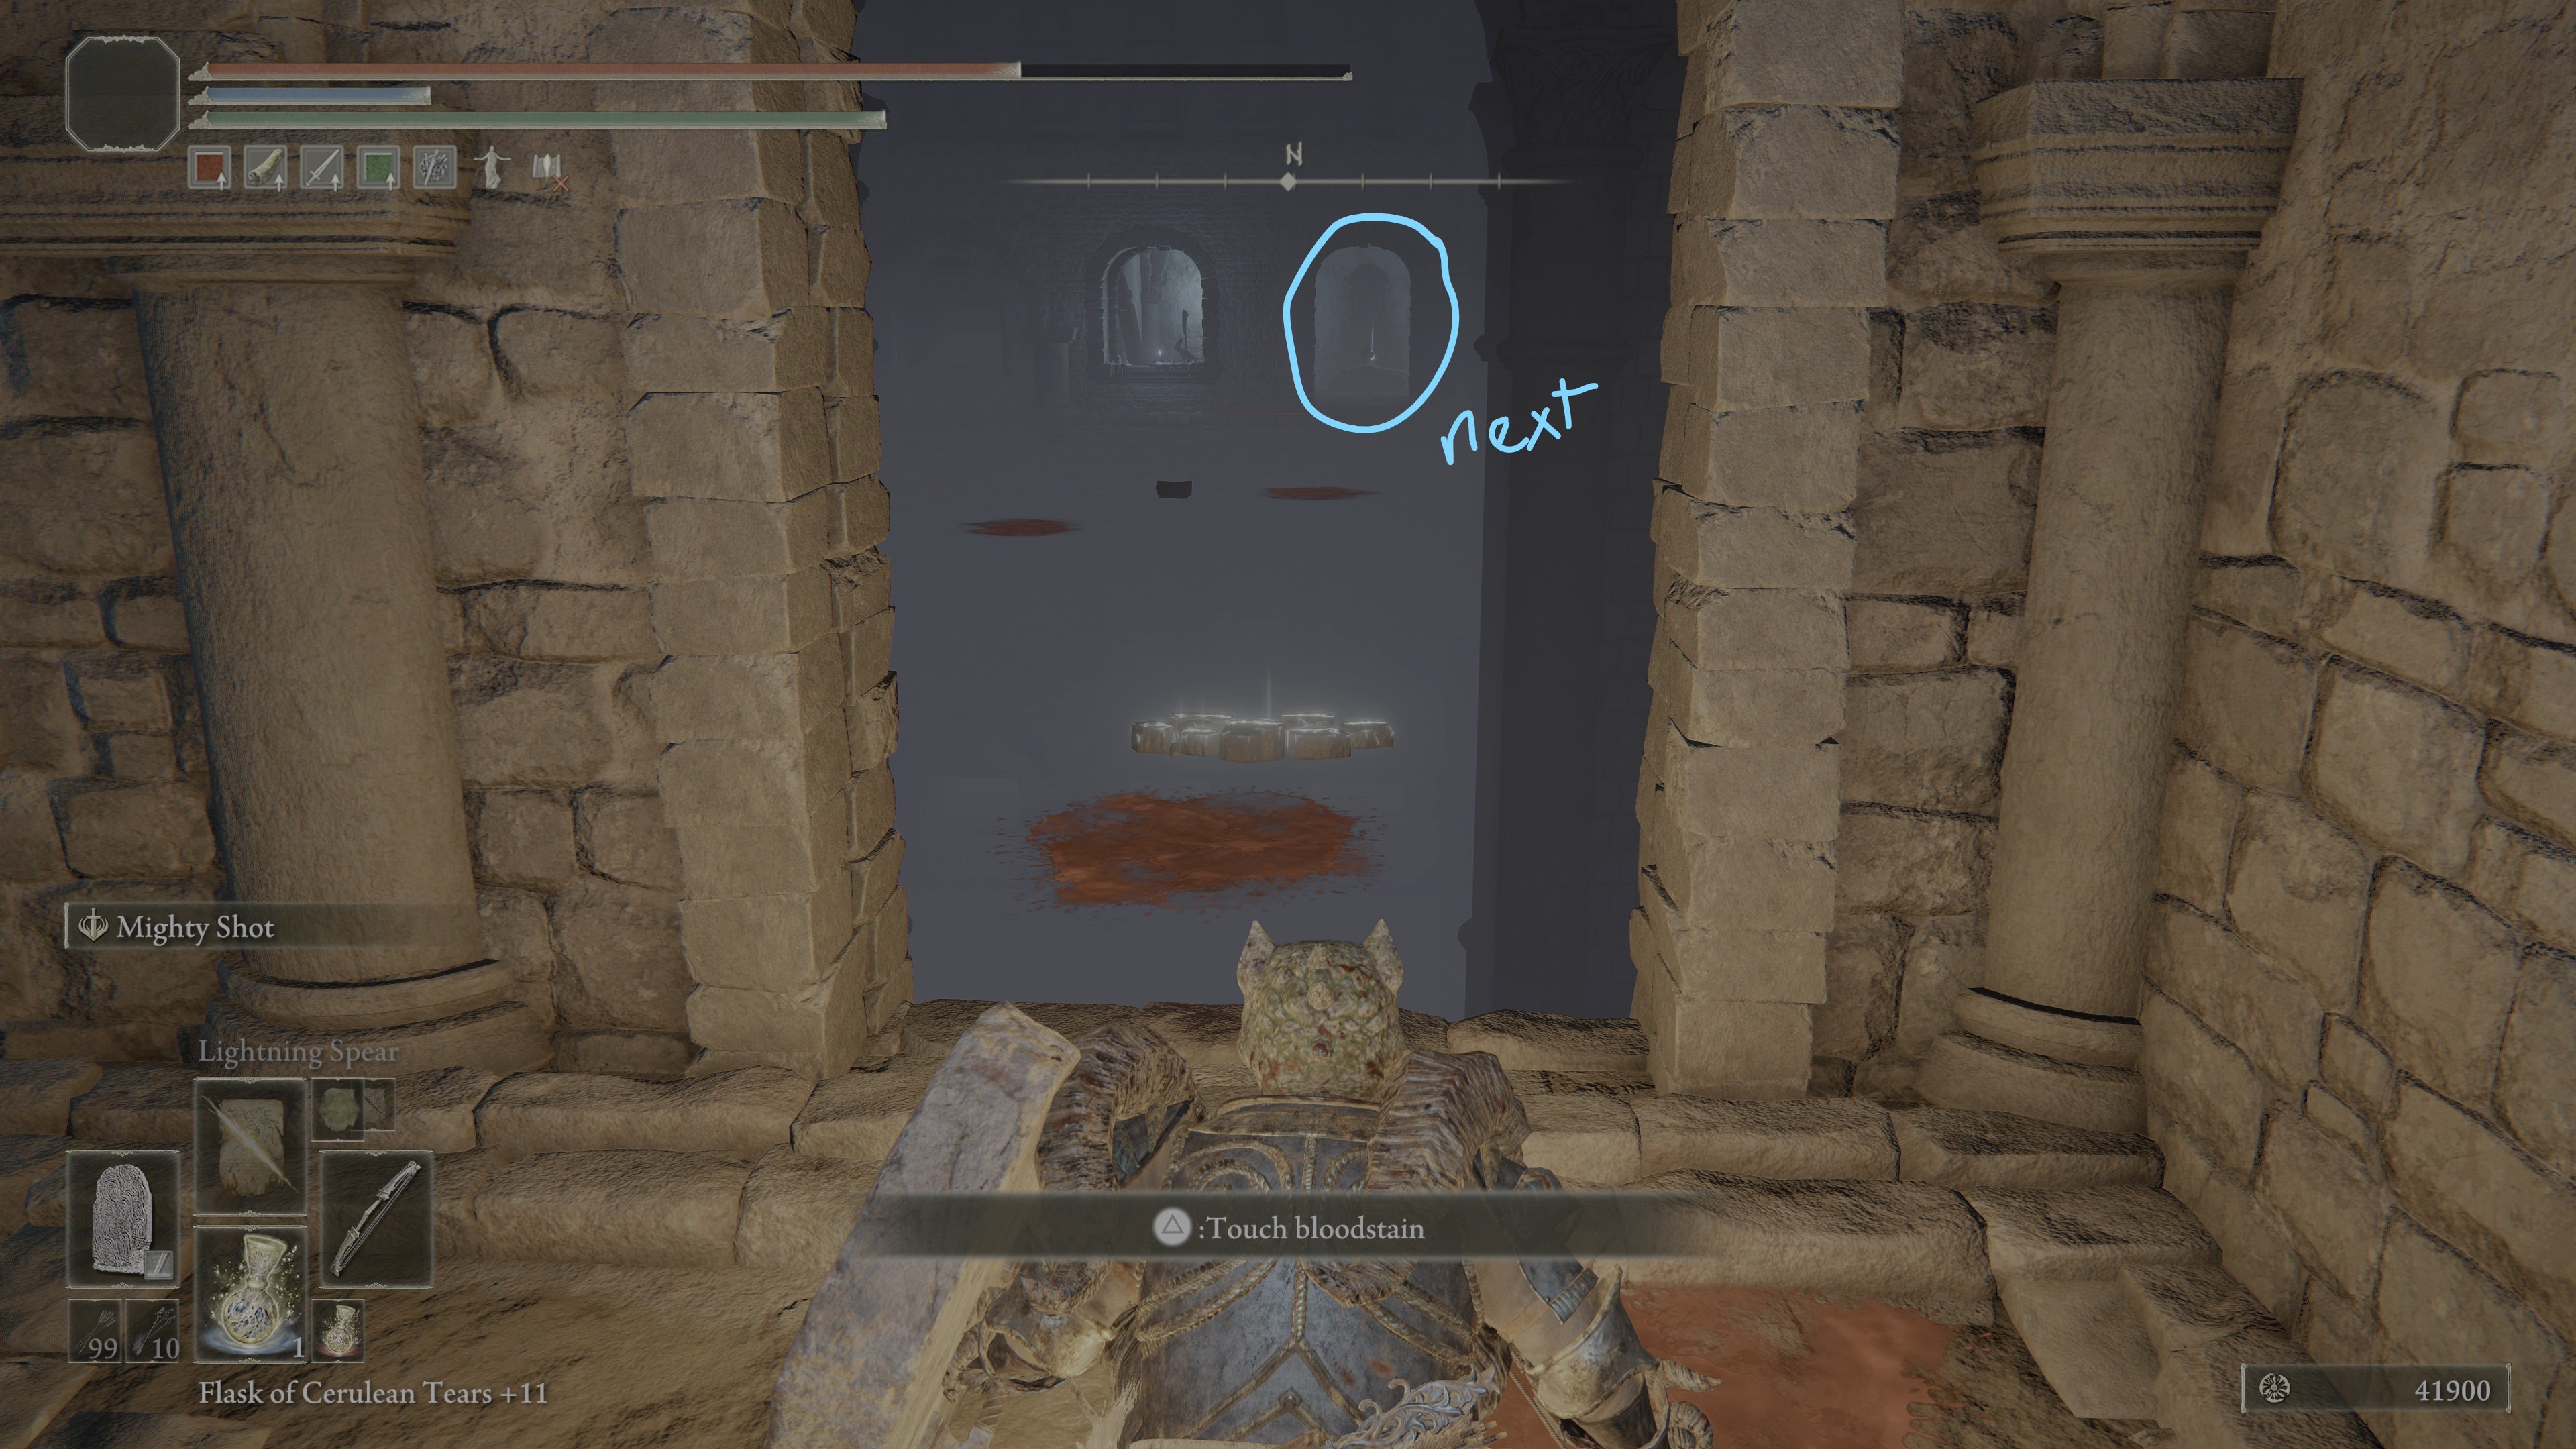
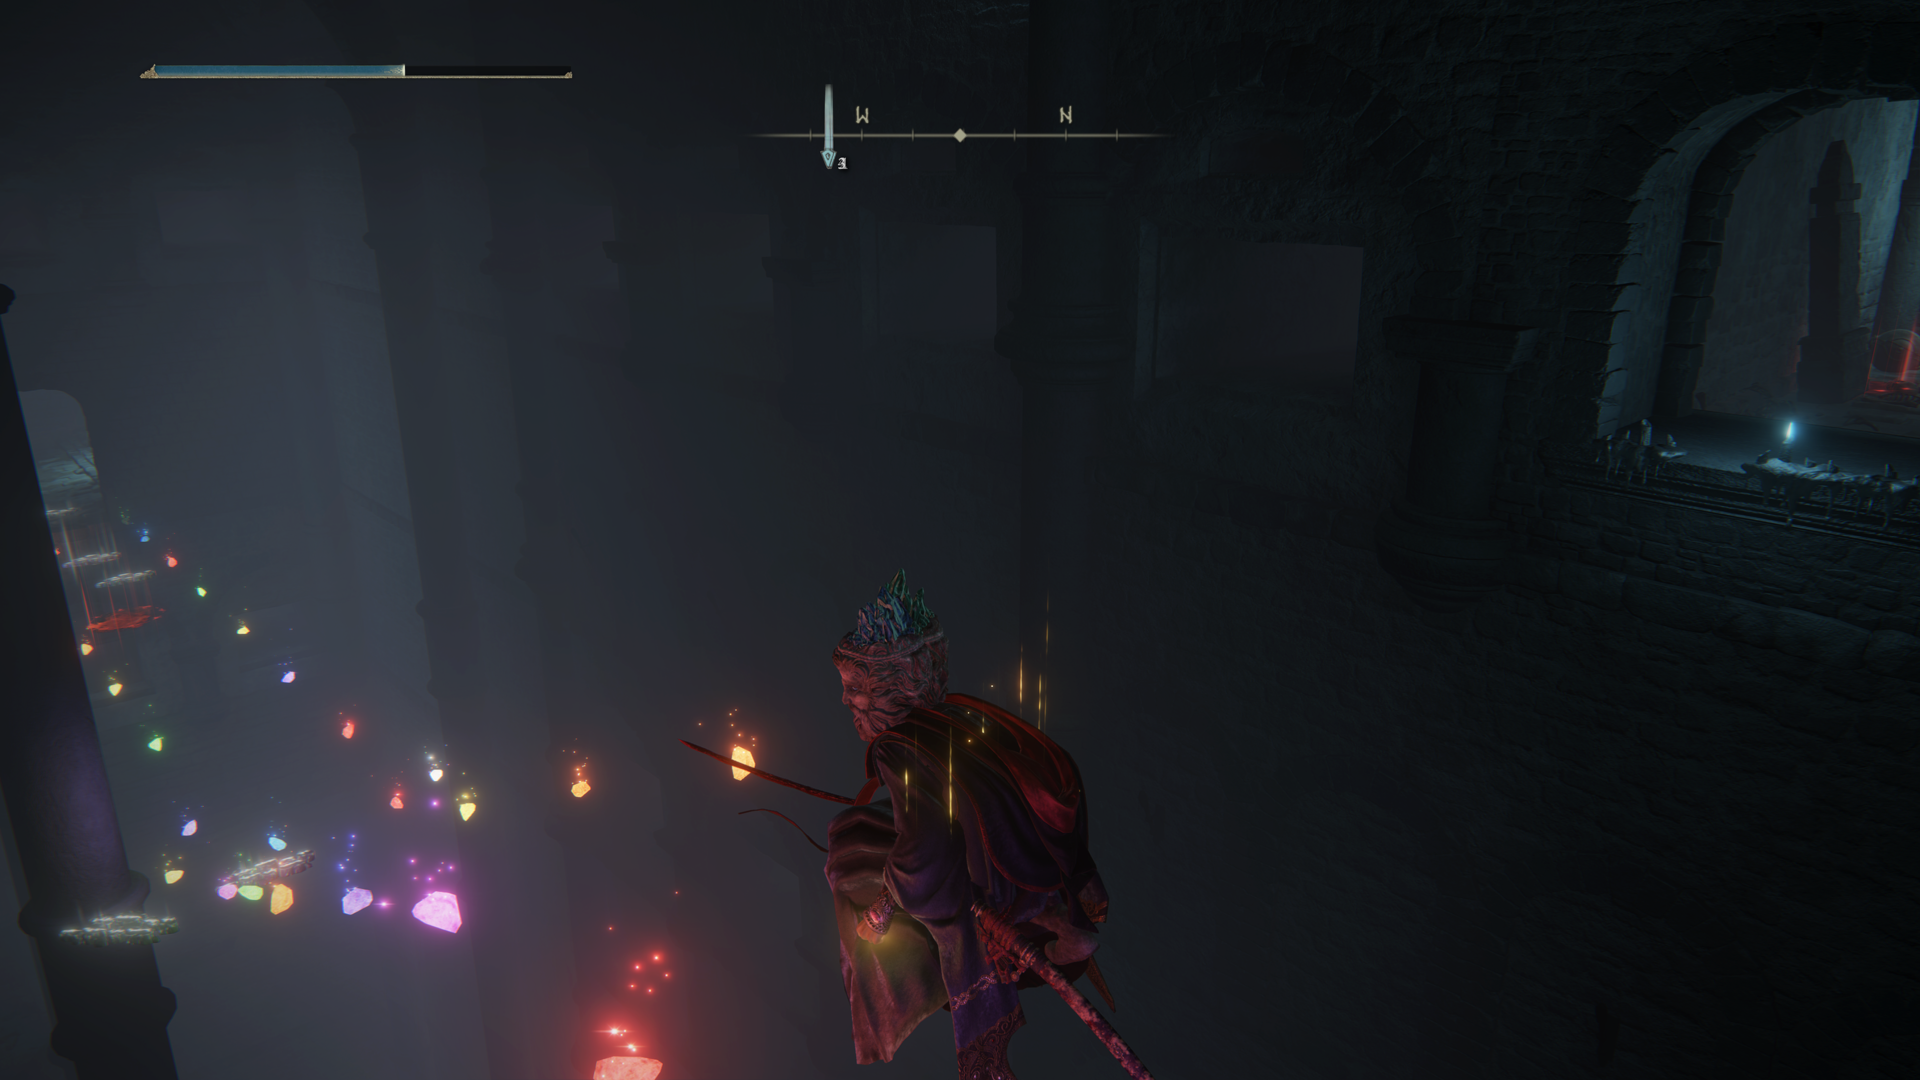
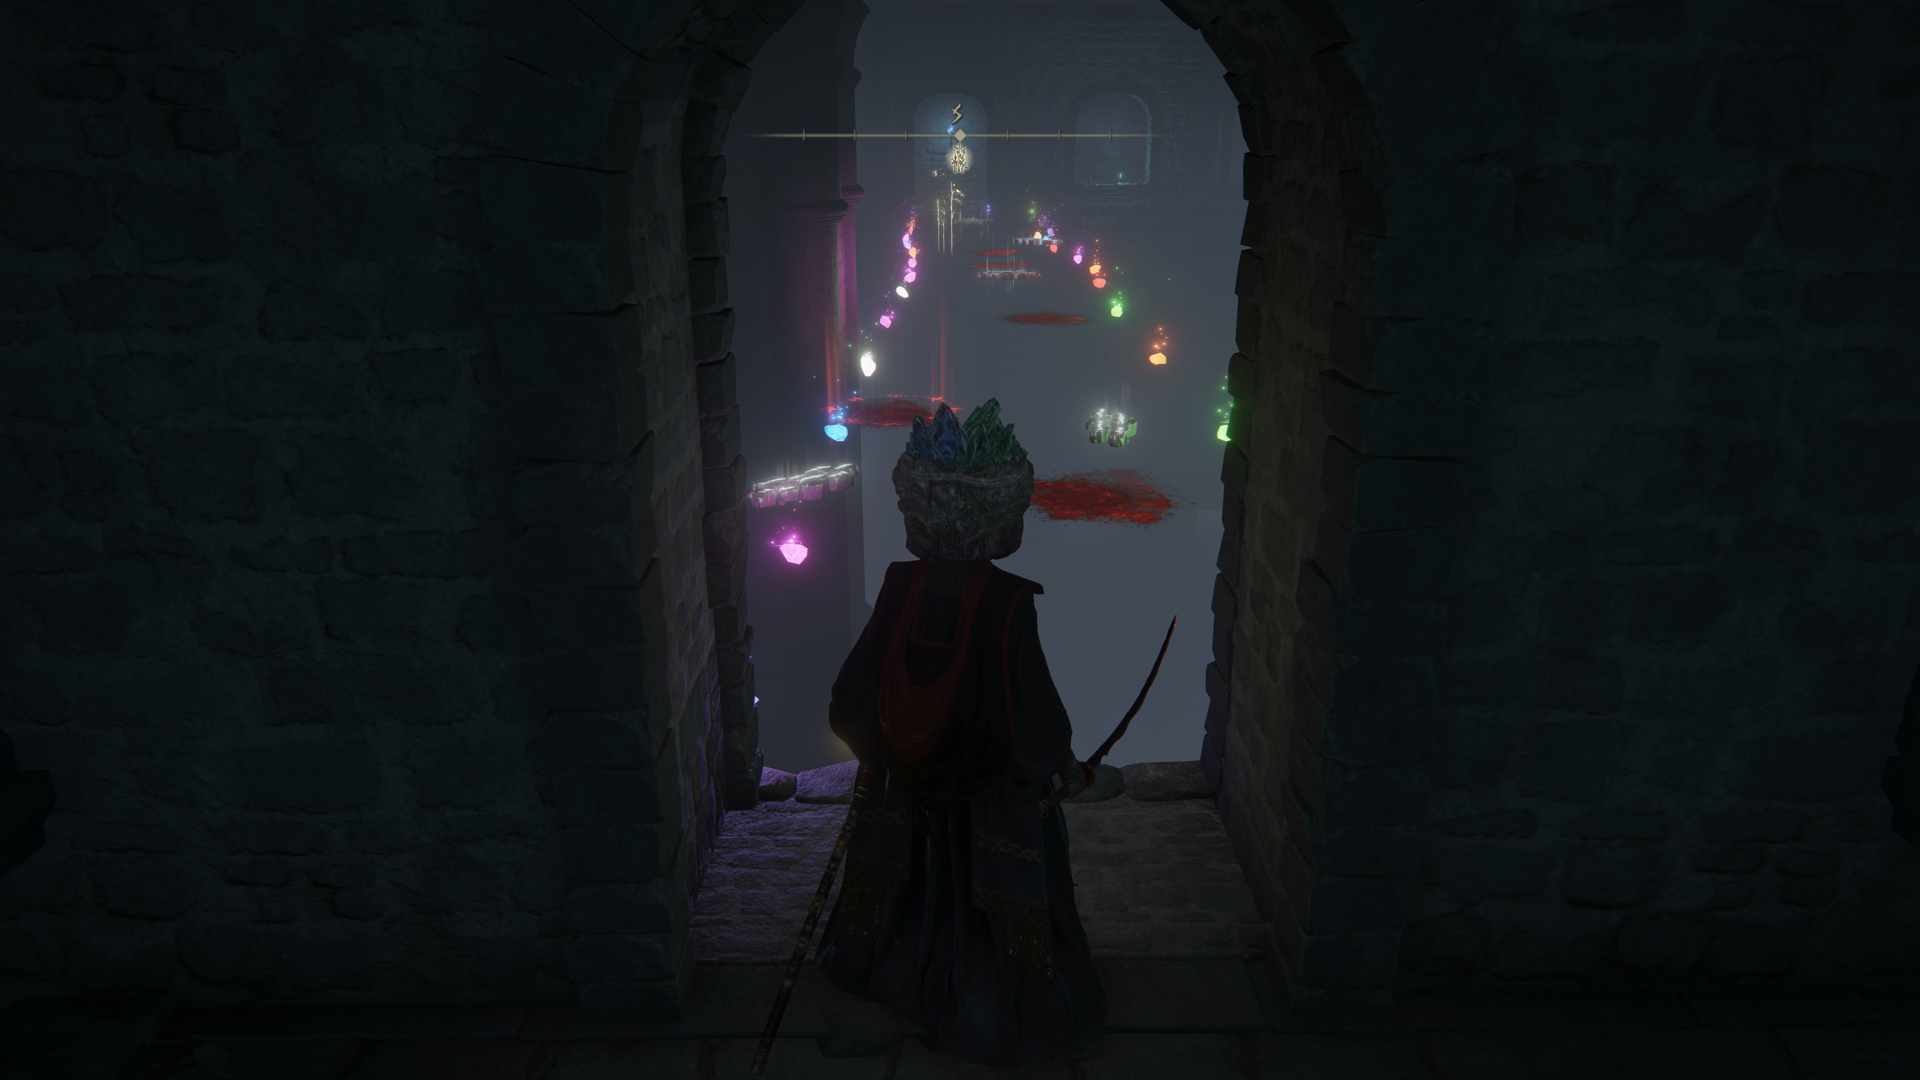
If you are having trouble finding your way, consider using Rainbow Stones or shoot arrows and bolts to mark safe sections to walk on. If playing online, there is likely a lot of player messages and bloodstains that would serve the same purpose. Through the alcove is a small room with a couple of Vulgar Militants and a corpse with 3x Sacramental Bud. Carefully exit the room and look towards the west where you'll see another doorway in the distance.
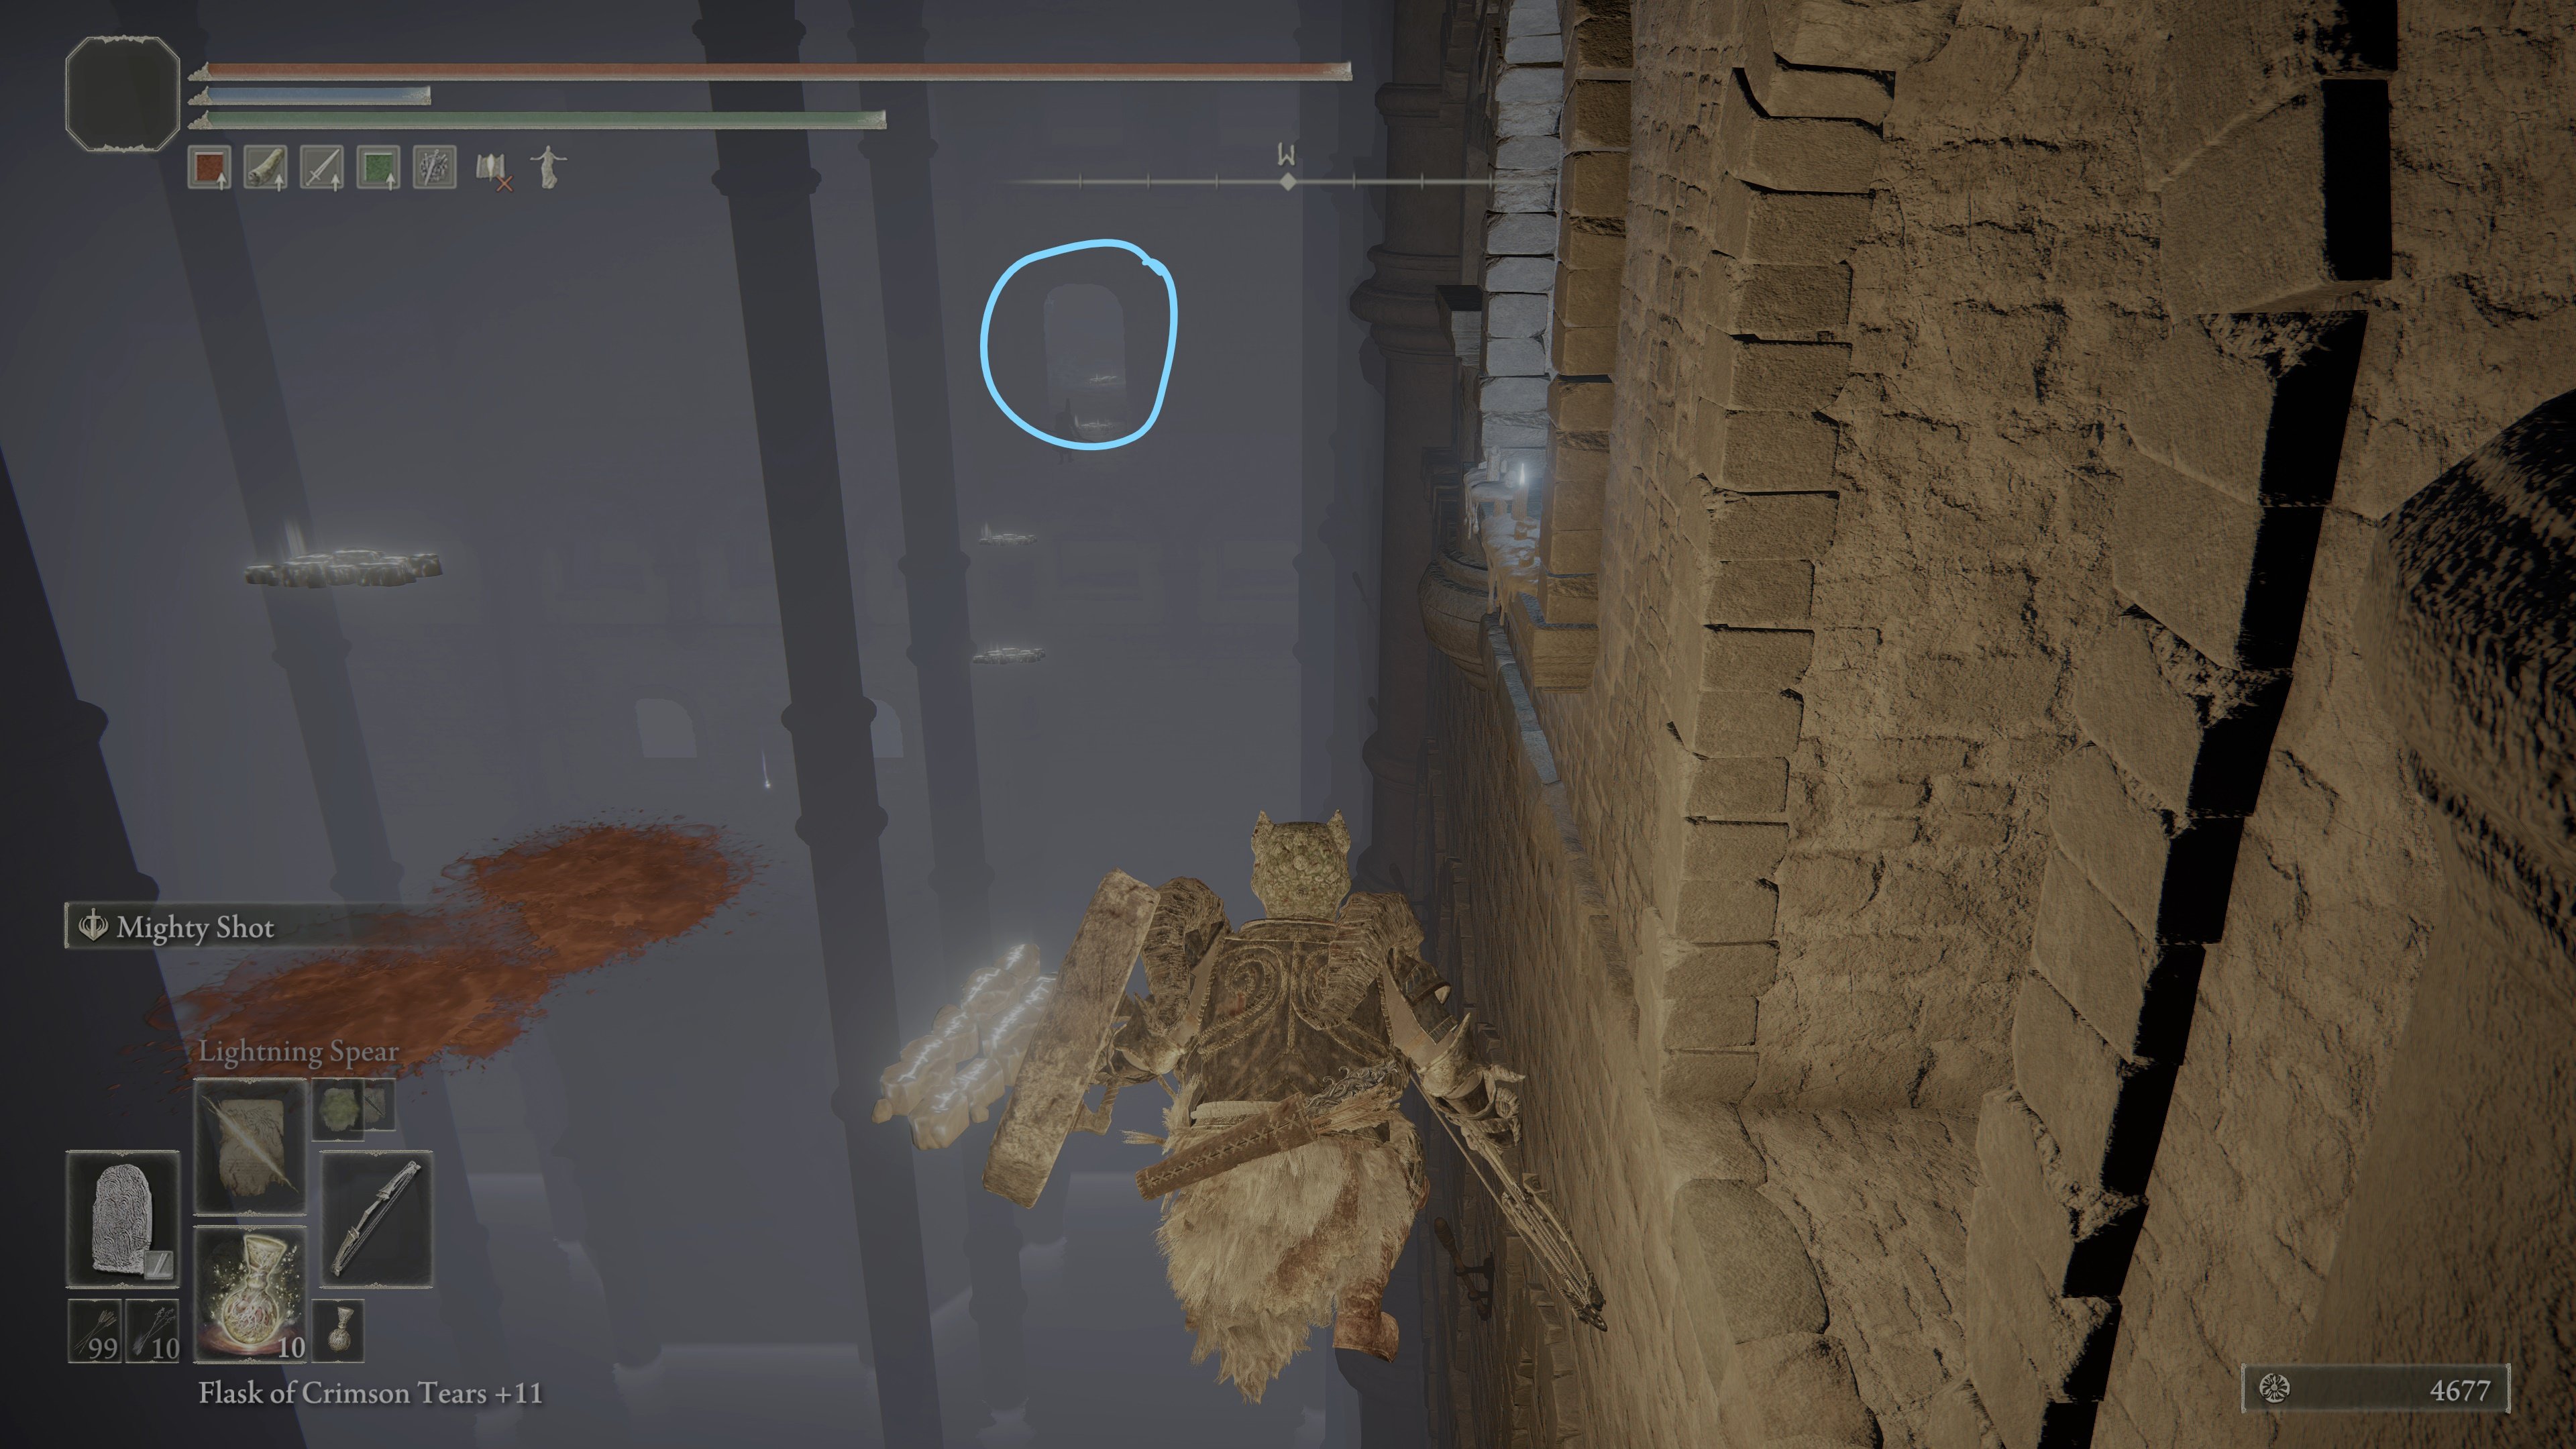
Align yourself with it and walk straight ahead. The path slants downwards slightly. This alcove contains two more Vulgar Militants, with one hiding behind the door frame to the right, waiting to ambush as you pass by. There is another Grave Glovewort (9) by the wall at the end.
Exiting the room, look to your right and you should see a balcony below with a corpse.
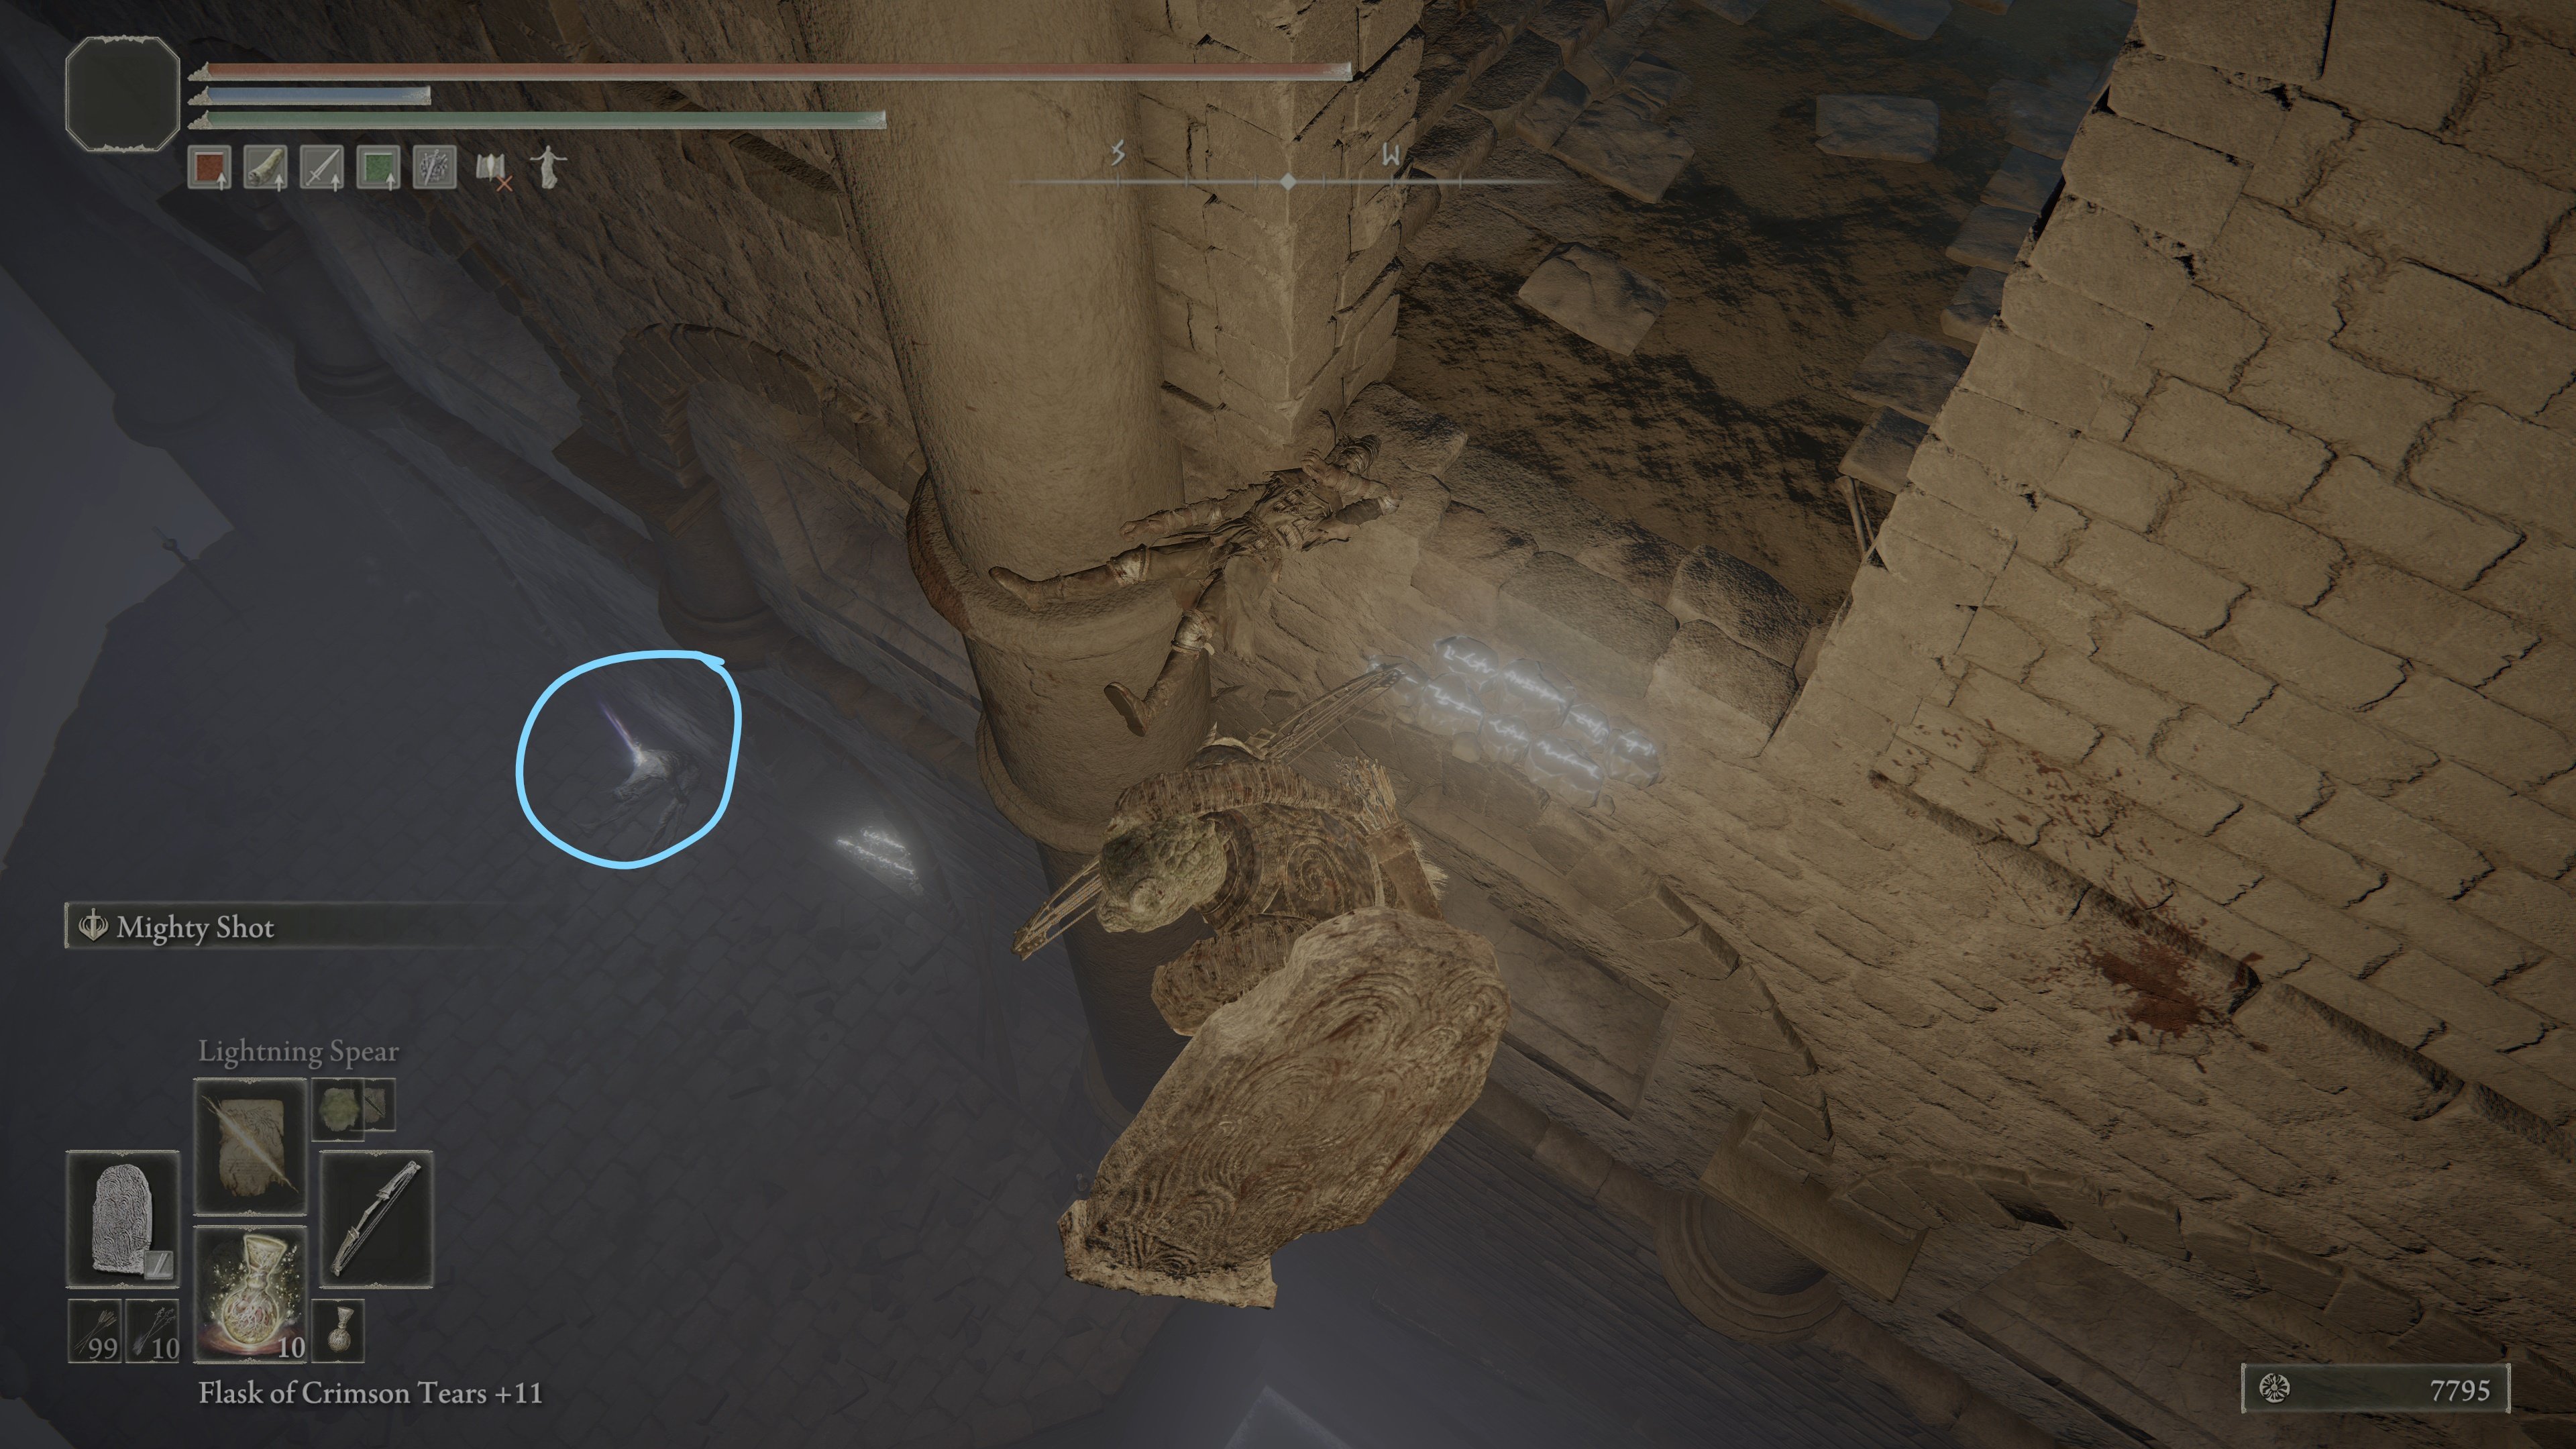
You can simply jump down here from the invisible walkway. Loot the corpse for a Hero's Rune (1). Behind the corpse are two window sills, jump onto one of them, and if you have ranged attacks, you can safely take out the Giant Land Octopus hovering above the next room, as well as the Vulgar Militants below it. On the north side of the wall, underneath a statue, is a lever. Pull it to open a boss door.
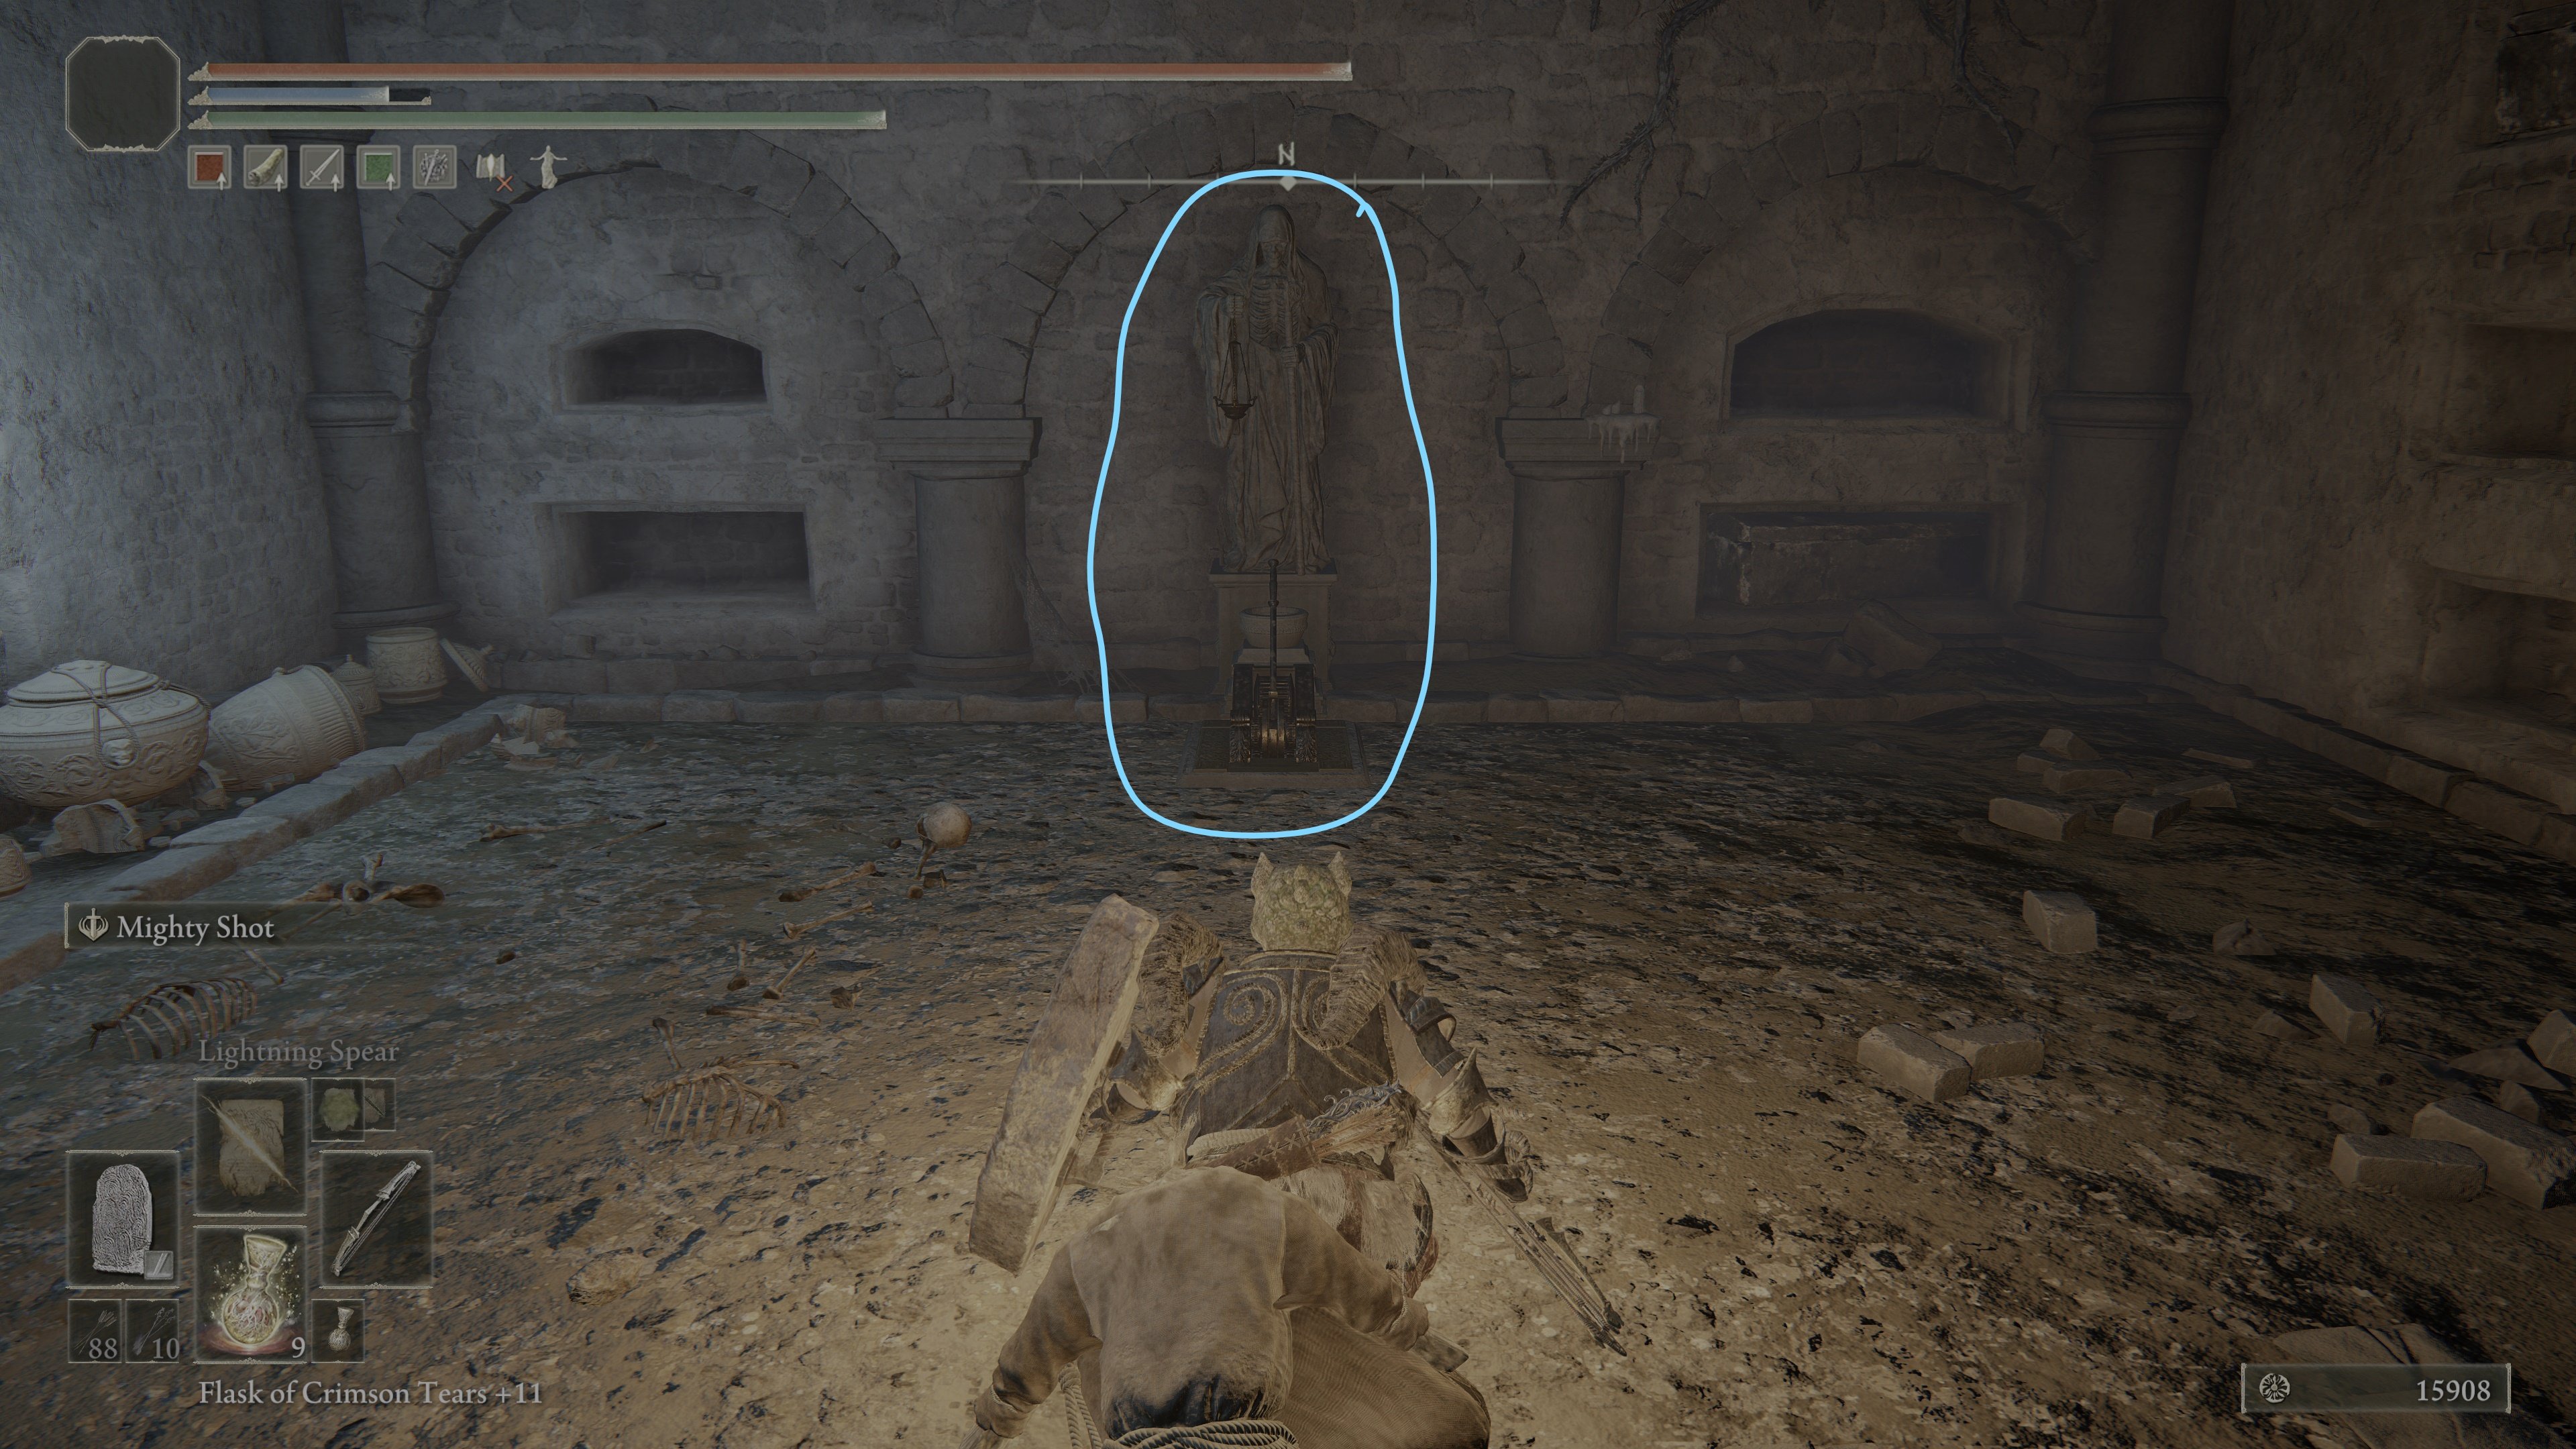
Then, turn around and head south down to the stairs. There are 6 Land Octopuses at the foot of the steps. There is a room behind the steps with several Vulgar Militants as well.. Leave the room and head through the narrow hallway opposite to find the boss room. There is a Stakes of Marika here, so you are fairly safe. Before entering the boss room, turn right and follow the corridor up to find a lift. Take it all the way up and check the corpse in the alcove for the upgraded Spelldrake Talisman +2. Head back down the lift and back to the boss door.
Boss: Stray Mimic Tear
The boss is the Stray Mimic Tear which shouldn't pose too much trouble, especially if you are using sorcery or incantations. It drops Blackflame Monk Amon spirit ashes. There is also a chest in the back with a Deathroot inside.. Either use the teleporter or exit the room and take the elevator on your left to leave the area and enter the Consecrated Snowfield.
Elden Ring Hidden Path to the Haligtree Gallery and Notes
 Anonymous
Went all Indiana Jones with it, channeling the power of the dwarves WITH MY AXE!
Really enjoyed this dungeon.
 Anonymous
 Anonymous
absolutely the most horrible kind of level design. Zero helpful mechanics other than throwing around limited ressources like an idiot.

 Anonymous
 Anonymous
Honestly, From should have thrown us a bone here and let us use the Sentry torch or some such to reveal the paths. Making them hidden to begin with is a good idea, but having to navigate them with time and resource intensive methods is just a pain.

 Anonymous
I used the enemies near the site of grace as a farm using giants flame take thee and its funny to see them get obliterated

 Anonymous
At least 60% of the time I'm summoned to help in this dungeon the host doesn't pull the lever for the boss doors, will run around looking annoyed, then dismiss summons and just go to snowfield, lol.

 Anonymous
I summoned my mimic tear to fight the stray mimic and stood back and let them fight. It's was actually a petty close call with my mimic beating the boss. I was also interested to see them both use certain incantations in favor of others. They both never used rott breath which my mimic usually uses at least one or twice a fight. Fun to watch the IA make decisions against itself. Very entertaining. 10/10 would do again.

 Anonymous
Taking the elevator instead of the teleporter will reward you with the Spelldrake +2 talisman

 Anonymous
 Anonymous
I like summoning my mimic tear to fight the mimic tear and then just watch the battle. In one game, I stripped all of my weapons before entering. Hilarious.

 Anonymous
I made a grave mistake using half radahn & bullgoat armor with cold nagakiba & RoB with sleep pots. And regal omen bairn aswell... Fml

 Anonymous
 Anonymous
thumbs up to the person/people who wrote this article, easily managed to find my way to the mimic tear boss :) cheers

 Anonymous
gotta love how the octopi can't actually fit onto the walkways when doing their flailing attack animations, so michael zaki just lets them float five feet above it and keep smacking you.
Even if their hitboxes don't actually touch your character in any respect.
 Anonymous
Lorewise, I'm curious about this Mimic Tear.. The rest of the silver tears are SO FAR away, deep underground in a spot halfway across the map... how in the world did this one find its way to the Mountaintop of Giants? What adventures has this little blob been on?

 Anonymous
 Anonymous
I just read the walkthrough as I was going I didn't know eactly what a mimic tear was or that I'd be fighting a reflection of myself. I have the mausoleum soldier ashes at +9 and I knew I was in trouble when I saw it use the weapon art for the godslayer's greasword against them. it used poison mist and was throwing volcano pots at me. That was a nasty boss fight basically because I didn't read the wiki for it first.

I'm not sure that fighting a Giant Land Octopus in such a confined space as that chapel-thingy is worth doing for such a thing as a warming stone.
If you've already gone and activated the lever once but then died before making it to the second Stake of Marika, you can just rush past that last group of enemies before the boss.
Remember to remove anything like the Omen Bairn or Regal Omen Bairn from your quick items, as the mimic WILL use them against you. Weapons aren't the only danger. This is particularly crucial for glass cannons like myself, but relevant for everyone.
Side note: I really want to know if the mimic will use your Flask of Wondrous Physick, because then you could get it to self-destruct with the Ruptured Crystal Tears. Could make it fairly easy, though its self destruct would also be able to kill you.
If the Stray Mimic Tear is giving you trouble, equipping the Daedicar's Woe talisman before entering, then unequipping it after it mimics you make the fight much easier (because the boss with take double damage).

 Anonymous
 Anonymous
Ah, this is where all those "useless" Rainbow Stones and Glowstones I collected through the game became "useful"!

 Anonymous
Hansel-and-greteling the rainbow stones turned the invisible paths into a fun disco dungeon!

 Anonymous
 Anonymous
It won't let me pull the lever to open the doors to get to the boss...

 Anonymous
 Anonymous
I killed the tear blob before it transformed, now I'm stuck in the boss room and can't open the chest I just want to go home

 Anonymous
 Anonymous
How the **** do you get here? Some bull **** about the lift being required but literally tells you nothing about where to go from the lift.

 Anonymous
 Anonymous
I made a build that tries to make the mimic tear as capable of soloing bosses without using spells(someone made a great video on post nerf mimic tear beating malenia with spells already). relying on a power stancing greatstar tank setup with the godskin swaddling cloth and prayerful strike to stack as much %maxhp-regen as possible. needless to say, this turns this into a seemingless endless battle. I'm kinda tempted to let it run over night, but that seems a bit excessive... gave me a good laugh tho

your description of invisible road is wrong. it is not straight

 Anonymous
If you are having problems with the squid + vulgar militia room after you drop down from the invisible bridge onto the ledge with the corpse. Try dropping from the window and running immediately left into the the narrow hallway. This will keep the large squid from reaching you and will funnel all your aggro'd enemies into a straight line.

 Anonymous
Why does the description above say "The secret passage leading to Miquella's Haligtree has been polluted by Those Who Live in Dead" when there are no enemies that live in death - i.e. no respawning zombies?

 Anonymous
"Through the alcove is a small room with a couple of Vulgar Militants and a corpse with 3x Sacramental Bud."
THREE. A COUPLE IS TWO. THERE ARE THREE. Eurgh.
Me: using mimic ash
Also me: why do i hear Pokemon battle music?
Consider using wave of gold instead of hoarfrost stop. It has more range

So many people have been ruined for life by games like Assassins creed. Where even the most obvious detail is spelled out for you.
I call it the Ubisoft Syndrome.
The damage this company did...
 Anonymous
 Anonymous
since they added a function that stops you from falling off during forward-attacks , you can navigate the invisible path just by attacking lol

 Anonymous
quick Tip for those lowlevel pvpers entering from the snowfields after skipping the medallion - you can activate the summoning pool and open the door by getting killed (falling...lol) next to it and respawn at the statue behind the doors ;)

 Anonymous
since they added a function that stops you from falling off during forward-attacks , you can navigate the invisible path just by attacking lol

 Anonymous
quick Tip for those lowlevel pvpers entering from the snowfields after skipping the medallion - you can activate the summoning pool and open the door by getting killed (falling...lol) next to it and respawn at the statue behind the doors ;)

 Anonymous
if you un-equip your weapons all the mimic tear can do is punch and throw rocks

 Anonymous
if you un-equip your weapons all the mimic tear can do is punch and throw rocks

 Anonymous
Lol at all the messages saying "Liar ahead" for the invisible section, the one time you actually have to believe the "hidden path ahead" message and you ignore it.

 Anonymous
 Anonymous
Wow, how creative an invisible walkway to guess on for hours.

 Anonymous
Guide should mention to go up the elevator after the boss to pick up the Spelldrake Talisman +2.

 Anonymous
So yeah, as other's have stated there is a secret underground chamber in this zone with a Mimic boss. Here's what you do, find the broken ledge in the large hexagonal area. Jump down the ledge onto an invisible platform. The invisible platform has three directions. It extends across and down with a set of stairs. It can be confusing at first but there should be one of those assassin guys patrolling on the invisible platform that leads to the stairs. So first you want to reach both sides on the platform you fall on the side closest to the broken ledge has an invisible wall leading to a chest with a Silver Scarab (+Item find). The other side has about 3 enemies and another item I can't remember right now. The invisible stairs section should have that patrolling assassin kill him and follow it to the end there's a dead end with more assassins, kill them exit and jump off to the right. This leads to a room with a Giant Octopus and a lever which opens the door to the secret mimic boss and a the Blackflame Monk Amon spirit ash. Lastly, there is a lift leading back up to the shrine with a Spelldrake Talisman +2.

 Anonymous
Not sure why so many people ranting in the comments. i AM a simple man and i founf the 'secret area' instantly .. Simply because you could HEAR another oktodad wubblin' around below so i knew there had to be more. Stop crying over pages not being good or informative when the solution is to simply play the game. Thanks Fextralife for being there for us!

 Anonymous
when trying to activate the haligtree medallion. Make sure to hit switch action, otherwise you will only use the original Rold Medallion

 Anonymous
FYI in case anyone misses it like I did at first. You need to toggle the action until it says "Hoist secret medallion". The initial prompt is the normal medallion.

seriously, there is a mimic boss at the bottom of this place, but it requires you to drop down at the broken railing and find your way across an invisible walkway, i can see how a normal person would miss it, but someone should have found it and updated the page, i can only do basic stuff (because i fear i may **** something up if i try anything more complicated)

 Anonymous
 Anonymous
Whoever was oblivious enough to make this information-lacking page absolutely sucks at Elden Ring, and probably all of the Dark Souls games.

has a whole ass dungeon underneath, path to drop down to is invisible too


Went all Indiana Jones with it, channeling the power of the dwarves WITH MY AXE!
Really enjoyed this dungeon.
1
+10
-1