Stone Coffin Fissure |
|---|
 |
|
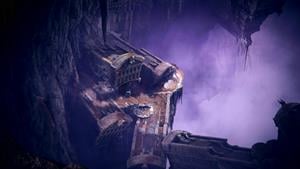
Ruins in a giant deep underground cave in the southern shore region. |
Stone Coffin Fissure is a Location in Elden Ring, added with the Shadow of the Erdtree DLC. The Stone Coffin Fissure is found on a peninsula in the Cerulean Coast region. [See Shadow of the Erdtree Map]
Stone Coffin Fissure Map
[overall map goes here]
All NPCs and Merchants in Stone Coffin Fissure
All Items in Elden Ring's Stone Coffin Fissure
Gather & Farm Items
Upgrade Materials
- Congealed Putrescence
- Deep-Purple Lily
- Grave Glovewort (2)
- Grave Glovewort (3)
- Grave Glovewort (7)
- Grave Glovewort (8)
- Nectarblood Burgeon
- Smithing Stone (6)
- Rada Fruit
Elden Ring Stone Coffin Fissure Creatures, Enemies, and Bosses
Regular Creatures and Enemies
- Slime
- Skeleton
- Stone Caterpillar
Field Bosses and Bosses
Stone Coffin Fissure Walkthrough
The Stone Coffin Fissure
Stone Coffin Fissure Full Walkthrough Video
Exploring Stone Coffin Fissure
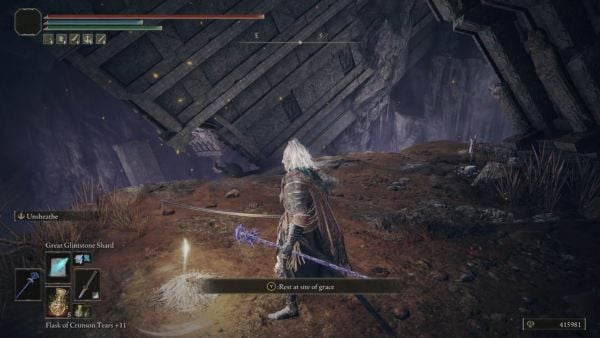
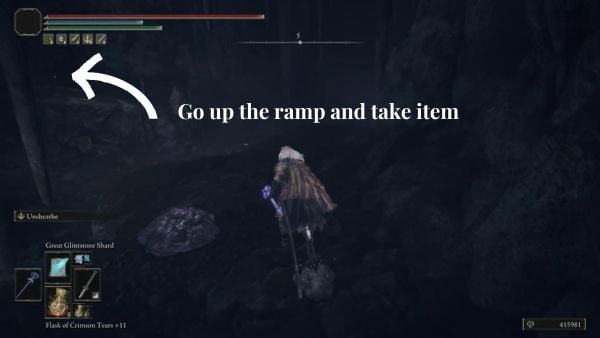
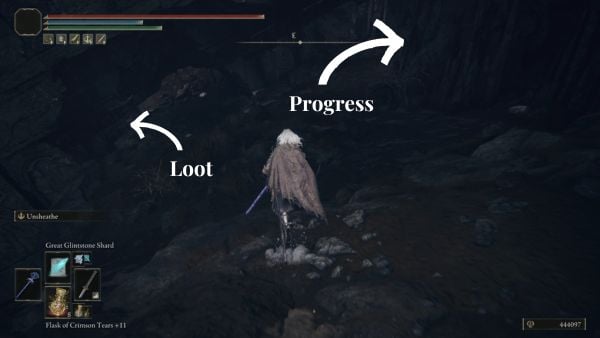
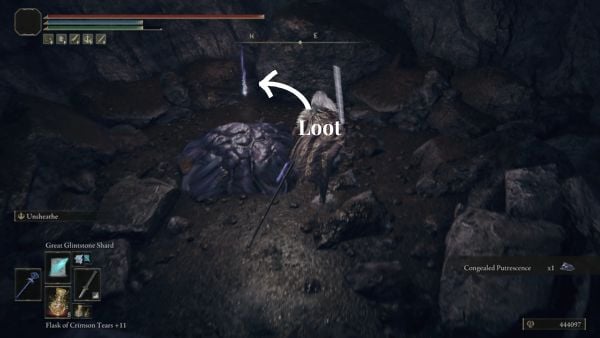
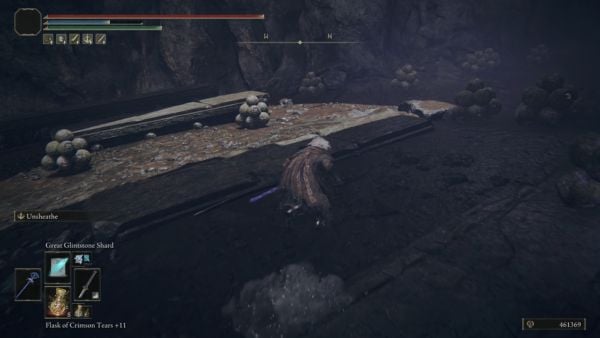
From the Site of Grace, head south and jump between the platforms until you see an enemy slime on the ground. Go past it and climb the ramp behind it and pick up the Congealed Putrescence at the edge.
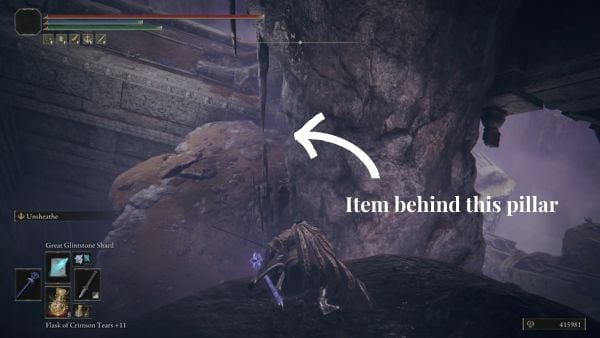
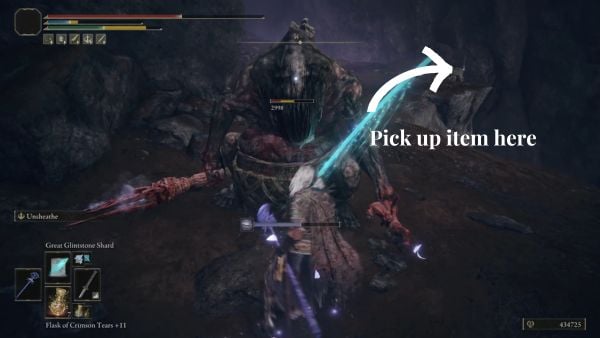
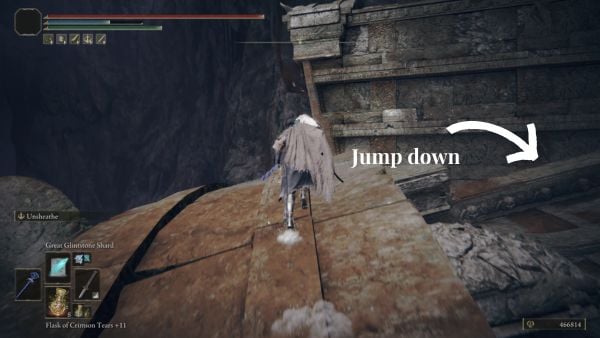
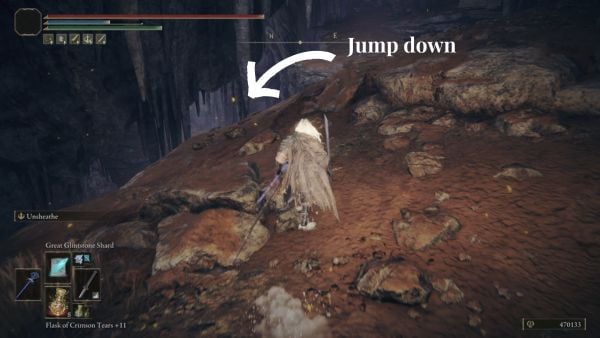
Then, face the north direction and jump down in this thick pillar ahead of you. Make a right and take the Trina's Arrow from the corpse on the ground. Make a U-turn and watch out for a Cursed Bloodfiend here as you go down. It will come from the edge of the pillar. You can eliminate this enemy or just run away from it.
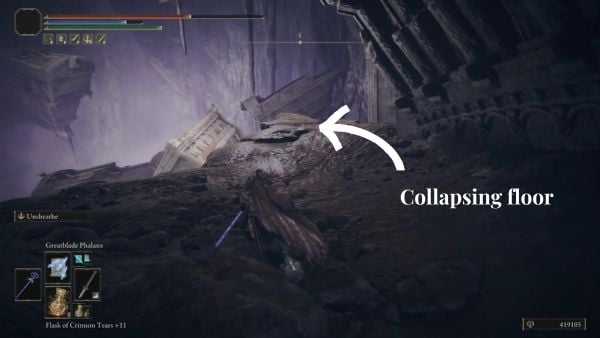
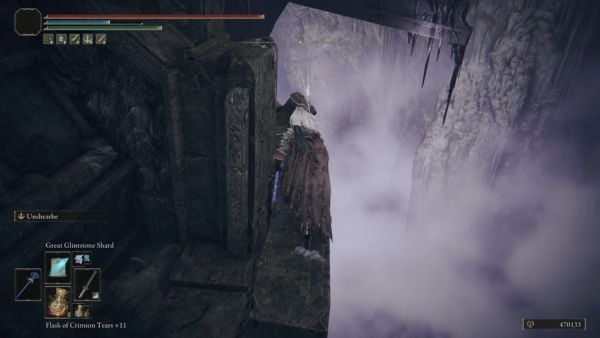
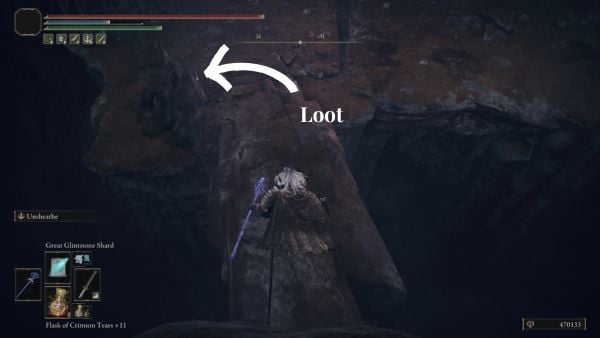
On the edge of this area, you will see this floor at the cliff. This is a collapsing ground and you can stand on it so you can reach the lower level. There are multiple bloodfiends here and you can eliminate them for a chance to get their items like Bloodfiend's Fork, String, or Runes. Head north towards the cliff where you see a corpse on the ground. Pick up the Deep-Purple Lily from this corpse. Then, face the southeast and find the way to the center of the dungeon. You will see 2 more Cursed Bloodfiends here sitting on the upper deck. Go towards them and defeat them. You can pick up the Shadow Realm Rune [3] behind them.
Fissure Cross - Site of Grace
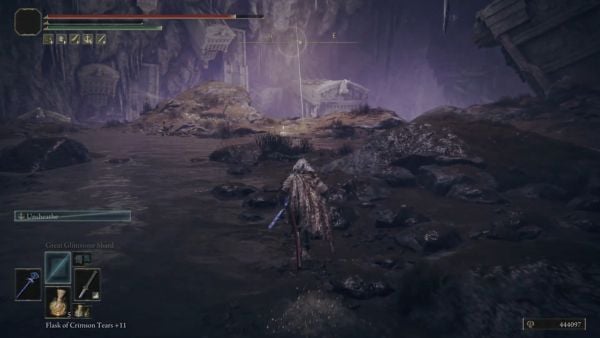
Face the east direction where you see Miquella's Cross and a Site of Grace. Walk over it and take the Scadutree Fragment on the ground and make sure to activate the Fissure Cross - Site of Grace. From here, face northwest where you see a large chunk of collapsed stone. There is a platform that lets you jump down to the lower section.
When you reach the bottom, face east and head to the lower level. Beware of the slimes that will fall from the ceiling. To the left, you can pick up the Velvet Sword of St. Trina tucked at the end of this short cave. Go to the other path where a Gravebird is resting on the edge. Do a sneak attack and then pick up the Nectarblood Burgeon from where it was sitting. Jump down the edge and then pick up the Grave Glovewort [3] right where you will land.
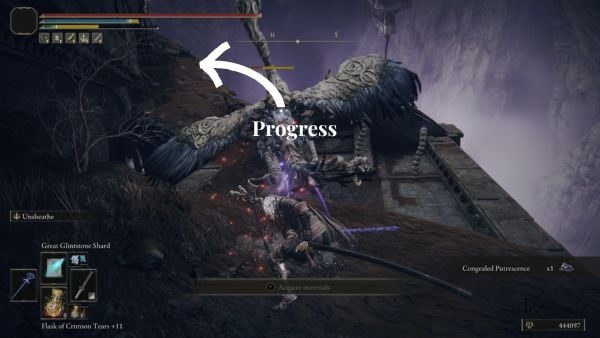
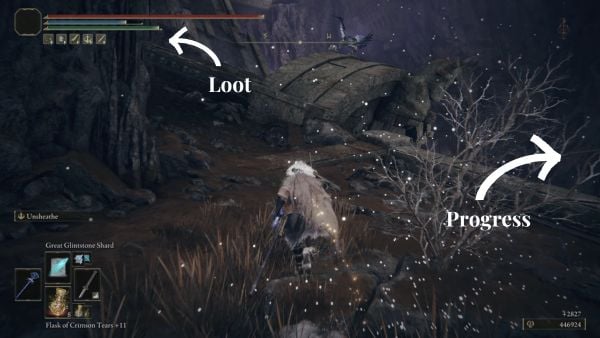
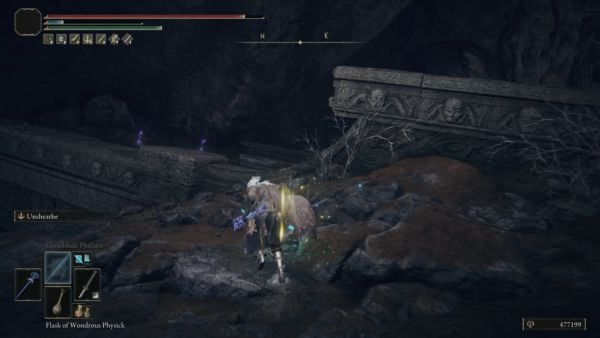
Face north and go up the ramp. There's another Gravebird here with purple markings on its wings. When you reach the slanted area, you will fight another Gravebird. Going to the top, you can pick up a Grave Glovewort [2] from a corpse. Then, head down through the broken bridge here. There are caterpillar-like enemies here on your path and they can shoot out laser-like projectiles. You can try to run from them or just take them out so it's safer to navigate later on.
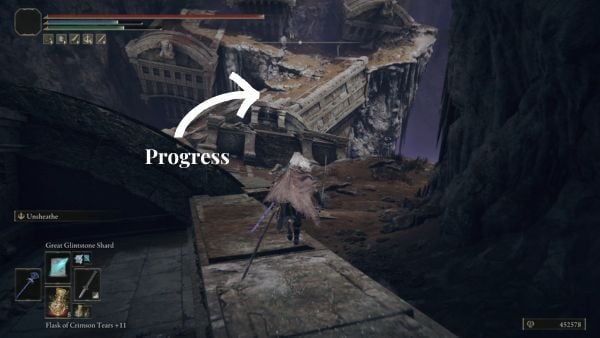
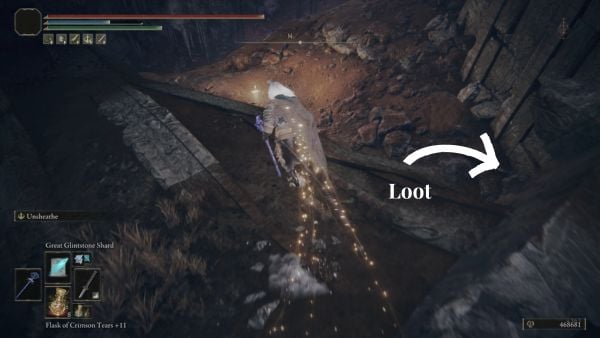
Once you make it to the toppled building on the other side, go to the left side by facing west where you see these stone clusters. You can trigger the explosions by getting near them and then back off as they explode. You can pick up a Grave Glovewort [8] at the end here. Then, go to the right side by facing east and go to the top of the building. Jump down on the left side to pick up Nectarblood Burgeon and a Smithing Stone [6] here.
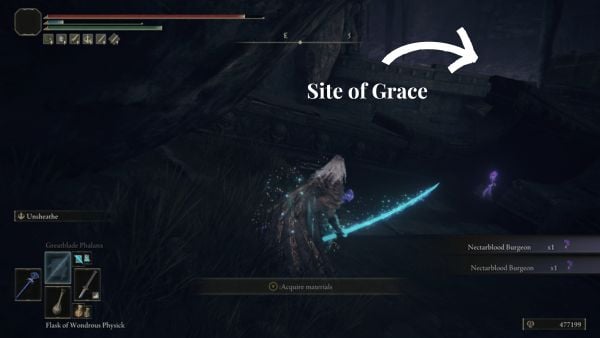
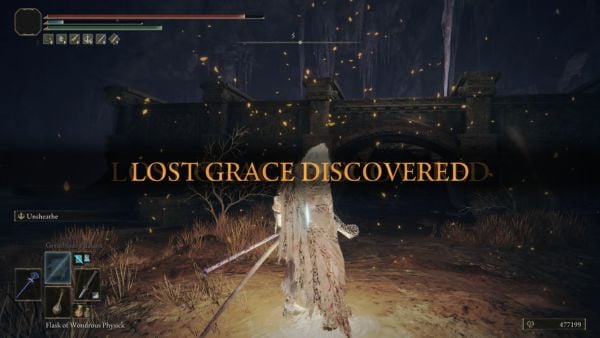
To continue your progress, face northeast where you see another caterpillar-like enemy. Ideally, you want to get rid of this so it will not bother you later. Then, jump down behind the caterpillar, and jump past another stone cluster of enemies. When you see this Site of Grace come into view, go to the right side first. Pick up the Grave Glovewort [7] from this corpse on the edge. Activate the next Site of Grace. While facing northeast, jump to the other platform and then jump down to the lower level.
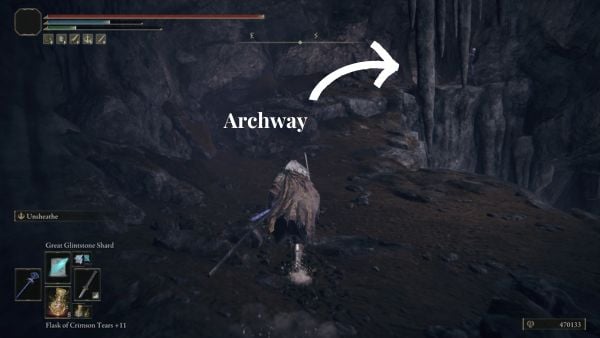
Cross the bridge and pick up the Mass of Putrescence on the other side. To continue your progress, face northeast and go up the ramp. Watch out for the fire-throwing enemies. When you get to the upper area, you can pick up Nectarblood Burgeon and Congealed Putrescence. You can just ignore these enemies after getting the item and continue going up the ramp. At the top, you will find an archway next to a Skeleton Archer.
Fight the Spirit Form of Misbegotten Crusader
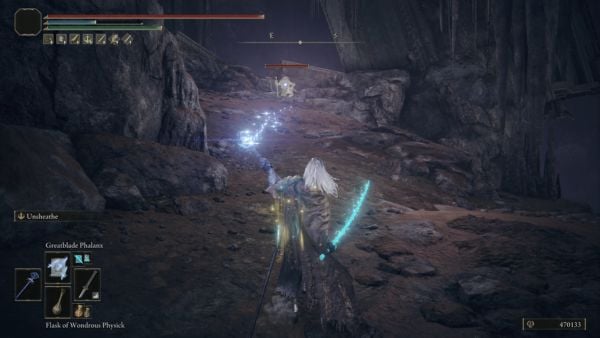
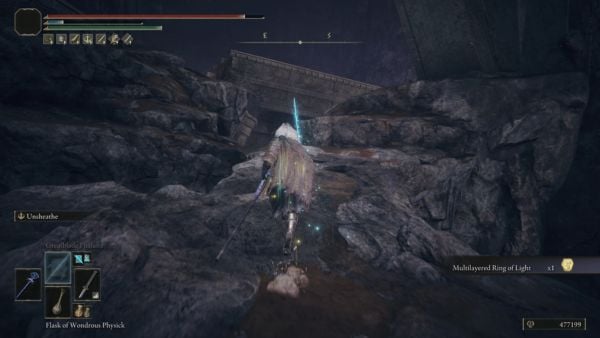
Jump down the archway but watch out for the giant slime here. Take the path to your left and you will be fighting the spirit of the Misbegotten Crusader. It will drop the Multilayered Ring of Light upon defeating it. Then, jump on the platform to the southeast and cross the bridge to your left. You can pick up 3 Nectarblood Burgeon here. Then, face southeast and follow the faint glimmer of the Site of Grace. Activate it and walk up the ramp.
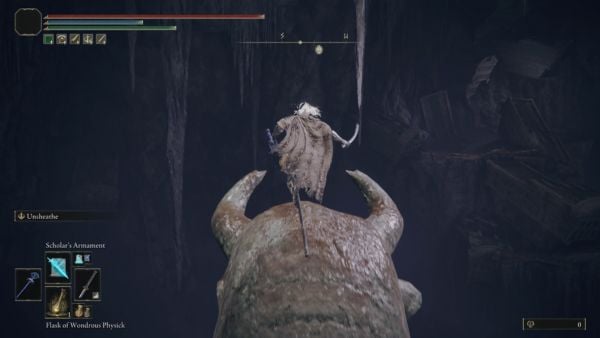
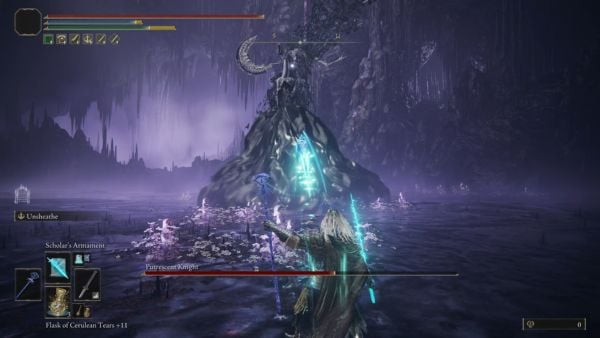
Go towards the horned statue and jump down. At the bottom, you will reach a boss arena. You will be fighting the Putrescent Knight here, a skeleton riding a horse. It wields a massive weapon that behaves like a boomerang and can be thrown in an arc projectile. This boss can deal a good amount of damage and you can check out our Putrescent Knight page to see more info on how to defeat this boss. This boss will drop Remembrance of Putrescence upon defeating it.
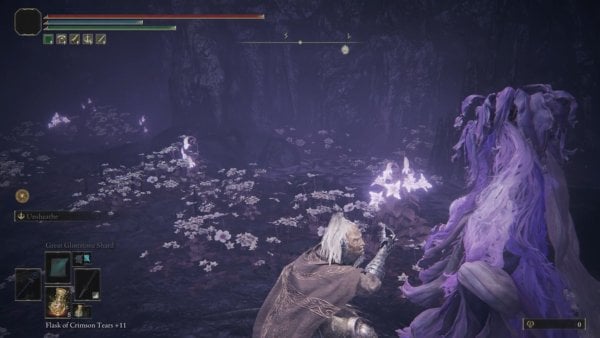
A new Site of Grace will be revealed after the fight and it will also unlock the entrance to the Garden of Deep Purple. Go inside the cave and pick up the items inside. There are Nectarblood Burgeons on the ground and a St. Trina Disciple's Cookbook [3] here. Talk to St. Trina by interacting with the bright purple flower here. This marks the beginning of Thiollier's quest.
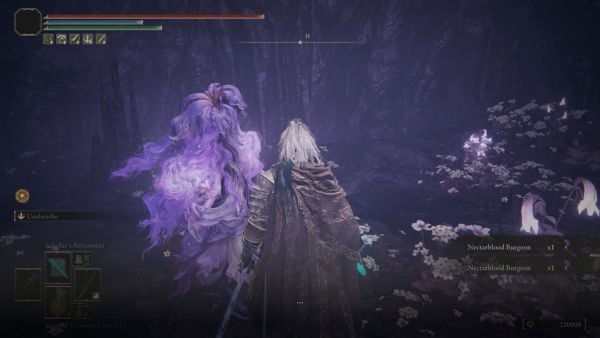
NPC Questline: The Voice of St. Trina
This section of the walkthrough covers the NPC questline for St. Trina and Thiollier.
To reach St. Trina's location, players need to go to Stone Coffin Fissure, due south of Gravesite Plain. You will need to defeat the Putrescent Knight boss first to reach the very end of the Stone Coffin Fissure. From the Garden of Purple Site of Grace, go straight and follow the path until you enter the room filled with purple-glowing flowers.
NOTE: Some steps of this quest are missable and you may be locked out of its progression if you progress further into the story. The first phase of this quest needs to be completed before you burn the Sealing Tree at Church of the Bud. You can refer to our SOTE Walkthrough page for more information.
First Phase
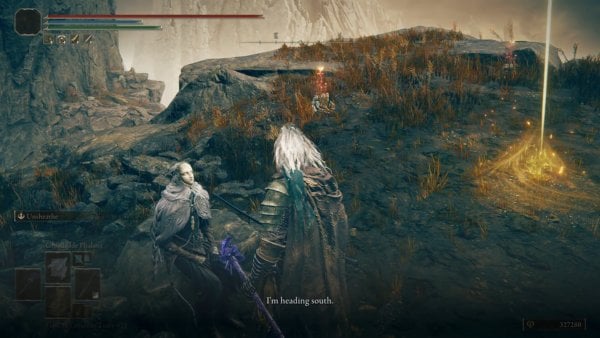
To begin Thiollier's quest, players need to find St. Trina's location. She can be found in an excluded area at the very end of Stone Coffin Fissure. This area can only be accessed after defeating the Putrescent Knight, a large boss on horseback wielding a skeleton-shaped curved sword. Once you defeat it, you can now go to St. Trina. Then, talk to Thiollier in Gravesite Plain next to Pillar Path Cross. Choose the option "Tell him St. Trina's whereabouts." After doing so, you can fast-travel to the Stone Coffin Fissure, and this time, Thiollier will be there.
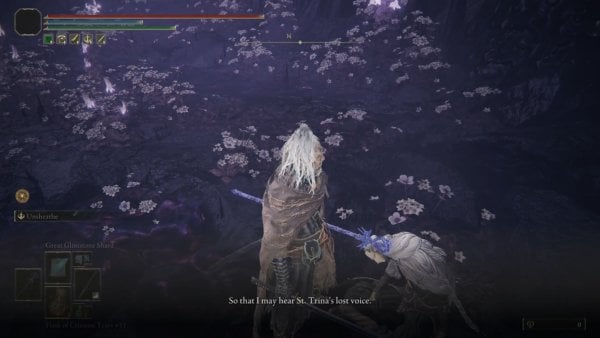
Talk to Thiollier and you will find him in a lulled state in a garden filled with purple flowers. Walk past him and talk to St. Trina, and then choose the option "Imbibe Nectar" which inflicts immediate death upon drinking. You will need to do this action for 4 times and keep doing it until you hear her voice on the death screen. On your respawn, talk to Thiollier, he is still in the same spot where he's trying to drift to slumber. Choose the dialogue option "Pass on St. Trina's words" and this will result in him getting angry that you were able to hear her voice, and not him. Then, drink the poison once again to enter the arena against Thiollier.
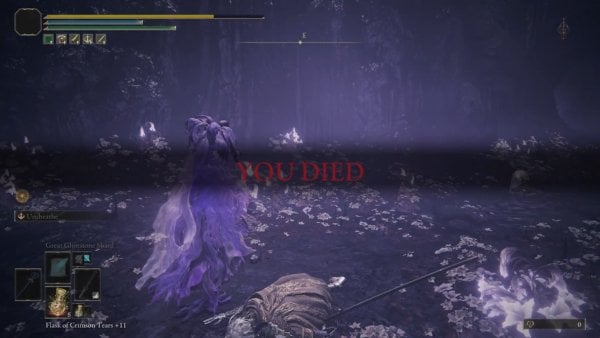
After defeating Thiollier, he will drop St. Trina's Smile. Then, imbibe her nectar to hear the final words "You must kill Miquella... Grant him forgiveness."
- Then, after this part, you will now burn the Sealing Tree using Messmer's Kindling. The second phase will begin after this, and you can't progress the questline after burning it.
Second Phase
After burning the Sealing Tree, return to Thiollier at the Garden of Deep Purple. He can be found lying on the ground, filled with remorse that he wasn't able to fulfill his wishes. Exhaust all of his dialogues then drink the nectar from St. Trina again. Then, make sure to speak with Thiollier again and you hear him with a raspy "A-Ah." Doing this will let you summon him in your fight against the final boss.
First, you need to get past Needle Knight Leda and her allies. Make sure to summon Thiollier here to progress this quest. Then, once you reach Divine Gate Front Staircase, make sure to summon Thiollier again before you enter the mist door. His summon sign can be found on the ground to your left while facing the door. After the fight, he will drop all of his equipment. You can get the following items:
NOTE: Return to St. Trina's location after you defeat the final boss to find the St. Trina's Blossom equipment, dropped by St. Trina.
Elden Ring Stone Coffin Fissure Gallery and Notes
[other images go here]
 Anonymous
I hate laser worms I hate laser worms I hate laser worms I hate laser worms I hate laser worms I hate laser worms I hate laser worms I hate laser worms I hate laser worms I hate laser worms

 Anonymous
I was able to summon Thollier as an ally during the Putrescent Knight fight. Golden summon sign is in the arena once dropping down. Unsure if it's because I talked to him at the Pillar grace before coming here and he had already moved from there (after great rune shattering). I did this after defeating Messmer but before using his flame.

 Anonymous
Kind of wished they fleshed out the area more, like nokron/nokstella or the profaned capital.

 Anonymous
Can't figure out how to reach the bottom once the collapsing ledge is gone. I died down there now I can't get to my runes.

 Anonymous
 Anonymous
Closest thing they have made to Ash Lake, coming across it on your own gives the same feeling. Also includes the most interesting and relevant lore regarding Miquella.

 Anonymous
 Anonymous
Pretty cool that you can find a strange kind of woman here, but there's not enough smoke on the water.

 Anonymous
 Anonymous
Aesthticly, this might be now on of my favorite places Fromsoftware has ever made. And that means something, when Bloodbornes Yharnam exists.

 Anonymous
 Anonymous
I just charged the worms and either rolled through or face tanked the lasers. Yall need Vigor

 Anonymous
I completed this entire quest line after using Messmer’s Kindling

 Anonymous
Get a shield with 100% magic, theres one in Castle Enis. It'll block the stone sniper purple laser beam attacks.

 Anonymous
Guys I finally found the use for Elden Stars, it has enough range to hit the worms from behind cover!

 Anonymous
If the seal hasn’t broken yet you need to approach the castle in Scadu Altus after killing Rellana

 Anonymous
It's okay, i only used 7 flasks worth of giants fireballs free aimed like a morter to successfully take out one wormy

 Anonymous
Where to find all the stuff to collect? except some flowers couldnt find other stuff

 Anonymous

This skeletons gave me flashbacks from dark souls
0
+10
-1