Sainted Hero's Grave |
|---|
 |
|
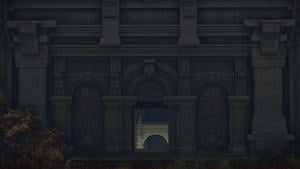
An ominous grave, found at central Altus Plateau |
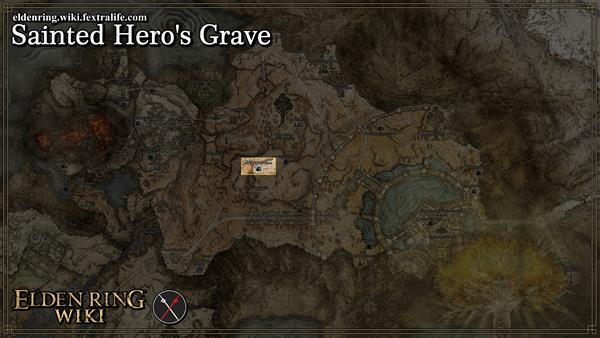
Sainted Hero's Grave is a Location in Elden Ring. The Sainted Hero's Grave is found in Altus Plateau, west of Rampartside Path. It is recommended that you bring 2 Stonesword Keys to this location in order to obtain all the items available.
Sainted Hero's Grave Map
The Sainted Hero's Grave is found in Altus Plateau, west of Rampartside Path.[Elden Ring Map Link]
All NPCs and Merchants in Sainted Hero's Grave
- None
All Items in Elden Ring's Sainted Hero's Grave
Gather & Farm Items
- Root Resin
- Grave Violet
- Ghost Glovewort [4] - can drop from the Revenants
- Sacrificial Twig- can drop from the Revenants
Upgrade Materials
- Ghost Glovewort [4] x3
- Ghost Glovewort [5] x1
- Grave Glovewort [3] x3
- Grave Glovewort [4] x2
- Grave Glovewort [5] x3
Equipment and Magic
Elden Ring Sainted Hero's Grave Creatures, Enemies, and Bosses
Regular Creatures and Enemies
Field Bosses and Bosses
Sainted Hero's Grave Walkthrough
Once you arrive at the entrance of the Sainted Hero's Grave, you will find a Black Knife Assassin waiting for you. She drops the Black Knife once defeated.
Down the lift is a Site of Grace and a fog gate that requires a Stonesword Key to open. Through the door is a Wraith Caller guarding the Crimson Seed Talisman. Head back to the main room once you've dealt with this one.
To the East is an exit. On the ground a half-buried tablet shows the message "Shadow bathes in light and knows weakness." Continue down a staircase leading down. The second right/South exit takes you to a room, where two Wraith Callers perch at the top of a set of stairs. A Revenant spawns out of the ground in the space under where the Wraith Callers are. There is a Ghost Glovewort [4] near its back wall.
At the top of the stairs behind a Grave Violet is an illusionary wall that reveals a ledge above a large hall below.
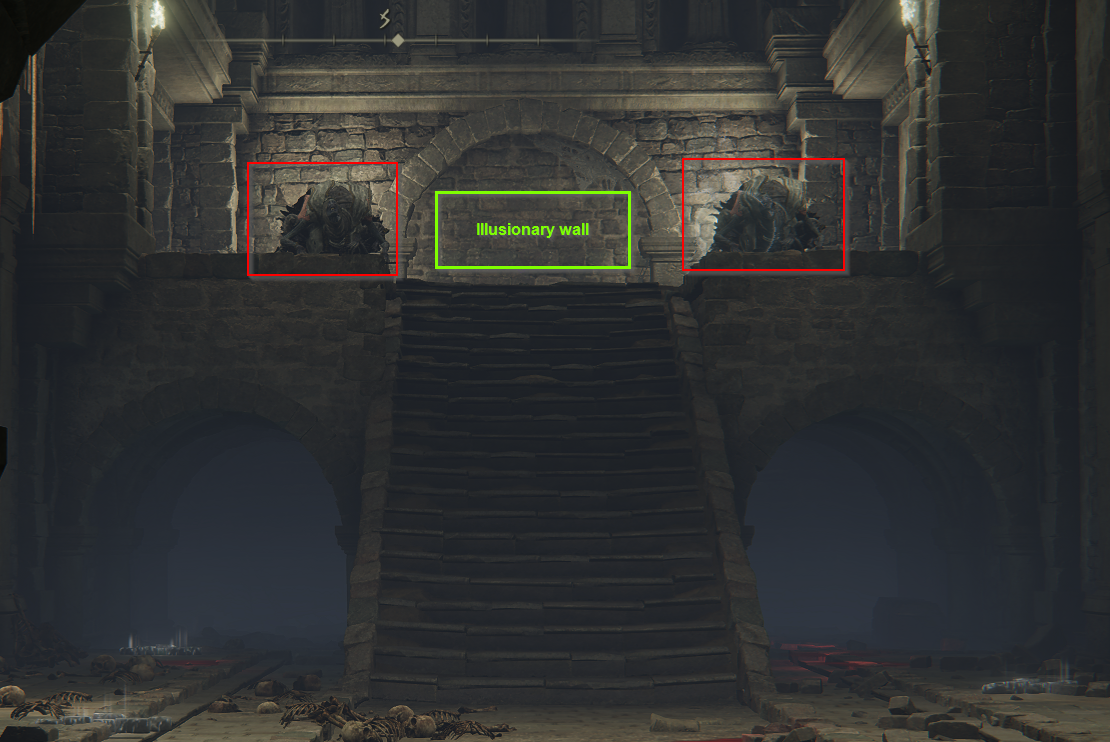
The hallway area is also accessible by taking the first right/East exit you passed earlier. Two imps, one covered in darkness and a second standing in a light circle can be seen from the ledge.
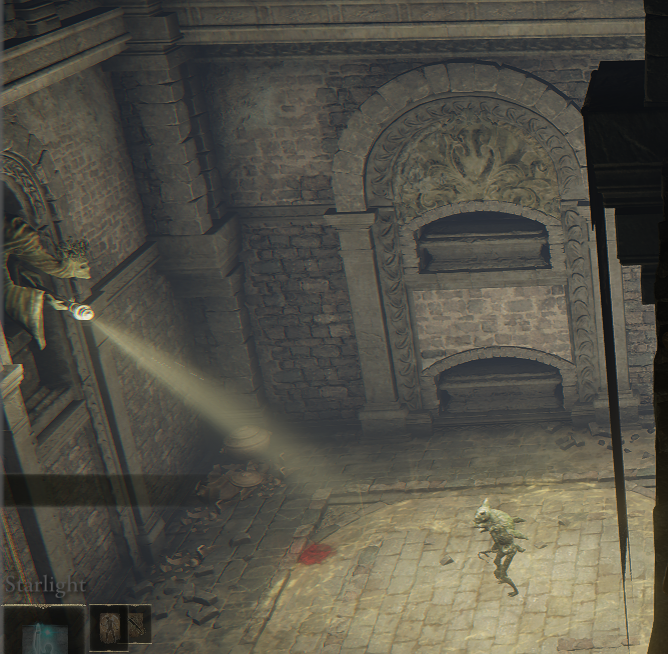
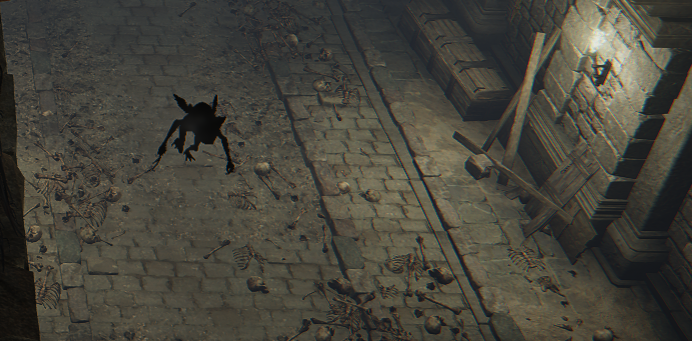 This is your first hint regarding this dungeon's mechanic - you have to lead the dark covered imps (and any other 'dark' enemies) into the light to be able to damage them. They will be staggered upon walking into it.
The hallway takes a turn and down some steps you come to a room with two Shadow imps and a Wraith Caller under the stairs. The light circle is down the steps to the right. 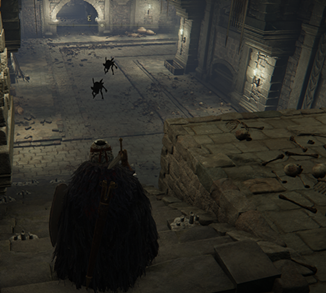
A Grave Violet and a Grave Glovewort [4] can be found in the space under the entry to the room.
Take the eastern exit down some stairs to the next room. You'll notice the floor in the midst of a set of columns is sandy and has a depression in the middle that would collapse when you walk forward. Instead, walk around the outer edge of the room to the opposite corner to grab the Leyndell Soldier Ashes from the corpse.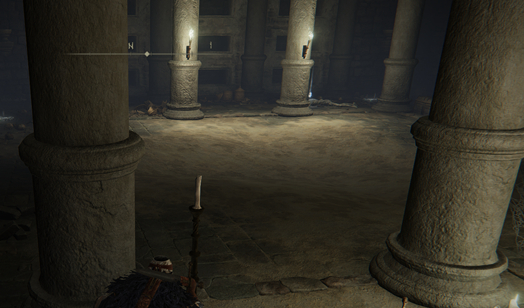 With no other path forward, you must walk to the center of the room and trigger the floor collapse.
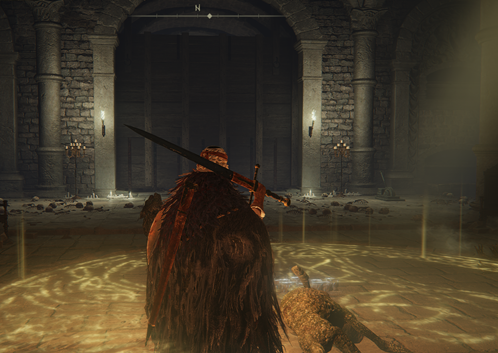
You'll fall into a circle of light, surrounded by four shadow imps. Once you have fought them off, there is a Grave Glovewort [3] in the alcove South of the light circle as you stand facing the wooden gate. Pull the lever next to the gate to the North. The large wooden gate opens in front of you.
Down the stairs on the other side of the gate are three Rotting Corpses and three active Guillotine traps. Note that further down the hall on a bridge on the second level are two more Rotting Corpses that are going to drop down as you walk below the bridge. An additional four Rotting Corpses stood at the far end of the hall where it takes a turn right/East.
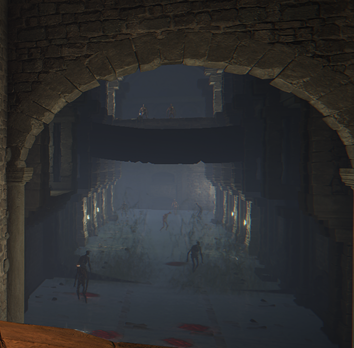 If you get on the second blade and ride up you can land on a platform that leads up to a staircase with four Rotting Corpses. Continue through to a room, where are five Rotting Corpses around the bottom of the steps as well as two Wraith Callers at the top of the steps.
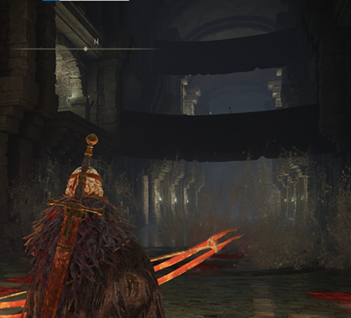
It leads you to a room up some steps with four Rotting Corpses. The path up the stairs behind the Wraith Callers will bring you back to the room with the collapsing floor (if you accidentally fell before collecting the Leyndell Soldier Ashes, you can go grab them now).
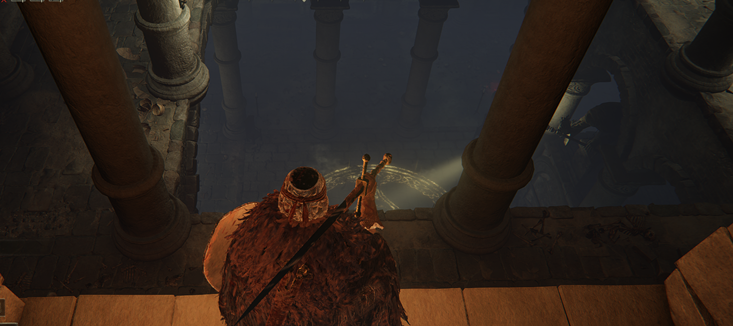 Under the stairs is a space blocked off by white fog that requires a Stonesword Key door to dispel. Behind it is a Grave Glovewort [5] and the Dragoncrest Shield Talisman +1 guarded by two more Rotting Corpses. Assuming you already have the Leyndell Soldier Ashes, return to the guillotine room. After the second trap is a Ghost Glovewort [4] followed by four additional Rotting Corpses. Two more would drop from a overhead bridge as you approach.
Around the corner will be a mounted Wraith Caller, three more Rotting corpses, and another three guillotine traps. Beyond these is the heavy double door leading to the boss.
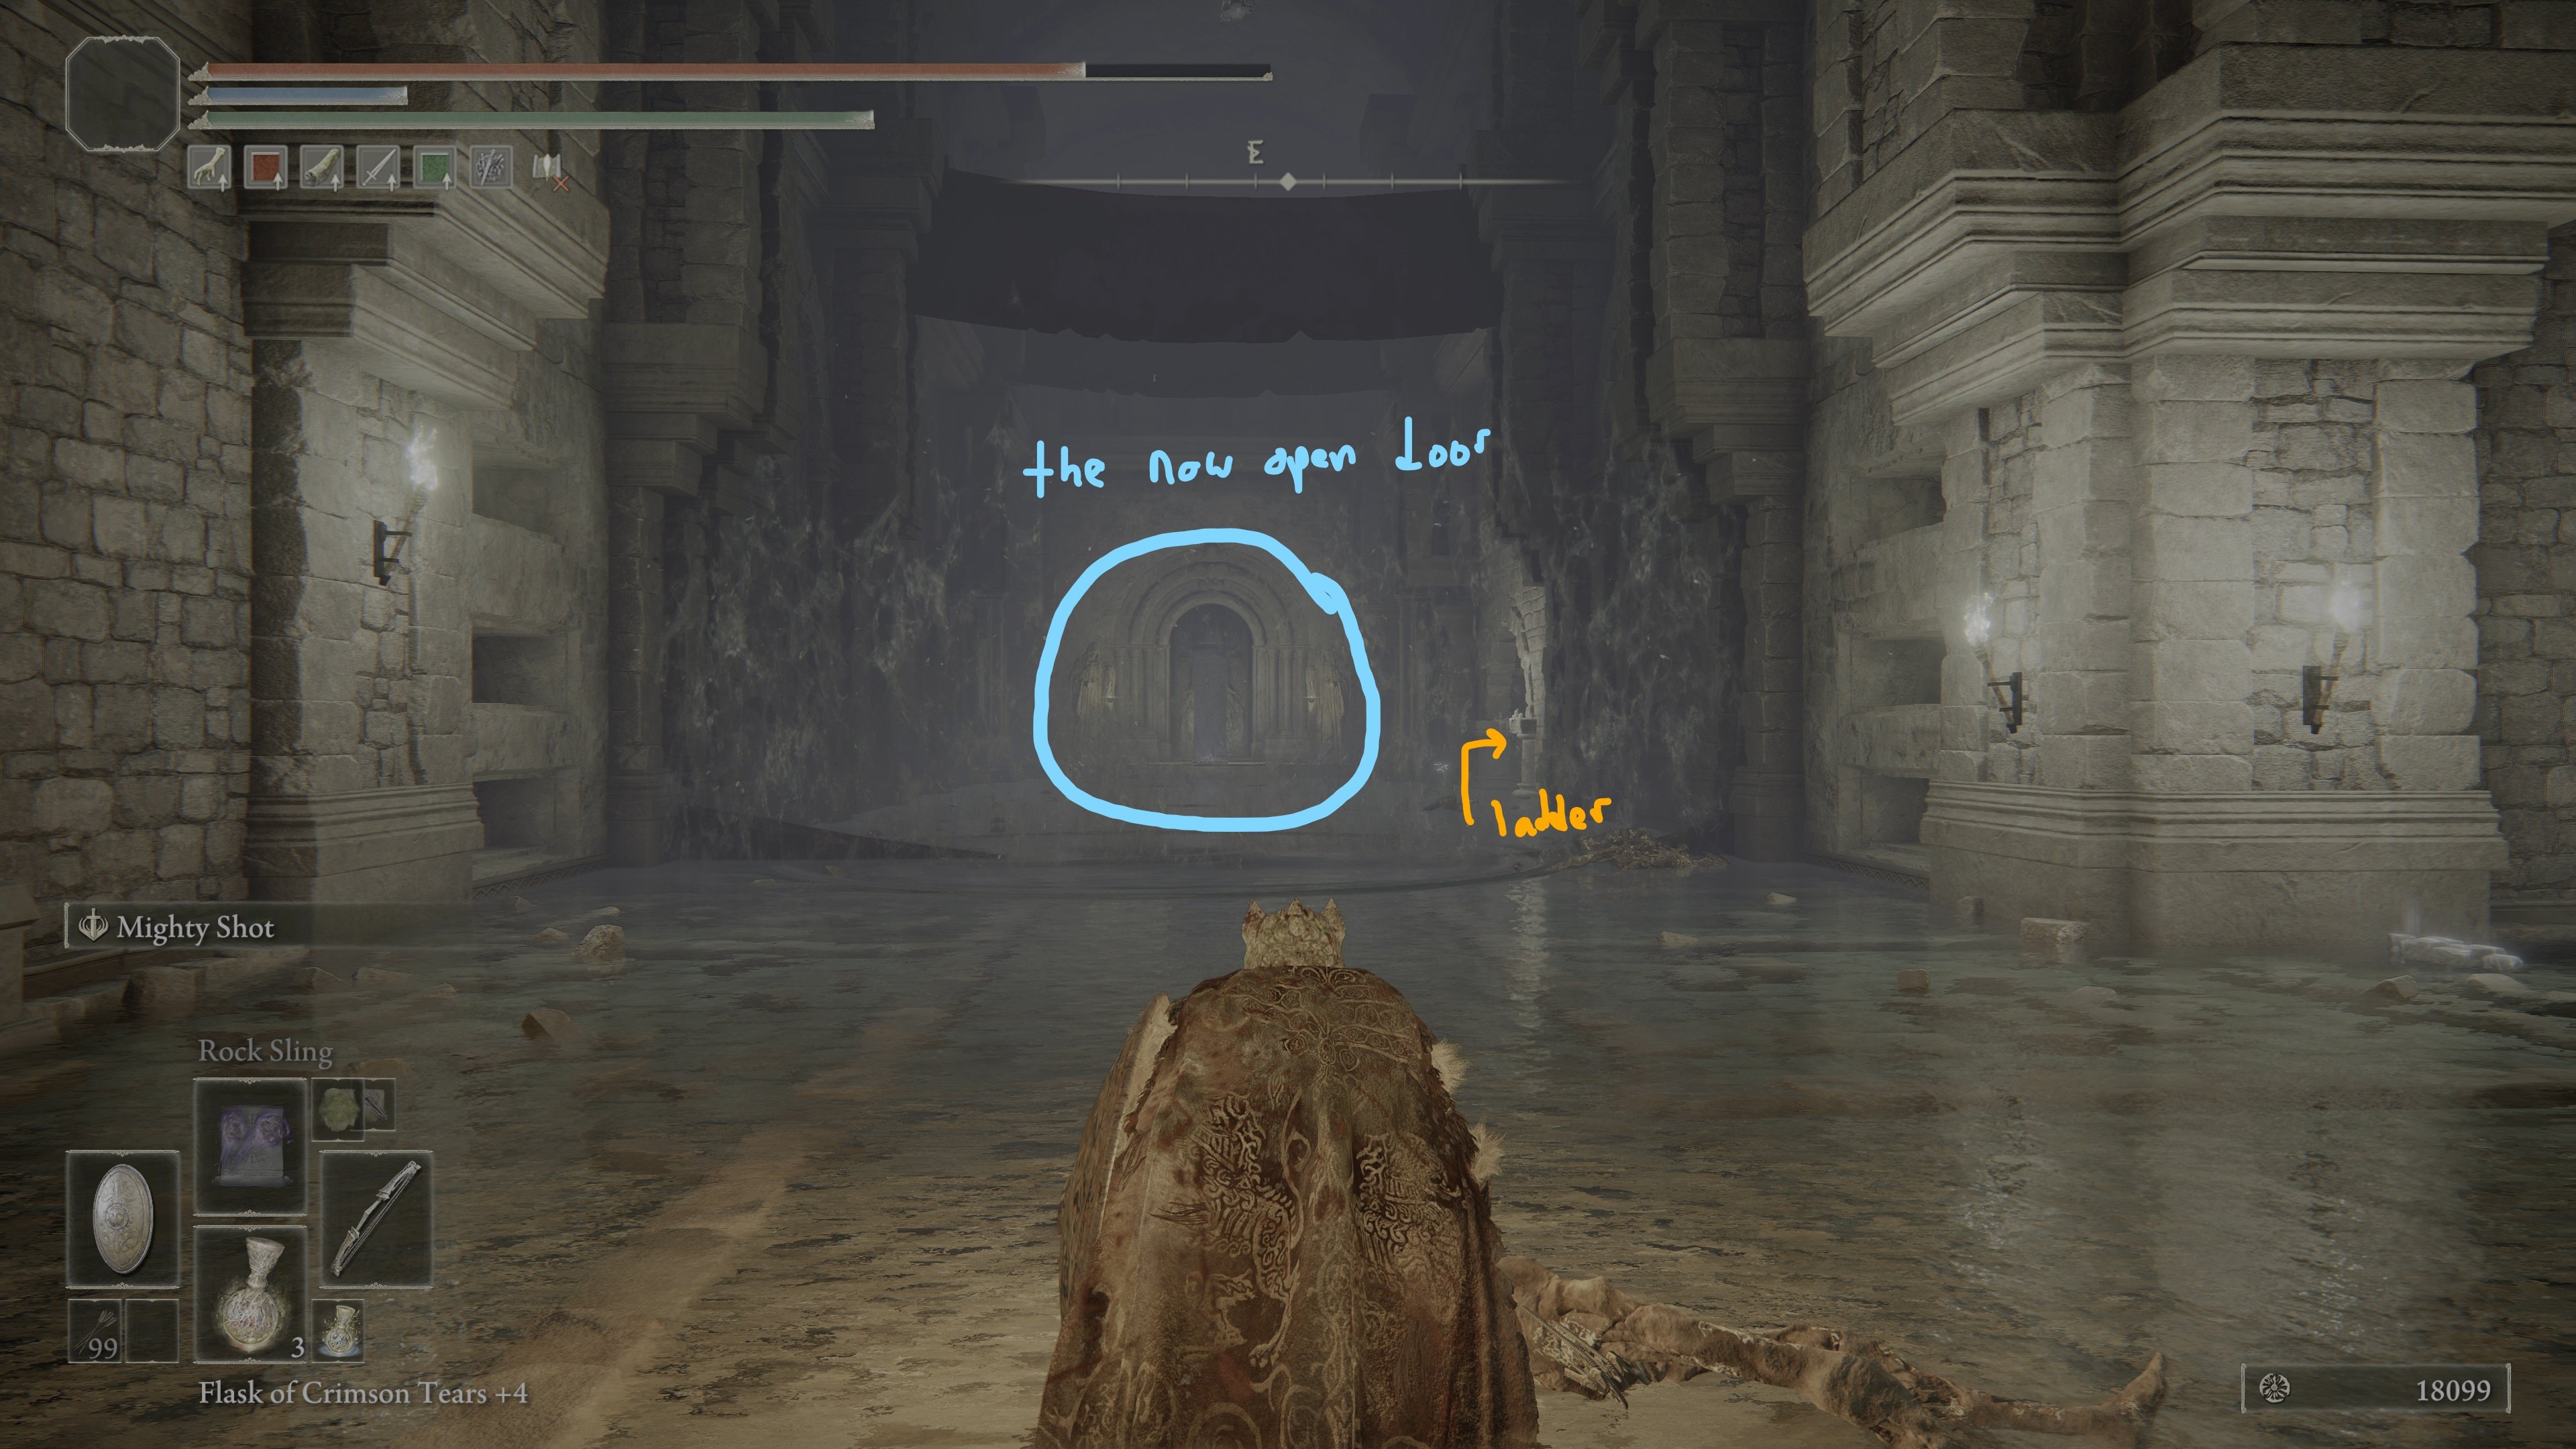
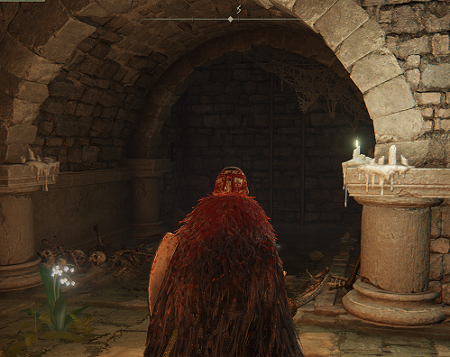 Before that, however, turn to your right/South to pick up a Grave Glovewort [3]. Climb the ladder visible in that alcove. You are now standing on ledge above a room guarded by another Revenant - see the yellow and black vapour rising from teh spot between the Grave Glovewort and the corpse. Drop down, lure it out by getting close to that spawning point and run back up the ladder to the ledge. From here, you can safely use range or the Night Maiden's Mist to kill it. Casting a healing spell while it is in range also deals damage to it. In this room is a Human Bone Shard and a Grave Glovewort [5]. The revenant itself drops a Ghost Glovewort [4].
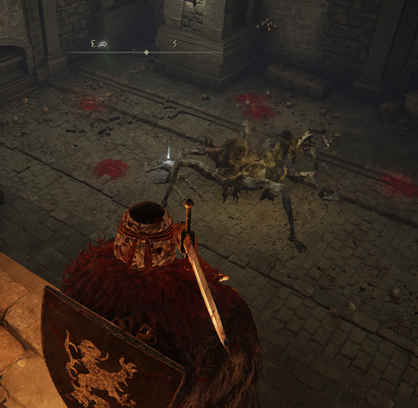
**Note: this Revenant respawns at the same location after some time has passed even without you resetting at the Site of Grace. It is also possible for another to spawn while one is still in place. Beware as you return to the same room during the fight with the Grave Warden Duelist or returning there to collect items.**
Take a right after you drop down, go west across the bridge above the first room with the guillotines. A corpse there can be looted for 3x Root Resin. Continue up some steps to a long room. A little way ahead is a coprse with the Prattling Pate (Let's get to it). A shadow Grave Warden Duelist stands at the far end guarding a Ghost Glovewort [4] and Ghost Glovewort [5].
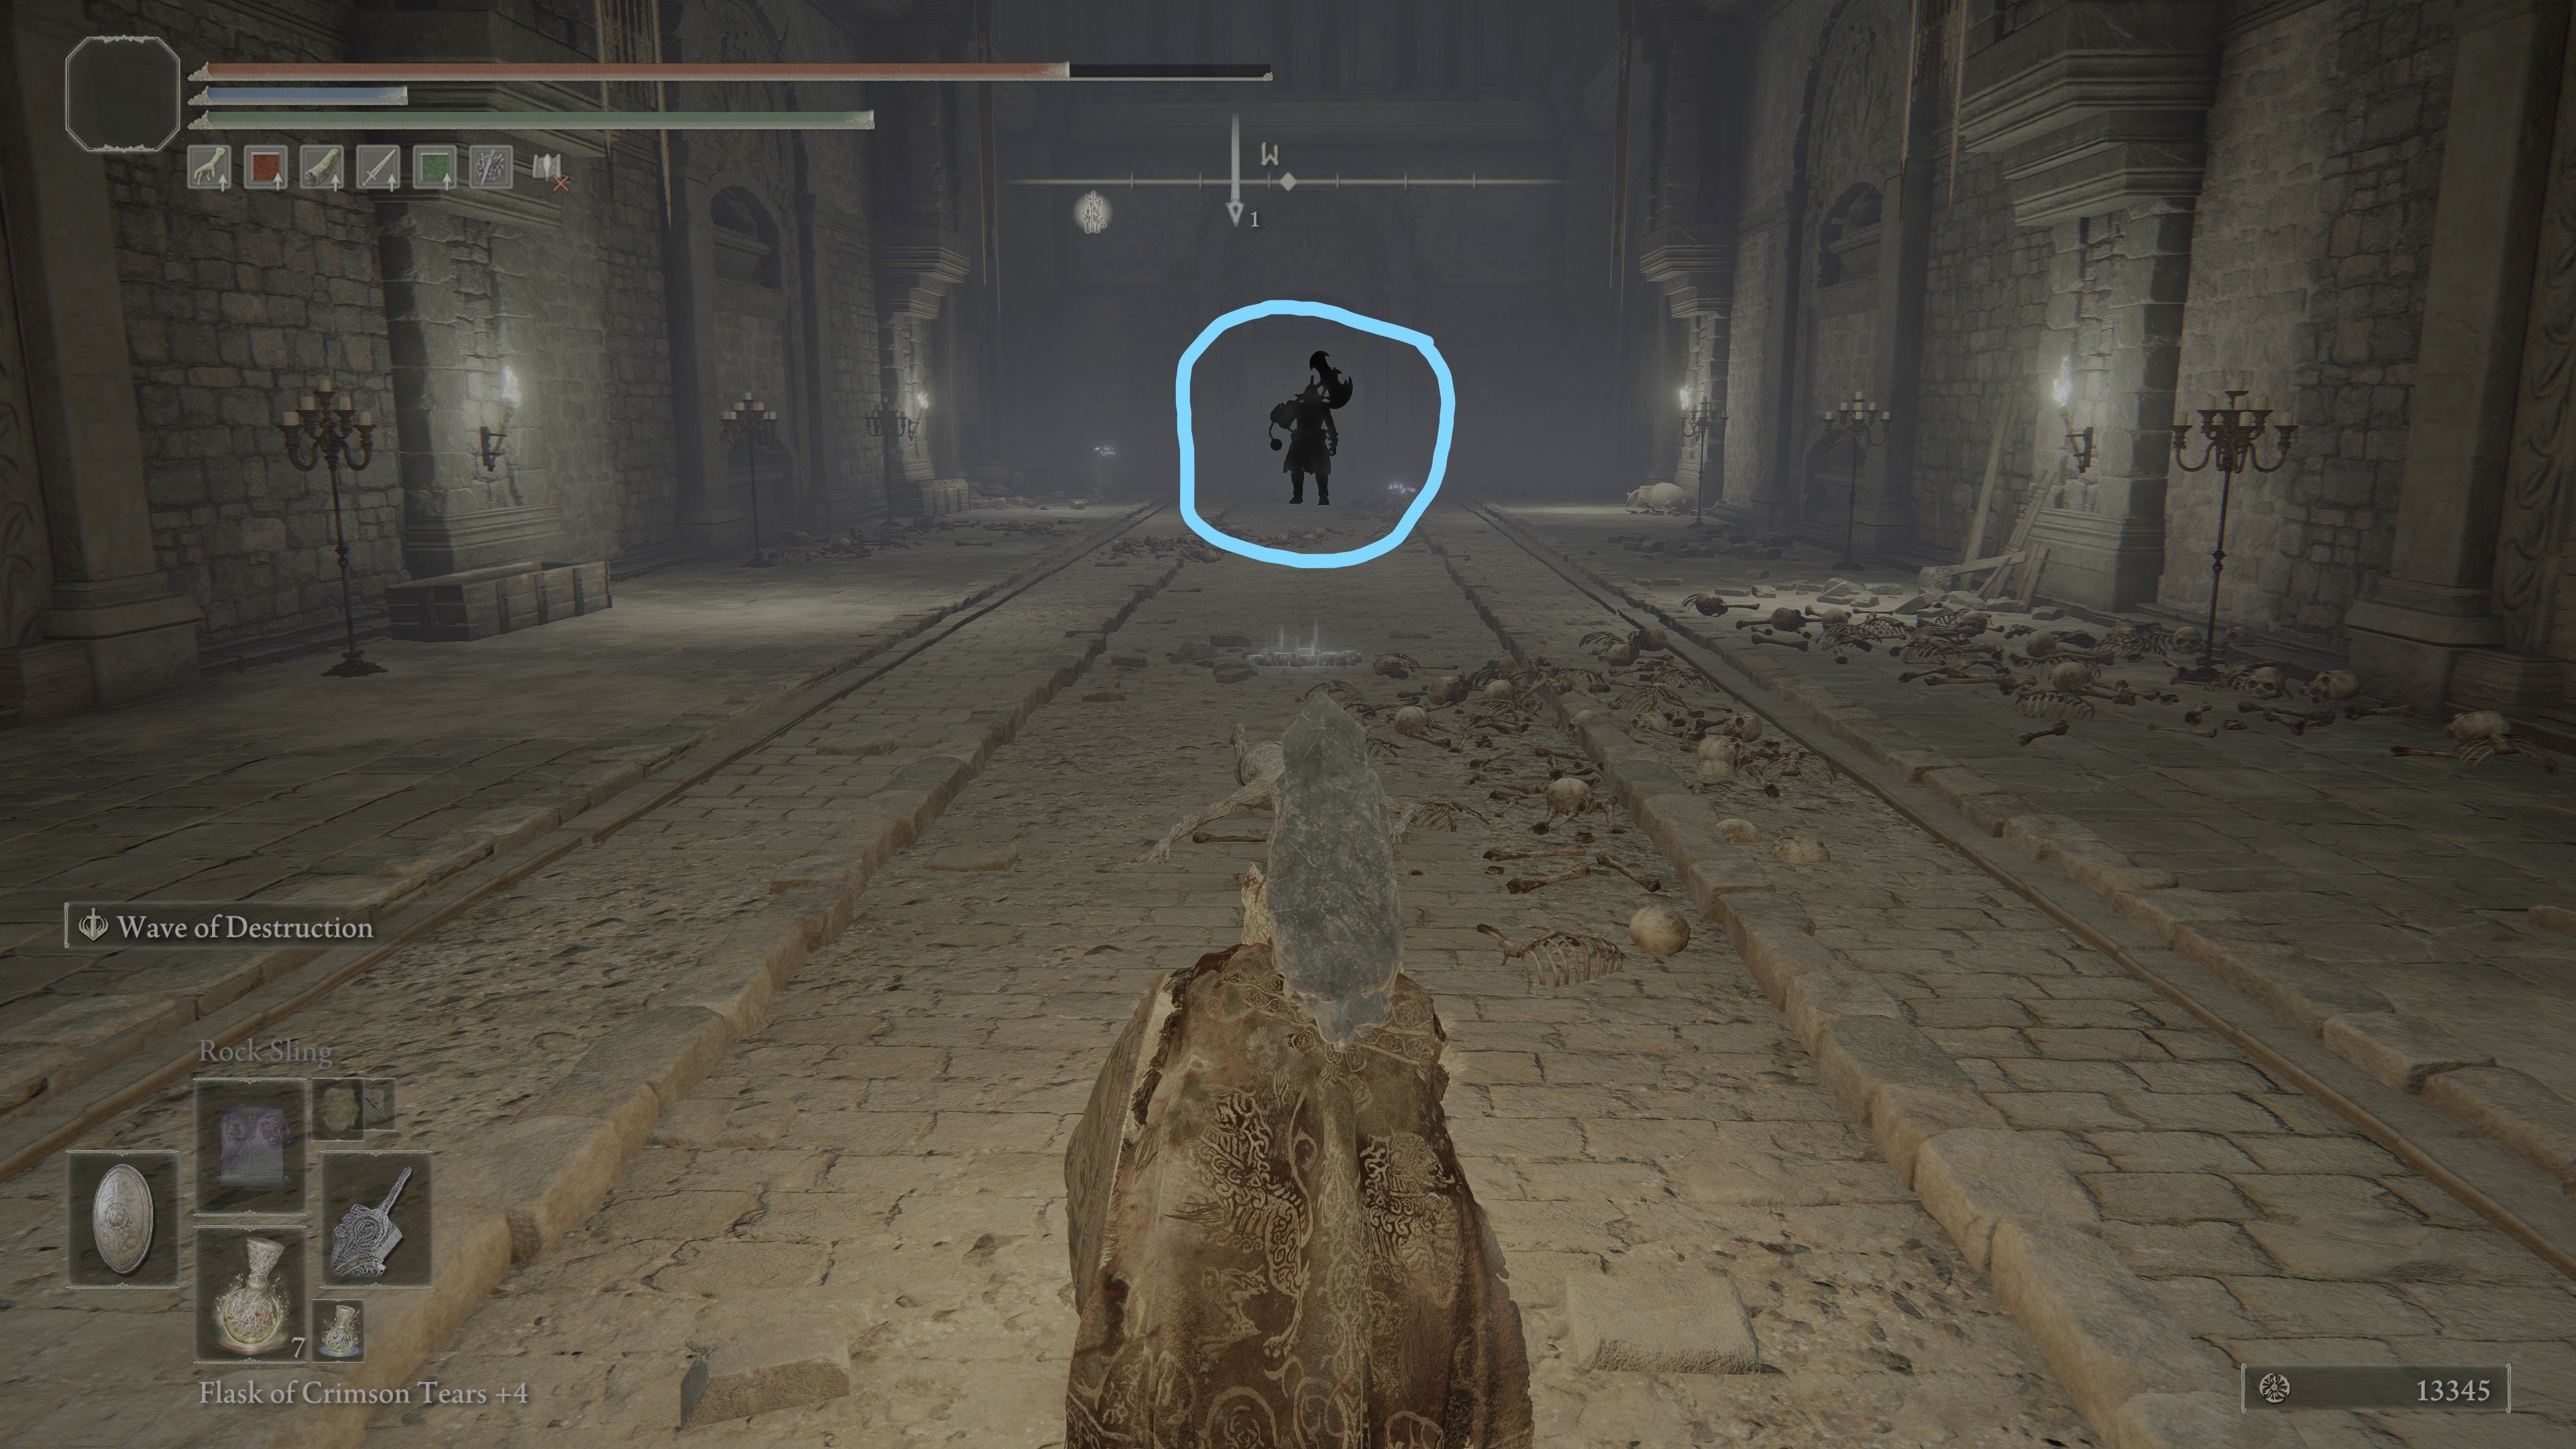 You must draw him out and back to the light circle, the closest one being the one you dropped onto through the broken floor. Defeating him is required to unlock the heavy door leading to the boss. You have to be in melee range to bait his attack to make him step forward, otherwise he will retreat back down the steps leading to the illuminated circle of light. Alternatively, equip the Shabriri's Woe talisman to easily draw his aggro and have him step into the light.
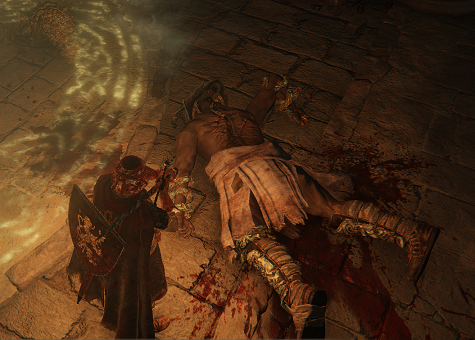 Go back past the guillotines and to the now open door - head down the stairs. To your right is a final Rotting Corpse and a Grave Glovewort [3].
 Finally, enter the Boss room and you will fight the Ancient Hero of Zamor. The boss drops the Ancient Dragon Knight Kristoff Ashes. After the fight you can collect 2x Root Resins in the back corners of the room. Well done!
Elden Ring Sainted Hero's Grave Gallery and Notes
You need two stone sword keys to get all items in this dungeon.
 Anonymous
 Anonymous
Funny if the revenant chases you down to the guillotines and gets a free haircut (while you get the runes) ^^

 Anonymous
Revenants are some of the trashiest ****ing enemies in the whole game.

 Anonymous
holy foreshadow batman, this tomb has a lot imagery of the shadow realm just shown. Beings who can't be touched until they get blessed by the light of the Erdtree.

 Anonymous
 Anonymous
It's not that this Black Knight is waiting only when you don't kill him in Lurnia cave ?

 Anonymous
My only problem with this dungeon is the fact that the Grave Warden sometimes just will not go in the circle no matter how hard you try. I've even had him back away while wearing the shabiri's woe. Other than that, it's not too horrible.

 Anonymous
At rl135, with this walk through, and with great heal at the ready, this wasn't too bad. But that's way overlevelled. I'd just killed the fire giants and wanted to get trophies taken care of... one of them is the spirit ash this dungeons boss drops.

 Anonymous
So it looks like no one has noticed it yet, but I just found out you can re-aggro the shaded Duelist by using the prattling pate. Pretty cool.

 Anonymous
Dragoncrest Greatshield +1 and Crimson Seed Talisman are both here, this place goes hard.

 Anonymous
For the first Revenant, it's a Ghost Glovewort 5 under the stairs, the Revenant drops GG4.

 Anonymous
I got the duelist greaves from the shadow duelist here. It "makes the wearer a slightly easier target"

 Anonymous
 Anonymous
Grave Warden duelist can be killed by the guillotine after he's activated as can some of the imps. Don't have to fight the revenants. Run past everything else. Boss is relatively easy.

 Anonymous
 Anonymous
This Zamor guy is ok, but they should've made him idk... maybe 1.5 times stronger and 3 times tankier? Hero graves are so rare they should be memorable for their content. I didn't mean to wreck this dude with so little effort that it only required me to use mere 1 HP flask. Ugh! Dark Knife Assassin outside was much tougher, yet her encounter was really cool unlike this fellow downstairs. So considering assassin, and revenant ambushes, and the duelist, the finale of the dungeon was totally anticlimactic.

 Anonymous
This place was super easy. I dont understand all the complaints. did none of you have spacial awareness?

 Anonymous
Terrible, tedious dungeon. Full of imps. The grave warden duellist has a ridiculous health bar, essentially making it a two boss dungeon with one bonfire. The gauntlet to get to the level boss is insane.

 Anonymous
There's a comment on 18th of may about the second revnant near the grave warden duelist re-spawning after being killed and WITHOUT the player resetting the dungeon at a grace. I only cleared this place a couple of days ago and that revenant still re-spawns after its killed.
I went back for the glovewart where the duelist was and it spawned again right in front of me, I nearly had a heart attack. This one isn't as bad as the first revenant behind the stairs though, that one chased me much further and for longer than I've ever seen with any of the other revenants.
This page should give some warning about the second one spawning again without resetting the dungeon at the grace checkpoint. I'd have appreciated a heads up about that much more than being warned about a single putrid corpse before the boss room.
 Anonymous
This page should give a warning that the second revenant in the room just before the grave warden duelist re-spawns without the dungeon being reset at the grace check point. I killed the duelist then went back for the glovewarts and the revenant spawned again in the same place it did the first time. Its different to the one under the stairs in the first area though. It didn't chase after me when I ran for it.

 Anonymous
I've been avoiding this dungeon, enemies only taking damage if led to a source of light sounded like a proper nightmare. Its not that bad though. I think its the easiest of the three hero's grave dungeons in Altus Plateau.

 Anonymous
Something this page definitely needs to warn about, is the second f**king revenant you kill just before the grave warden duelist will re-spawn without you resetting the dungeon at the grace checkpoint. I would have appreciated that much more than being warned about a single putrid corpse outside the boss room. I killed the duelist and when I went back to get the glovewart the revenant spawned in the same place it did last time. I nearly had a heart attack but unlike the one under the stairs this one didn't chase after me when I ran away.

 Anonymous
There's a couple of times in this wiki where it mentions Ghost Glovewort when it actually means Grave Glovewort.

 Anonymous
If for any reason you don't have any of the healing incantations that have AOE, the first one hiding behind the stairs can be quickly killed using the perfumer's poison spraymist. it talkes three (casts?) to kill it and can be done without the revenant seeing you and getting agro.

 Anonymous
 Anonymous
 Anonymous
People might be unimpressed by the Bastard’s Stars weapon art, but it does one-shot the revenants (at least with my stats) and you can s charge it up and use the leap to spawn them.

 Anonymous
The shaded duelist doesn't 100% guaranteed drop the Duelist Greataxe whoever said it is a guaranteed drop are full of it

 Anonymous
 Anonymous
Word of Warning - the second Revenant before The Dark Warden Duelist, still respawns after defeating it; despite not resetting at the grace point. Maybe its just me, but it happened by accident - so watch out.

 Anonymous
easy hero grave cause no chariot + shadow darkness gimmick is really simple. i did get bit confused by the big guy walking away whenever i tried to bring him to the light but shabriri's woe fixed it (thanks other commenter)

 Anonymous
Anyone else curious why there was one of the surviving/hiding Black Knife Assassins guarding the entrance, lore-wise?

 Anonymous
There's a secret door behind the two spellcasters early in the dungeon, but it doesn't seem to lead anywhere useful.

 Anonymous
REVENANTS! F those guys (Runebears too while I'm at it, F'ing things) I thought it was strange seeing on the wiki they are "weak" to healing spells, but its true: healing spells are an AOE dmg against them, and strong too (otherwise they are weak to normal Holy dmg, er at least the boss-version is). Also running to position yourself BEHIND them before they're done spawning is a great position to find yourself in, as they'll spawn & not realize you're standing there.

 Anonymous
I used the Shabriri’s Woe talisman to aggro the warrior. He followed me relentlessly with little effort.

 Anonymous
If you drop down at the farthest right corner of the wall, and run beside the right wall until reaching the bridge, the revenant doesn't spawn. At least on PS5.

 Anonymous
is the revenent in this dungeon unkillable? I took it out once and it respawned immediately even angrier than before and just continously charged the wall where you drop from

 Anonymous
 Anonymous
Grave Gloveworts are the ones found on this Grave not ghosts, everything is inverted

 Anonymous
Lightning spear works in the dark, no need to lure, bolt his ass

 Anonymous
After the boss there are *2 root resins. One in each back corner.

For anyone struggling like me with the IMPS, I used a Reduvia+4 and The base JellyFish Shield and destroyed them in seconds.
Big Boy you have to lure as well. Easy.
 Anonymous
In the guillotine room, you can lure the mounted enemy to get hit by the guillotines. One shot every time

 Anonymous
Very well designed dungeon and definitely one of my favorites. Made me run for my dear life.

 Anonymous
Grave keeper cloak dropped from shadowed grave keeper duelist.

 Anonymous
Grave keeper cloak dropped from shadowed grave keeper duelist.

 Anonymous
There is always a massive pile of bloodstains right before the boss door due to one lone zombie hiding behind a ledge to the right of the stairs. Pretty funny watching all the unsuspecting players get grabbed and killed by this one dude.

 Anonymous
All Black Knife Assassins are female. Should change the "him" in the desc.

 Anonymous
 Anonymous
If you run back into the room the ladder leads to after agro'ing the shadow warrior another centipede abomination mage will spawn where first one did in the same room.

Shadow warrior started backing up before the light in my game too. What I'd recommend is to get close enough for him to start doing attack combo that should propell him forward towards the light.

 Anonymous
Elden Ring has so few illusory walls, but there's one in here that isn't hiding anything, it just stops you from having to backtrack down a couple hallways

 Anonymous
Black knight bug solution (for me): turn your back towards him. When I was facing him he would always retreat but when turning my back towards him he would approach me. Good luck!

 Anonymous
The boss in this area has really cool weapon but he doesn't drop it

 Anonymous
You have to bait his attacks really close for the shadow warrior to follow you to the light. Otherwise he just goes back.

 Anonymous
The pearl drake is not there it's actually in the ruins before whydham catacombs use stone key bam easy .sorry for spelling.

 Anonymous
For some reason, for me the boss was glitched and didn't move at all. I had enough runes to level, so I went back to the site of Grace, leveled up then ran to the boss chamber without killing anything. I kept receiving a bunch of bits of runes as enemies were killed by the guillotines traps. As I entered the boss room, I immediately summoned an Lhutel the Headless (ashes) and noticed how the boss was not moving. I though that maybe he will start moving once I get closer... but no, I was able to walk behind it and hit it non-stop until it died. It was the first time this happened to me. (Why can't this happen for a more stupidly hard boss like the Sellia Crystal Tunnel's boss instead of an easy-to-manage boss like this one? T_T)

 Anonymous
For those who have an issue with the shadow axe warrior, the light spot you need to bring him to is the one located under the sand pitfall where you felt with the 4 shadow Imps. You need to be at a certain distance (close enough) for him to follow you which makes it a bit more risky than usual. Once he's touched by the light, he will be immobilized for a moment which should allow you to deal 1 critical hit on him even from the front. If you're thinking of using the Guillotine traps to kill him, it takes 2 or 3 hits from those (depending on if you dealt a critical hit or not) to kill him. You should avoid going into combat within the Guillotines traps area against him as the camera will often glitch-out when a guillotine fall and any hit from the axe warrior can stag you for a moment under any of those, meaning instant death. It might be a bug, but it's currently possible to farm Grave Glovewort[5] out of the horror thing that spawn in the room you had to drop from (after the ladder) to reach the shadow axe warrior. Seems like that one respawn even without going to the site of Grace as I have killed it 3 times. It's a bit risky, but still simple: Jump down and as soon as you hear it spawn, run like crazy down the bridge toward the Guillotines traps move as fast as possible toward the ladder, climb it up and the horror should (if you were fast enough) remain in the room where it spawned. You can stay on the platform next to the ladder and gribble it with arrows until it's dead, jump down take the Grave Gloveworth[5], move to the area where the shadow axe warrior spawned, return to the room with the horror which will spawn again, run, rinse and repeat.

 Anonymous
I can confirm that the blackened warrior is bugged for some people.
I tried about 5 times in my game and at least once as a co-op summon, we can't even bait the blackened warrior into attacking into the light, it's past his aggro range and he just turns around and walks away.
 Anonymous
Dragoncrest Shield Talisman +1 is also here, you have to ride the first blade up, and spend 2 keys

 Anonymous
there is a second sword key door you can get dragoncrest talisman +1 and grave glovewort 5

 Anonymous
There is also a Crimson Seed Charm in here. It's right as u walk in, thru an Imp locked door(the stonesword key lock)

Halfway through the dungeon, there's a pitfall trap you need to take down in order to proceed further. Once you fall into the hole, there's no way back to the Site of Grace apart from dying until you beat the boss. So, don't be like me, who waltzed into the dungeon with 30,000 runes and nearly had a heart attack each time I had to re-fight all the enemies on the way back to them every time I got killed by the barbarian. (There is a stake once you open the door to the boss, though.)

 Anonymous
To open the door with the boss (Ancient hero of zamor, very easy considering the location of the dungeon), you need to go down to the end of the corridor with the falling black blades. There will be an enclave with a ladder on the right. Go up, in one of the two room is a blackened warrior. Aggro him down to one of the light sites to kill him - door will be opened.
At the beginning of the dungeon, there's a fog wall on the right that needs a sword key - behind is 1 mob with a talisman that increases HP gained from flasks.
Using Sword Key at entrance opens room with Crimson Seed Talisman. Dungeon loot: Grave Violet x3, Grave Glovewort (3) x3, Grave Glovewort (4) x3, Grave Glovewort (5)x3, Human Bone Shard x1, Root Resin x3, and Prattling Plate "Let's get to it".


Reminder that aoe heal spells (all of them except urgent heal) will absolutely destroy revenants. The damage isn't based off your incantation scaling either (I think it does 50% of their health plus some flat number), so all you need is the heal spell, any seal, and twelve faith to be wrecking them. If you lack faith, use the two-fingers heirloom, (simple) commoner's garb, or whatever faith boosting equipment you have.
1
+10
-1