Ancient Ruins of Rauh (Rauh Ruins) is a Location in Elden Ring. The Ancient Ruins of Rauh region are added with the Shadow of the Erdtree DLC, located north of Gravesite Plain, west of Scadu Atlus. [See Shadow of the Erdtree Map]
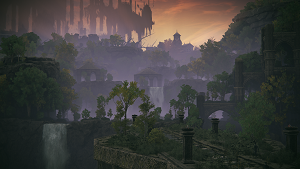
These giant ruins are flooded, overgrown, and split into two by a chasm. To the southwest is the Church of the Bud, overlooking the tower of shadow.
Ancient Ruins of Rauh Map & Map Fragments
- No Map Fragment: Gravesite Plain is revealed with Map: Rauh Ruins
[overall map goes here]
Elden Ring Ancient Ruins of Rauh Sites of Grace & Sub-Locations
- Rivine North [Map Link]
- Scorpion River Catacombs [Map Link]
- Rauh Ancient Ruins, East [Map Link]
- Rauh Ancient Ruins, West [Map Link]
- Temple Town Ruins [Map Link]
- Viaduct Minor Tower [Map Link]
- Taylew's Ruined Forge [Map Link]
- Ancient Ruins Base [Map Link]
- Church of the Bud, Main Entrance [Map Link]
- Church of the Bud [Map Link]
- Ancient Ruins, Grand Stairway [Map Link]
Sub-Locations
- --
Ancient Ruins of Rauh Video Walkthrough
All NPCs and Merchants in Rauh Ruins
- NPC Name - Location
- Merchant Name - Location
All Items in Elden Ring's Rauh Ruins Zone
Gather & Farm Items
- Bondstone
- Fire Spritestone
- Broken Rune
- Scriptstone
- Silver Horn Tender
- Warming Stone
- Throwing Dagger
- Immunizing Cured Meat
- Golden Rune (1)
- Golden Horn Tender
- Rune Arc
- Sacred Bloody Flesh
- Kukri
Upgrade Materials
- Shadow Realm Rune (5)
- Shadow Realm Rune (6)
- Shadow Realm Rune (7)
- Revered Spirit Ash
- Scadutree Fragment
- Somber Smithing Stone (6)
- Somber Smithing Stone (8)
- Somber Smithing Stone (9)
- Sliver of Meat
- Spirit Calculus
- Thin Beast Bones
- Grave Glovewort (4)
- Grave Glovewort (8)
- Yellow Fulgurbloom
- Ghost Glovewort (8)
- Great Ghost Glovewort
- Spiritgrave Stone
- Rauh Burrow
Equipment and Magic
- Talisman of All Crucibles
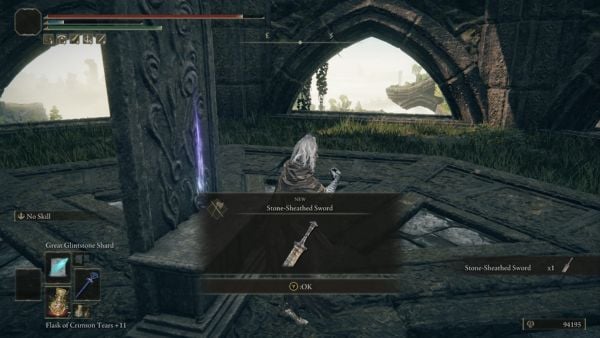
- Stone-Sheathed Sword (On a tower connected with invisible floor, interact with the altar. If the sword is already found, interact with other 2 altars at Fog Rift Catacombs (on top of the 3 trap platforms and run to the furthest right corner), Ruins of Unte (flowery courtyard) can trsnform it into Sword of Light or Sword of Darkness)
- Fine Crucible Feather Talisman
- Crucible Hammer-Helm
- Devonia's Hammer
- Divine Bird Feathers
Elden Ring Rauh Ruins Creatures, Enemies and Bosses
Regular Creatures and Enemies
- Spider Scorpion
- Kindred of Rot
- Deathblade
- Shadow
Field Bosses and Bosses
Ancient Ruins of Rauh Guide
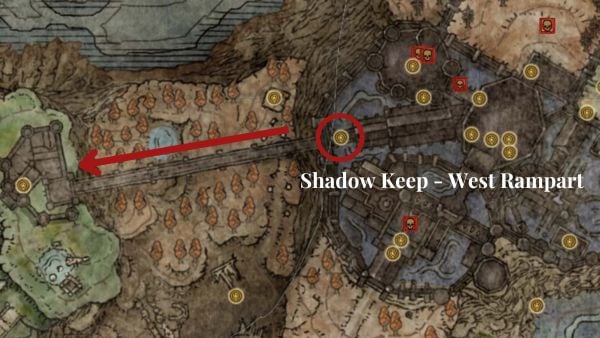
To access this area, you need to unlock the West Rampart - Site of Grace in Shadow Keep. If you haven't unlocked this section, please see Shadow Keep or the Shadow of the Erdtree Walkthrough for the full walkthrough on how to reach the area.
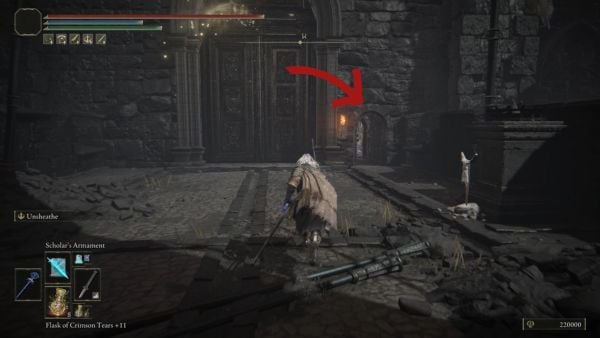
From the Site of Grace, enter through the small archway on the right side of the bridge. It is recommended to ride Torrent here as you cross the bridge so you can move faster and loot as you travel. There will be giant bats on this bridge but you will move fast enough and they shouldn't be able to reach you. You will find bootable corpses here, the first one to the left which is a Smithing Stone [3]. Up ahead, you can loot more 3x Beast Liver, 3x Beast Blood, Smithing Stone [4], 5x Redflesh Mushroom, 8x Thin Beast Bones, and a Somber Smithing Stone [2].

At the other end of this bridge, you will encounter a Fire Knight wearing a red cloak. It wields dual daggers and can cast fire magic and will drop Salza's Hood and Rain of Fire upon defeating it.
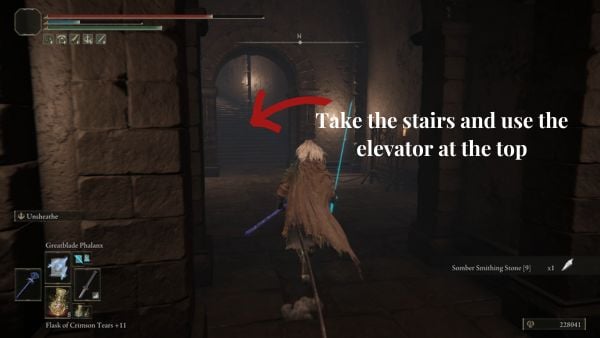
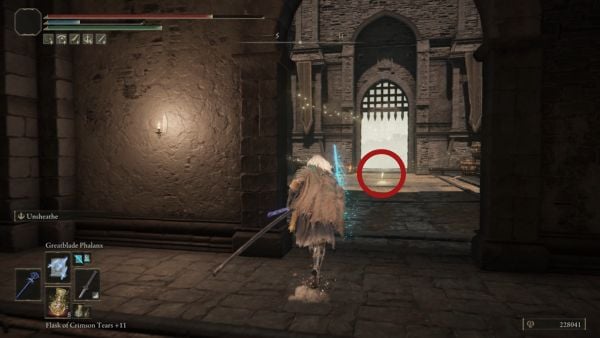
Go inside the building behind the enemy you just defeated and take the Somber Smithing Stone [8] from the corpse on the corner. Take the spiral stairs next to it and you will reach an elevator at the top. This will take you to a new gate and then, interact with the Viaduct Minor Tower - Site of Grace here.
Exploring the Southern Area
- The southern area of the Ancient Ruins of Rauh covers exploring the parts near the Site of Grace. This includes the area below you that is accessible via the elevator in the small pond.
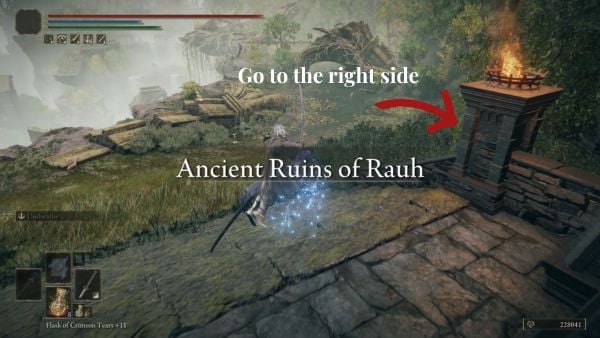
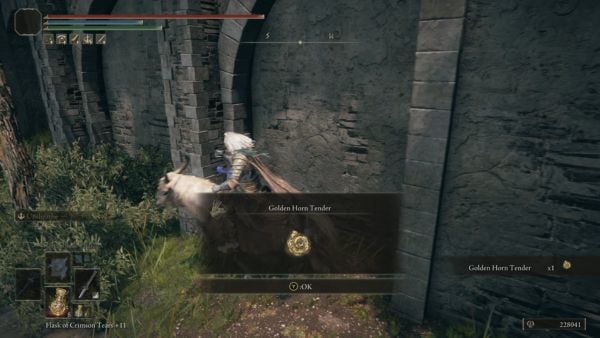
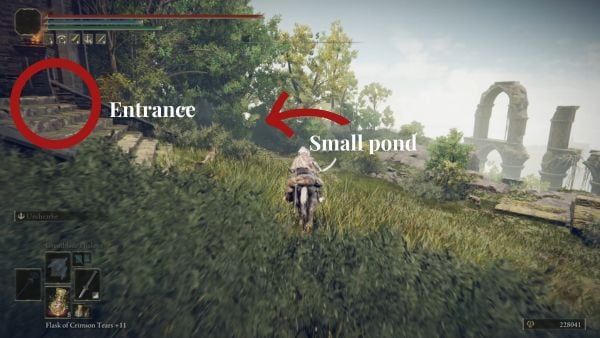
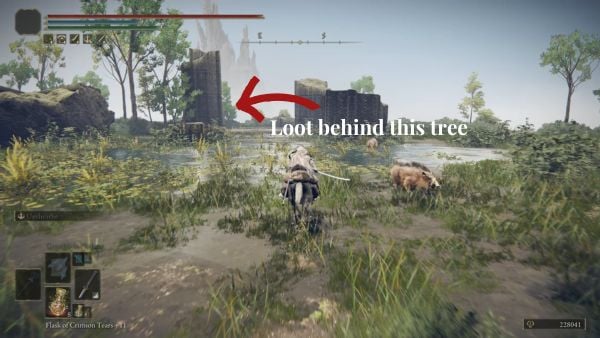
Go through the archway and go to the right side. Stick to the wall and go ride past the thick greenery here. You will go around this building and at the back, you can pick up the Golden Horn Tender. Go back the same way you came from, return to the entrance side, and head southeast past the small pond. You can see some boar creatures hanging out here and go behind this tree. Look for the corpse lying on top of a stone slab and pick up the Spirit Calculus. Then, use the elevator to go down to the lower level.
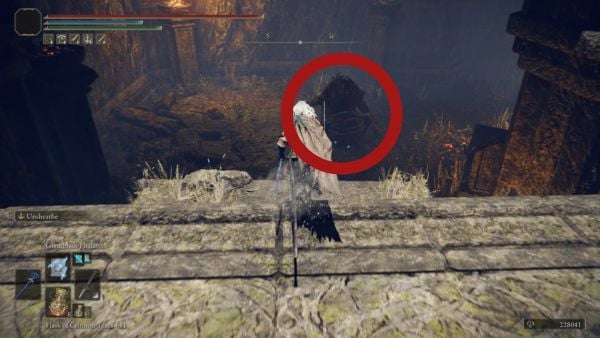
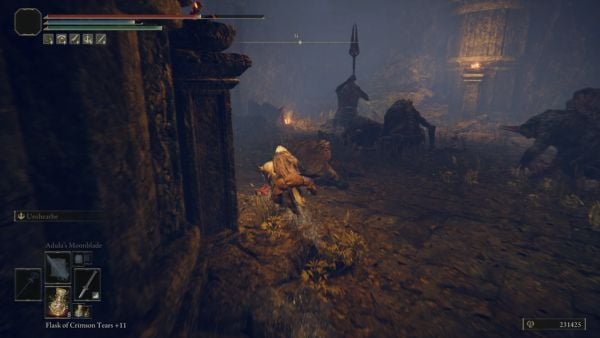
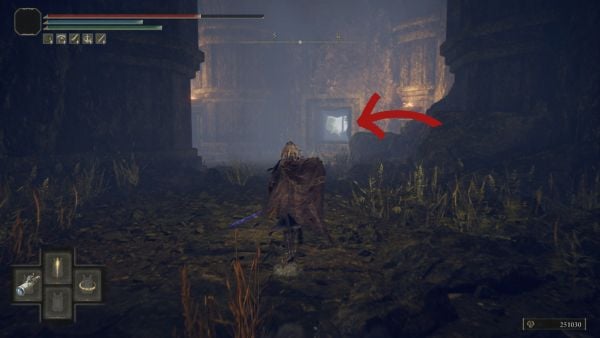
As you go down, face the southwest direction so you are ready for the Bloodfiend waiting here. Then, follow the path behind it where a group of Bloodfiends is gathered. This can be difficult since you are outnumbered, but if you have a magic build, you can use Adula's Moonblade to effectively take out the group. After fighting them, you can pick up Somber Smithing Stone [8] from the corpse behind the group. From here, face the southwest direction and exit through the small hole. Go to the right side and go past the bloodfiend. There's a corpse near the edge and you can pick up 8x Thin Beast Bones from it.
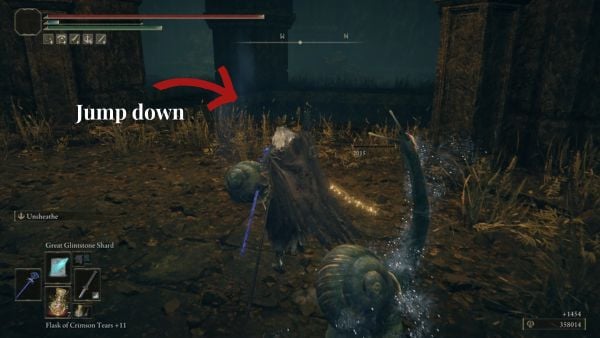
Now look behind you; you should be facing southeast here and go towards the edge and jump down on the steps below you. Look to your right and fight the lesser Golden Hippopotamus. This looks just like the boss at the Main Entrance of Shadow Keep but this one has a smaller health pool. It can also pull off the same moves just like the boss version. Upon defeating it, it will drop a Scadutree Fragment. You are now done with this section. Return to the Site of Grace and continue exploring the eastern area through the felled tree.
Eastern Section

Upon exiting the archway, face the western direction and go through the collapsed tree. Follow the path ahead where you will see small creatures and make a right to to enter the building marked by these 2 standing lanterns. This area is filled with shadowy enemies and there are variations of them. Others are hunched on the ground, while there are some walking around carrying a jar. Take note that some of these enemies carry an important item. If you see them glimmering in the dark, eliminate them to take their item.
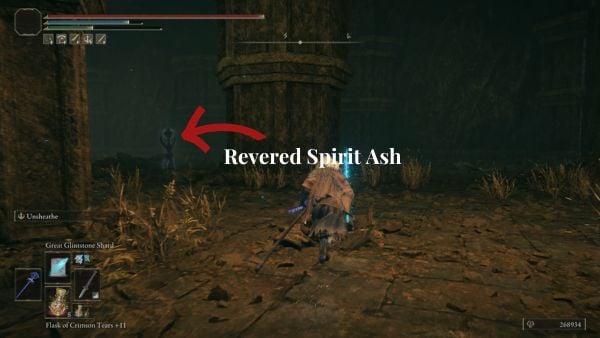
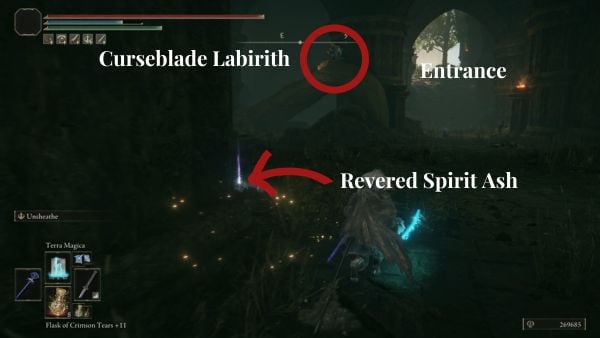
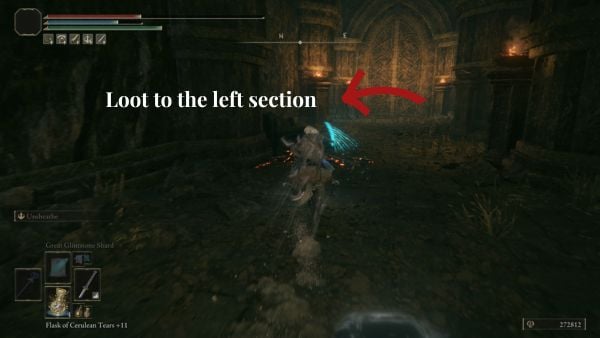
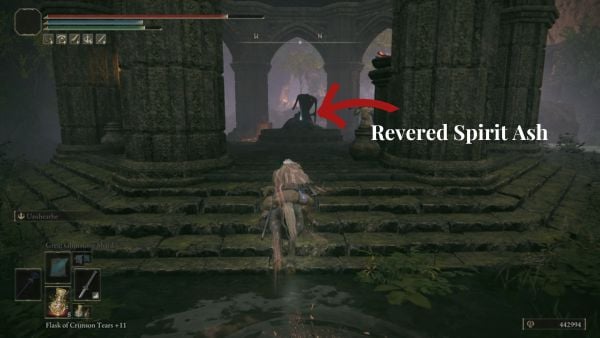
As you enter, go to your immediate right and climb up the overgrown roots. Head towards the northeast and turn left behind the pillar to pick up the Somber Smithing Stone [9] from the edge of this root. Go around this area and return to the entrance side and eliminate the shadow enemy carrying a jar here. This one is carrying a Revered Spirit Ash and a Silver Horn Tender. Pick it up later after you fight the lesser Curseblade Labirith. This behaves similarly to the boss but has a lesser health pool. After defeating these enemies, face the northeast where you see this tall door.
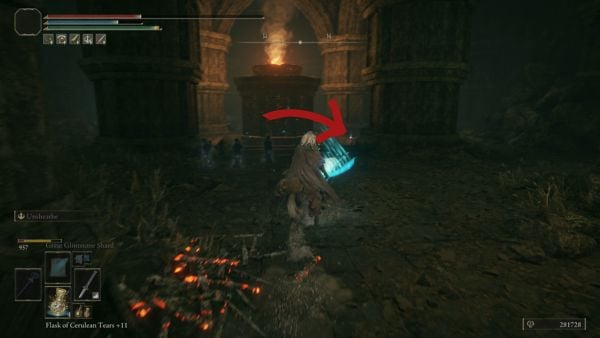
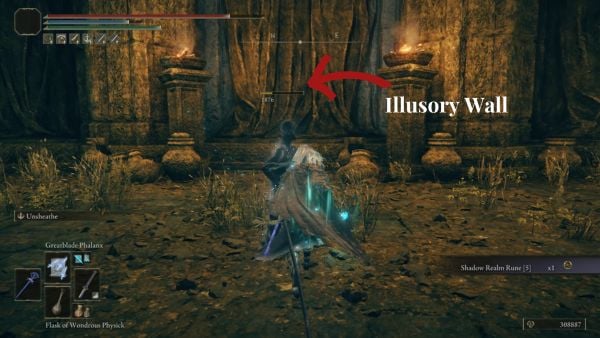
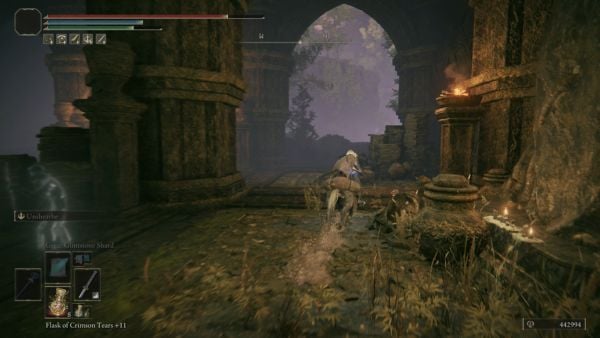
Don't enter through the door yet, instead turn left and you will see this burning cauldron. You can pick up the Fire Spiritstone on the right side of this cauldron. Then, return to the door but make sure to defeat the nearby enemies here so they can't interrupt you. Open up the door and head down the steps. You will be fighting a Giant Scorpion here, then turn left where you will fight more of these Giant Scorpions. You can pick up the Shadow Realm Rune [5] just past this lit stone.
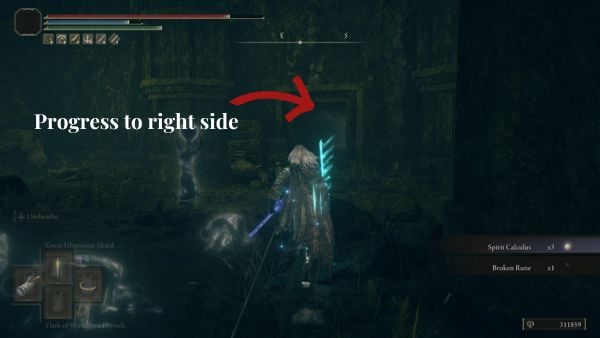
After picking up this item, look behind you and attack this illusory wall. Go inside and pick up the Bondstone and Antiquity Scholar's Cookbook (2). Leave this area and turn right to progress. Go down the steps where a group of shadow enemies are gathered. Pay attention to the glimmering one carrying a jar and make sure to eliminate them to get 3x Spirit Calculus from them. You can also pick up a Broken Rune in front of this square hole to the southeast. (Take note of this location because you will be coming back here later)
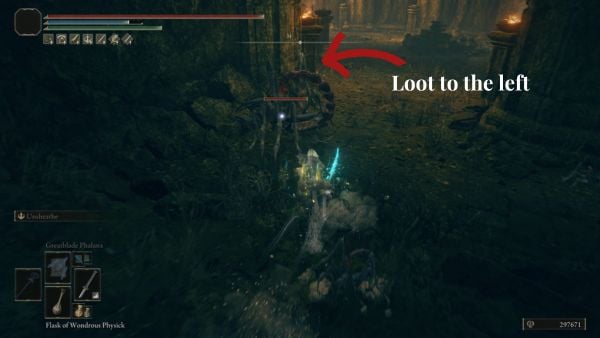
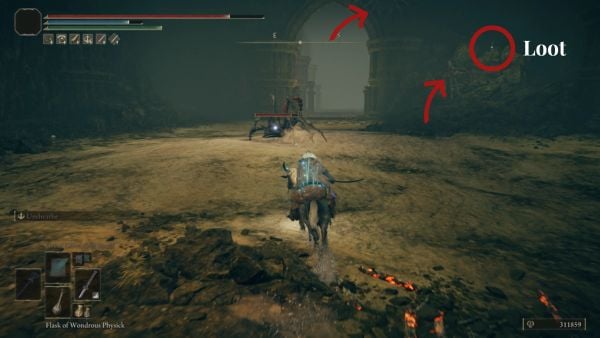
Go through this square hole and once you reach the other side, you will be fighting more Giant Scorpions. Watch out for the ones hiding and sleeping on the ceiling. They will attack you as you approach this loot on the corner. Go up the stones and take the Somber Smithing Stone (6) from the corpse here. Exit this area and turn right. Look for this glimmering enemy carrying a jar and defeat it. It will drop a Scadutree Fragment and Golden Horn Tender.
Then, look behind you and face the northeast direction. You will be able to see this lesser Curseblade Labirith on the second pillar. This one refuses to go down unless you go near it so you can just use range attacks to defeat it without getting damaged. After killing it, walk in front of you and pick up the 5x Throwing Dagger on the next alcove.

From the last alcove, turn right, then left. You will be facing a group of shadow enemies and a giant scorpion here. Make sure to take them out before you continue exploring here. Loot the corpse here to get Glass Shard. Continue up ahead and turn right to this room where you see a scorpion suspended in the air. You can see multiple corpses on the ground with loot on them but you need to eliminate this enemy first. Try not to the aggro of the Giant Scorpion on the other by doing ranged attacks. After doing so, pick up the x2 Sliver of Meat, x3 Scorpion Liver, and Spider Scorpion Ashes.

Head to the next area filled with white flowers and defeat the Giant Scorpions here. You can also pick up 2x Dewgem from the corpse here. Then, return to the other side of the square hole that you entered earlier. Trace your steps and return to the area where the shadow enemies are gathered. Open the door here facing southwest, then, take the 5x Rauh Burrow from the corpse to your right.

Follow this path until you reach this Spiritspring with surrounding nails. You can jump down here while riding Torrent and you will not be damaged. Face the southeast direction and go to the very end of this path. Pick up the Shadow Realm Rune (6) behind the Spiritspring. Don't go up the spiritspring and head back towards the area where you came from.
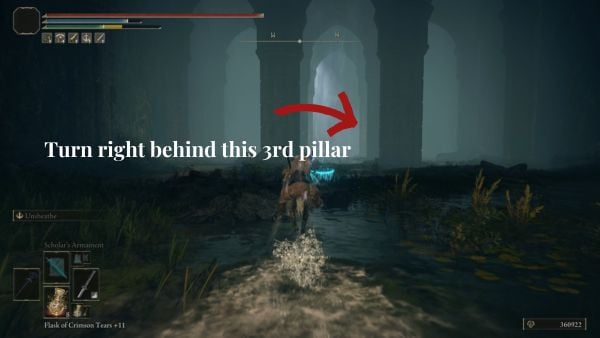
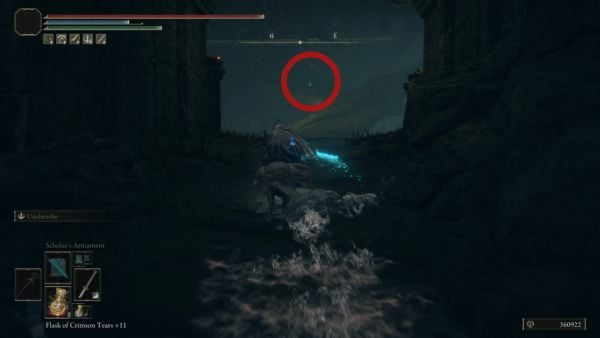
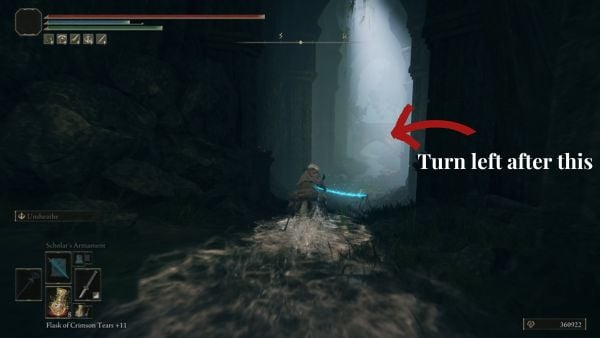
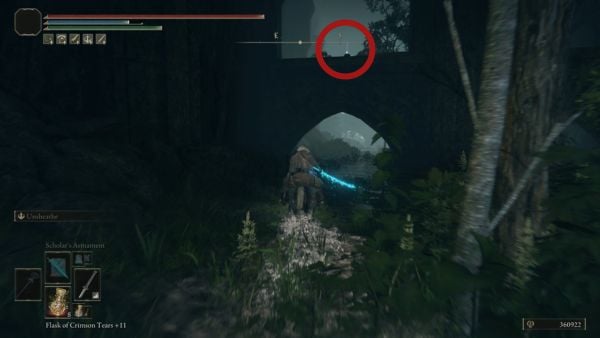
Turn right behind the 3rd pillar, and then go up the thick roots to pick up the Fine Crucible Feather Talisman. Then, head southwest and exit through the small archway at the end. Turn left and you will see an item on the top of the first archway to your left. Behind it, you can use the overgrown branch to climb this arch and then pickup the Shadow Realm Rune (7) from the corpse. Continue riding southeast and you will reach the outdoor area.
When this enemy comes into view, don't try to take its aggro right away. You want to be able to reach the nearby Site of Grace here by walking only on the right side. Stick to the edge on your right and you will see Miquella's Cross here near the edge. The Rauh Ancient Ruins, East - Site of Grace is on your right and you can pick up an Ancient Ruins Cross Message and Scadutree Fragment on the ground near the cross.
From the Site of Grace, face northeast and go towards the pillar here. Walk over the edge to find an item near the waterfall. Pick up the Ash of War: Dryleaf Whirlwind here. Then, return to the enemy that you saw earlier. This Lesser Crucible Knight will drop Devonia's Hammer and Crucible Hammer-Helm upon defeating it.
After defeating this enemy, cross the bridge facing southwest. There's a Furnace Golem at the other end of this bridge and it will start attacking you as you jump down. There are also shadow enemies along the way and you can pick up 4x Dewgem and 2x Flight Pinion. Then, jump down to the right side here. Ride up ahead but make sure to sprint so you can safely reach the covered area here. Then, go past the Furnace Golem, and don't fight it for now. The Rauh Ancient Ruins, West - Site of Grace is in the area behind it so you want to get the checkpoint first.
The Western Section Part 1
From the Rauh Ancient Ruins, West - Site of Grace, go down the ramp and fight the Furnace Golem. It will drop the Crimson-Sapping Cracked Tear and a Furnace Visage upon defeating it.

After fighting the Furnace Golem, teleport to the Site that you had just activated. Face the southwest direction and go toward the double archway. There are different shadow enemies here, like shadow mage and shadow hound. Eliminate them as you go and go up the stairs to the right. You can pick up a 6x Kukri on the steps and Whiteflesh Mushroom from the enemies.
Go up the steps, then, go to the right side and eliminate the glimmering shadow enemy carrying a jar here. It will drop x3 Spirit Calculus and a Rauh Burrow. Then, defeat the 2 Shadow Mages here. At the center of this map, there's a Lesser Curseblade Labirith. This one uses death spells and is just as dangerous as the boss version. On the northwest side, there's an altar where shadow enemies are worshipping. Go towards it and pick up the Scadutree Fragment.
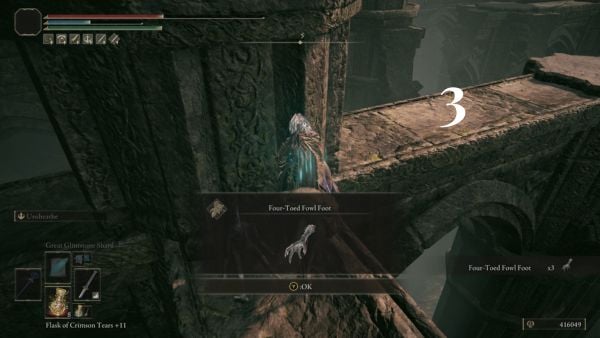
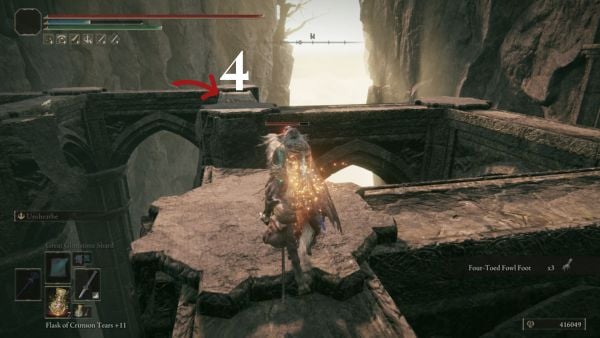
Then, explore towards south and then turn right. Make sure to pick up the Rauh Burrow and 2x Spiritgrave Stone along the way. Then, use the elevator at the end of this path that will take you to the stone pillar section. Go to the left then jump down on the stone pillar below you. Try to land on the widest portion here and follow the steps 1 to 3. When you get to the 3rd jump, look to the pillar behind you and pick up the Four-Toed Fowl Foot from the corpse.

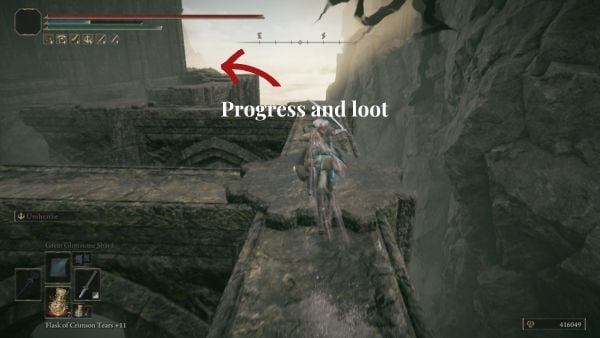
Keep following the steps here and then face southeast and jump towards the building on the far end to the left. Eliminate the 2 enemies holding a candlestick standing in front of the steps here. Face the building and go towards the square hole to the left, then turn left again to reach the chest. You can get the Talisman of All Crucibles inside.
The Grand Stairway Section

While facing the chest, exit through the square hole to your right. Use the elevator to go up, and you can already see the Ancient Ruins, Grand Stairway - Site of Grace from the top. Walk towards it and activate it.
Face the northwest direction, jump down the stairs, and then turn right to get loot. Stick to the wall to your right and then go to the very edge here to pick up a Spirit Calculus from a corpse. Then, return to the grand stairway where you see the archer version of the Golem Warrior. You can go up the ramp behind it and take it out. This enemy is weak to heavy attacks so make sure to take full advantage of its weakness.

Go down the broken bridge here and cross towards the northeast. Near the end of this bridge, you will find a corpse in the middle and you can take a Shadow Realm Rune (7) from it. Then, jump down on the right side. There's a Divine Beast Dancing Lion field boss here, and it's up to you if you want to fight it but you can run away from it by jumping down on the northeastern platform. This disables the fight and the boss will not chase you.

There's an elite enemy in the middle of the pool. This one wields a dual curved sword and will drop the Divine Bird Warrior Gauntlets upon defeating it. Go up the ramp on the left side to pick up 2x Beast Bones. Then, go to the area behind the boss to pick up Verdigris Discus. Continue exploring the southern area here to pick up a Redflesh Mushroom from a corpse next to a pillar. This is your last stop in the Grand Stairway section and you will now return to the Rauh Ancient Ruins, West - Site of Grace.
The Western Section Part 2
- This covers the rest of the exploration of the western section where you will be invaded by an NPC.
From the Rauh Ancient Ruins, West - Site of Grace, face the southwest section and climb up the stairs to the left. This is the same area that you explore earlier but instead of going to the left section, you will head northwest towards the outdoor area. Head straight into the gazebo in front of you and you can pick up the Revered Spirit Ash on this altar. Watch out for the enemy nearby but since you are riding Torrent, you can just outrun them.
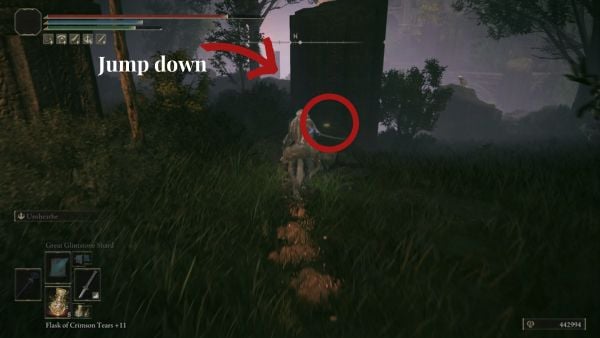
Continue exploring the path behind this gazebo and make sure to pick up this Rauh Burrow on the wall. Take note of the location on your left because you will be returning here later. For now, continue ahead and jump down on the platform behind this stone.

Go to the bottom of the steps and head northeast. You will find hounds inflicted with Scarlet rot here and you can pick up Golden Horn Tender from this corpse in the middle. There's a Bloodfiend here in the middle of this section but it's up to you if you want to fight it. You can get 5x Sacred Bloody Flesh if you want to fight it. Continue traveling north where you will encounter another Bloodfiend, then turn left where more enemies are waiting. Take out the hounds and bloodfiends here for a chance to get Beast Blood and a piece of the bloodfiend's gear, like Bloodfiend's Fork.
On the upper area, while facing northwest, you will see this glimmering shadow enemy holding a jar on its head. To go there, you need to head to jump down on the area below it. Summon Torrent and try to land on the highest part here to minimize your fall damage. The elevator is right here when you go down, but before that,m make sure to head to the area on the northeast. This area is protected by giant flies so you need to eliminate them first.
Take the Somber Smithing Stone (1) from the corpse lying on the stone. After doing so, head east where you see the Pink Flwoerbloom. Go towards it and then pick up the Aspects of the Crucible: Bloom. Now, return to where you jumped down and take the elevator to go up. On the top level, you will reach the shadow jar enemy. This one drops a Revered Spirit Ash and you can eliminate the nearby enemies to get a Redflesh Muishroom and Silver Horn Tender.

This is your last stop in this area and you will now be returning to the area that we mentioned that you will be coming back to. Jump down on the same ledge that you are facing as you approached the loot, then look behind this pillar and you will see a corpse here. Take the 3x Knot Resin from it then go up the stairs.

Turn right where you will be facing scarlet rot-inflicted enemies. There's a scarlet version of Lesser Kindred of Rot (Pests) here, be careful of them because they can deal a high amount of damage when you get struck by them.

Go to the northwest arch and pick up the Dappled White Cured Meat. To your right, there are more pest enemies here. There's a large group of them in the next section and try to cheese them as much as you can. If you have any ranged or magic attacks, make use of them to eliminate them before they get near you. You can obtain these items from the ground here: x3 Immunizing Cured Meat, x4 Fly Mold, and Smithing Stone (2). After fighting them, exit through the archway on the left side. Look on the stack of stones to your right and you will see a corpse here. You can pick up the Greater Potentate's Cookbook (9) from it.
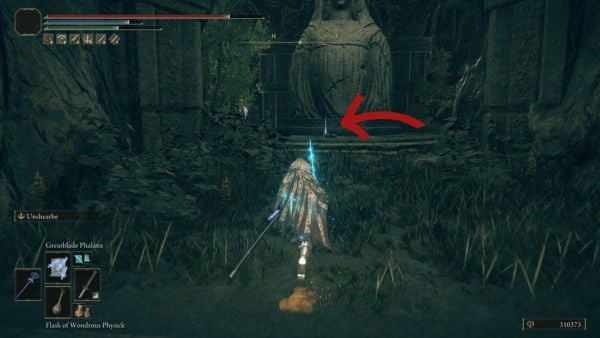
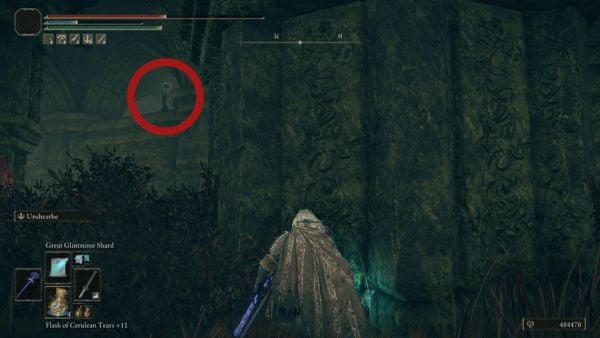
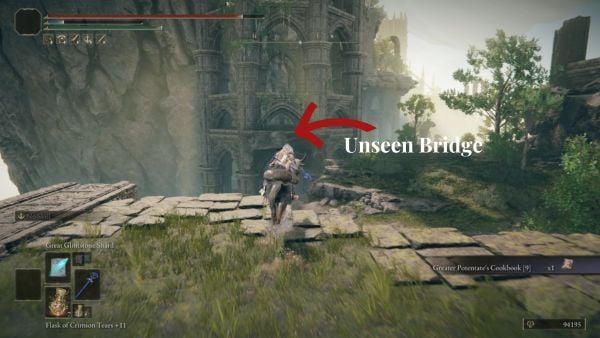
Face the tower to the northeast and walk straight towards it. This is the Unseen Bridge that connects the main building to this tower. Cross to the other side and pick up the Stone-Sheathed Sword.
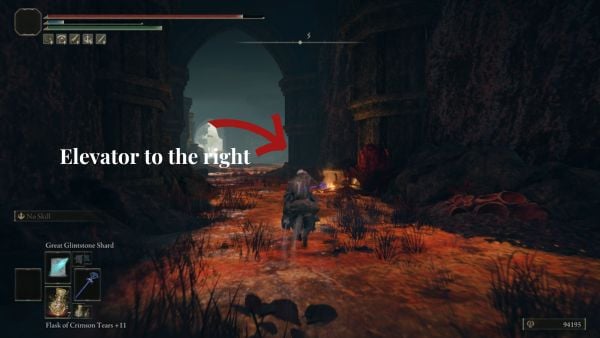
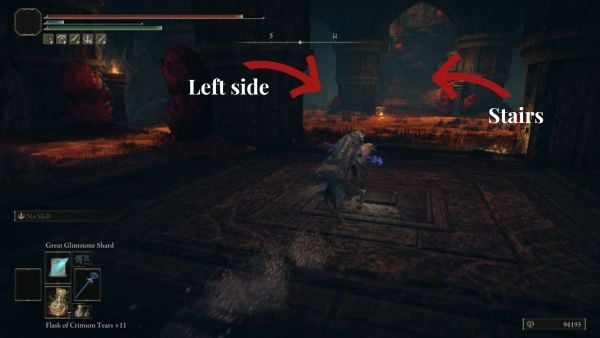
Go back to the main building the same way you got here and then continue exploring by going to the left past the room. Then, turn right to use the elevator that will take you to the upper level. There are more pest enemies here at the top and you will see the stairs in the middle. Just take note of these areas for now because you will be returning here later.

First, turn your attention to the nearest enemy standing next to the archway then go out to the area outside. Go past the gazebo and look at the corpse in the middle of the water. Go towards it and then pick up the Divine Bird Feathers.
The elite enemy here will be aggro-ed upon picking up the item. Take your time as you deal with it and use the pillars of the gazebo to defend yourself against some of its attacks. After fighting it, go up the ramp and go to the edge. You will see the clusters of stones that unlock a Spiritspring after destroying it.

Jump towards the Spiritspring, then use it again to reach the area on the other side. Go to the right side and walk to the area behind the thick pillar and go around it to pick up x2 Beast Horn from the corpse. Then, go up the stairs that you saw earlier and open the chest at the top to get Mottled Necklace +2. Use the Spiritspring again to return to the other side. Head back inside where you used the elevator and then turn left.

Fight the pests that you will come across here and then turn right at the end. You can pick up the Pest-Thread Spears next to the wall on your right side. Go around this area and get ready for a fight before you head up the stairs. As you approach the top section, Hornsent will invade you. This is potentially a long walk back if you didn't activate the Spiritspring beforehand, but if you have been following this walkthrough, you will have a faster way of reaching this area in case you die.
The Spiritspring is located just northwest of the Site of Grace, in the pool area. Defeating Hornsent here will reward you with the following items:
Elden Ring Rauh Ruins Maps and Notes
[other maps go here]
 Anonymous
Wanted to get the knight’s lightning spear as soon as possible, so after I defeated Rellana, I immediately look for the teleporter. I thought I can get to that scorpion catacombs. I got stuck at this remote island instead. Sad me

 Anonymous
 Anonymous
 Anonymous
 Anonymous
 Anonymous
The heavy presence of crucible lore, alongside the general vibe of this place, gives off the impression that this is where life began. Or, at least a remnant of the earliest forms of life in this story.

 Anonymous
This layout is way too confusing, I honestly don't care about the whole verticality bit of the DLC. I just wanna beat up people man

 Anonymous
well, i was exploring around the grand staircase grace site, i went down the staircase as you do. And it led to a second dancing lion boss fight which gives you an incantation called Divine Beast Tornado and it also led to small drop off area which had the Verdigris Discus talisman.

 Anonymous
This page is missing “Ash of War: Bloom”, found by heading right on the staircase up to the furnace golem. Leads to a scorpion area, but past that are some miranda flowers around the item on the ground.

 Anonymous
Possible the best area FromSoft has designed. Not only is it gorgeous (daytime or nighttime), but there are so many little secrets tucked away throughout. Talismans, a few armor pieces, weapons, incantations, ashes of war, tons of crucible lore/pieces. Took me hours to finish exploring, and I really enjoyed the boss fight. So in love with this expansion

 Anonymous
I want to know, how do you get down to the lower area next to first bonfire?

 Anonymous
 Anonymous
To get the map for this area you need to go to Ruth Base. To access the area go to the Moorth Ruins grace. Head to the lake just to the northeast. There is a cave that will take you where you want to go.

 Anonymous
Mottled Necklace +2 can be found by taking the spring up to the platform next to the rot area and is found in a chest up the staircase.

 Anonymous
I want to personally bleed Miyazaki of every drop of his blood for that single stretch of these ruins filled with bleed water and Kindred of Rot, and then have him walk through it while a bunch of people shoot at him with BB guns. See how he likes it.

 Anonymous
This place is so beautiful and edenic. The architecture matches with the ruin strewn precipice and other blackstone ruins in places like caelid or the mountaintops. The lands between was once a paradise...

 Anonymous
Took me about two hours of exploring to find a way down lol. All you need to do is jump and land on some pillars, and go through a cave, and you go to next grace.

 Anonymous
Is there ny way to get to the top green plateau area?
Its like a big empty area on the map, I wonder if you can get there...
 Anonymous
 Anonymous
How get southern part of rauh directly right of the sealing tree

 Anonymous
I got sent to this area with a waygate unlocked with an imbued sword key. How do I get out without just leaping to my death?


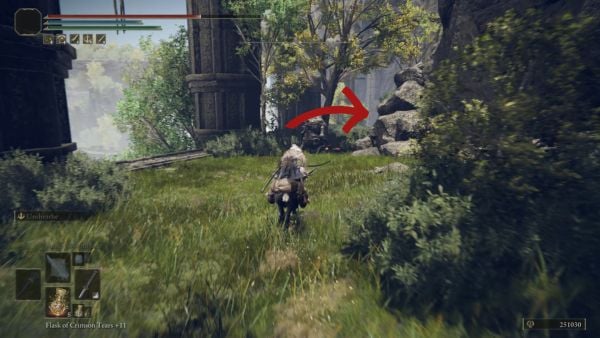
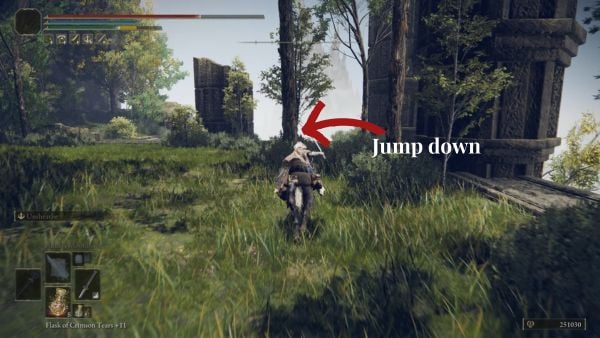
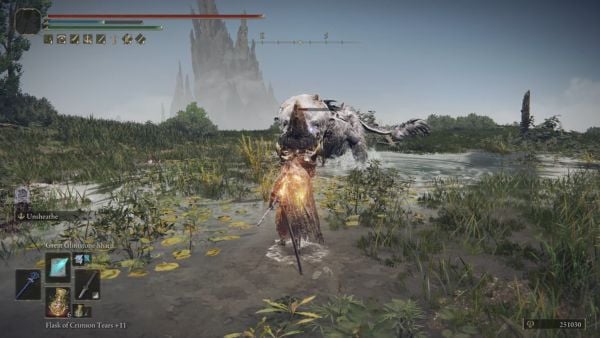
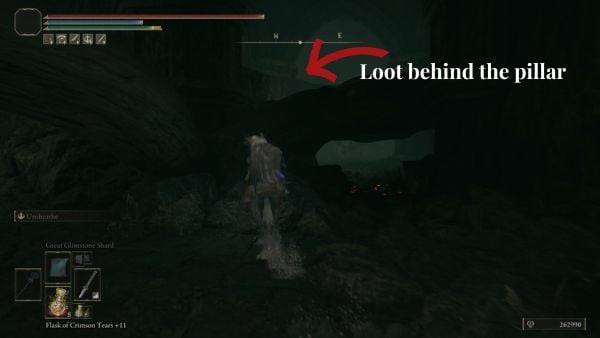
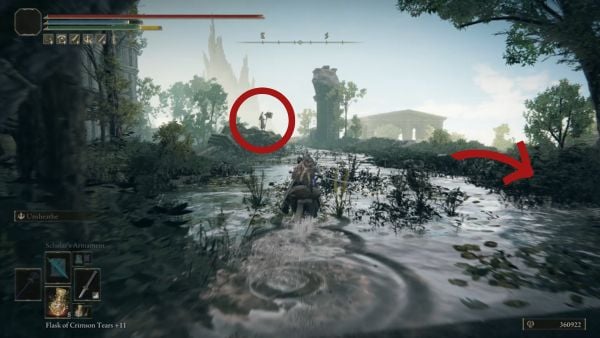
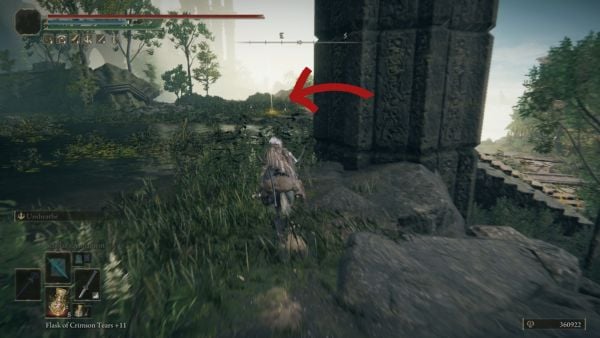
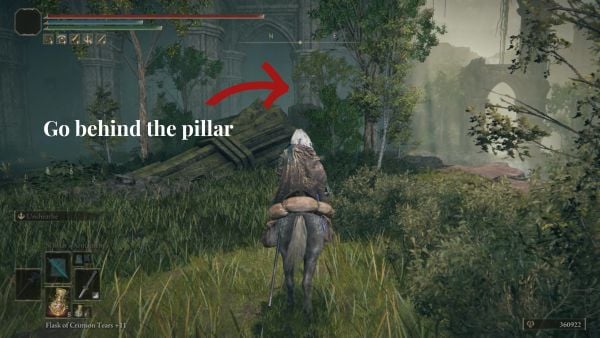
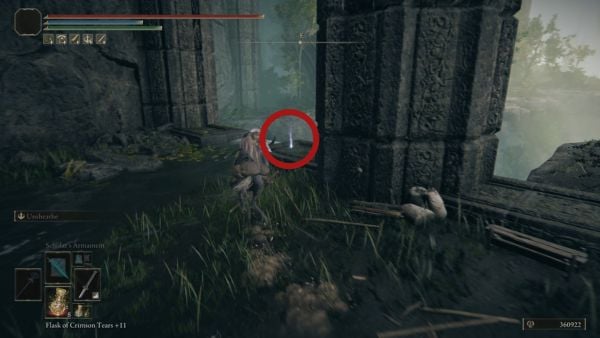
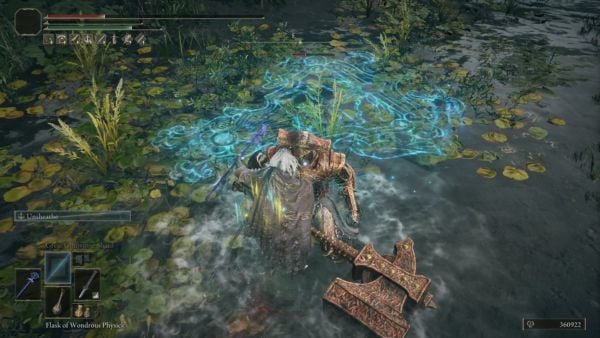
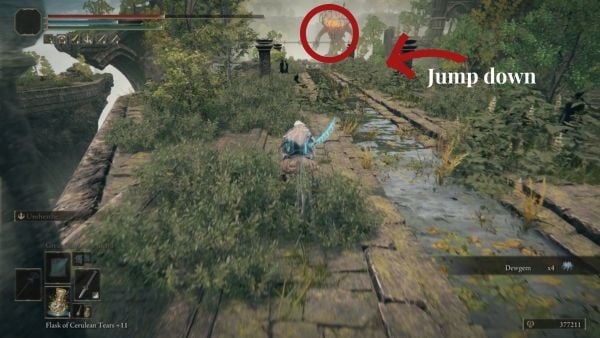
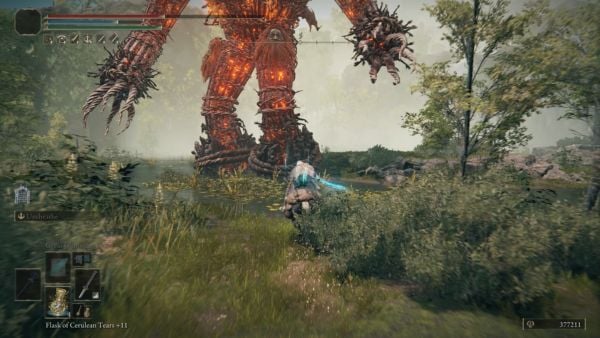
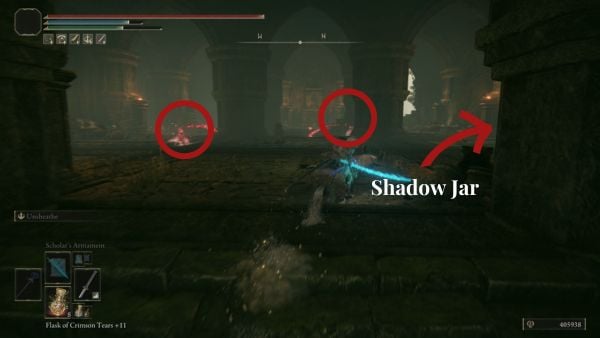

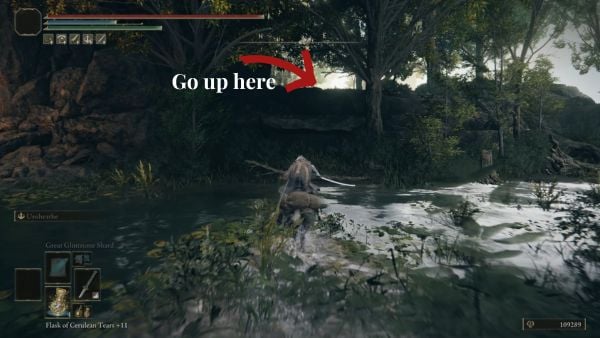
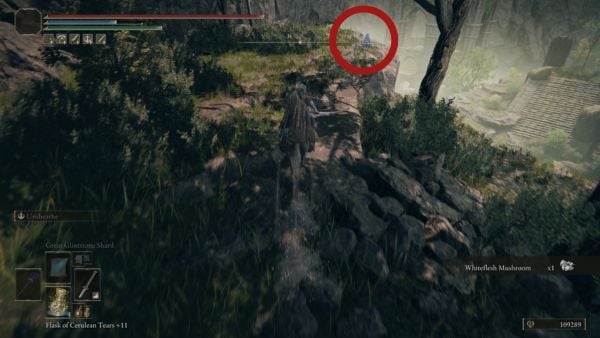
i honestly love the scenery of this area
0
+10
-1